

For more articles, check back often
Written: 28/08/2022 | Updated: N/A
I had a big problem this weekend. After a few weeks of grinding, I was pretty much there or there abouts. Then on Friday I went to review the MS-900 Microsoft 365 Fundamentals course which I am going to teach again next Tuesday only to discover the whole thing had changed. So, let’s just say the bank holiday went right out of the window. Bygones. But in doing the consolidation and rewrite of MS-900 I see that the ability to record video in Stream on SharePoint has now arrived in what I assume is targeted. There is always some sort of upside to any given situation, and this is a pretty big deal. Stream on SharePoint is getting to the business end of the transition. I see that message centre says that in October classic Stream will start to be phased out, such as no longer appearing in tenants which have never used it. The player is here. Lots of cool features we never had before like chapters are here. But recording is a big gap and a filling in of functionality we had in classic. It’s one of those fundamentals like trim, or transcripts or the Stream app in Teams. So, 2022 continues to be a wild year for Stream. This is a brief look at some of the functionality which is available – but I am sure we will see much more development on this front.
Let’s go.
This blog will cover
- Accessing Recording
- Recording the Screen
- Recording ourselves with effects
- Recording in Presenter Mode or using Background Effects
- Recording a Podcast (Audio Only)
- Using OBS and Snap Camera (Virtual Cameras)
- Storage and Accessing Recordings
- Limit of 15 minutes and downloading clips without going to Storage
- Conclusion
Note this blog may have some abridged steps which will assume some experience with a Microsoft 365 environment and Teams.
Prerequisites
- Stream and SharePoint Licence (Within Microsoft 365 Licence)
- Targeted release tenant (at the time of writing)
ACCESSING RECORDING
1.) Login to https://login.microsoftonline.com
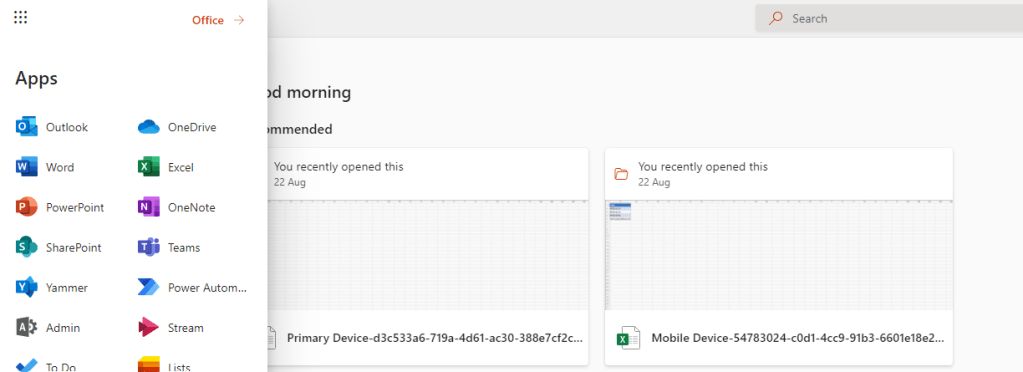
2.) From the waffle, or from the left app rail select Stream (if you haven’t already redirected to the new Stream on SharePoint experience then replace the browser URL with https://stream.office.com)
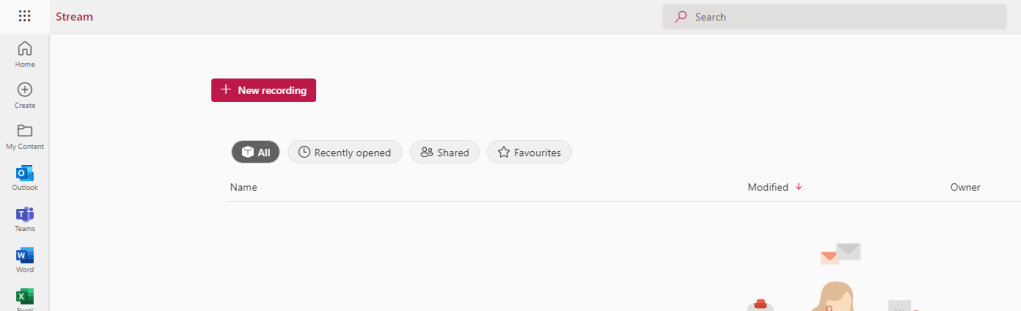
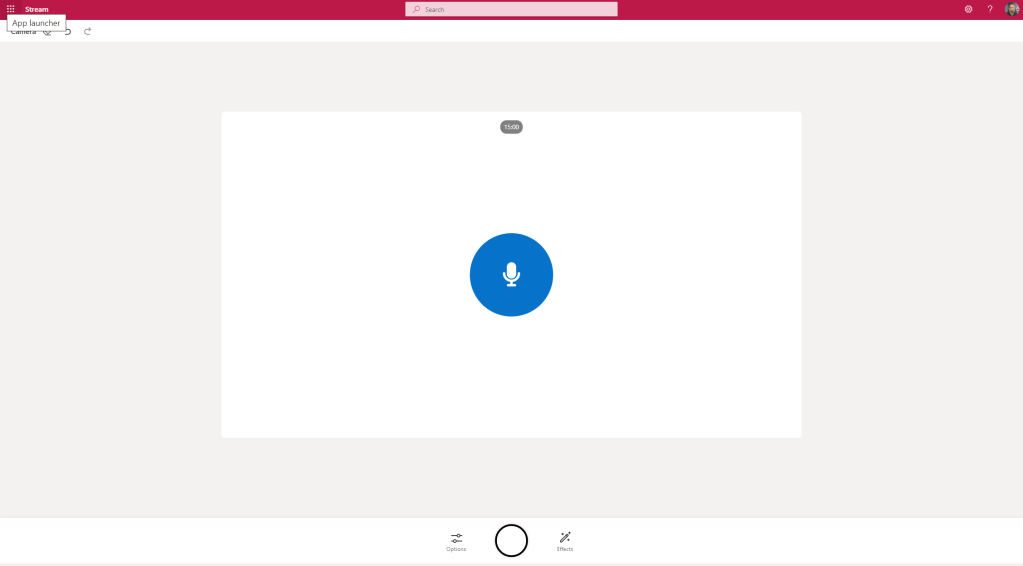
3.) The red New Recording button is straight in front of you on the top left of the Stream on SharePoint home page
RECORDING THE SCREEN
The first scenario we are going to look at is recording the screen. Think of this to be used in a demo video or part of a presentation showing how to do something. It is recording your screen, a window or an edge tab.
1.) Select New Recording
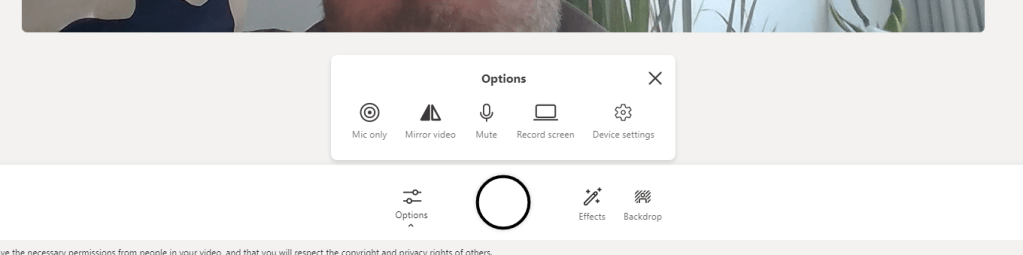
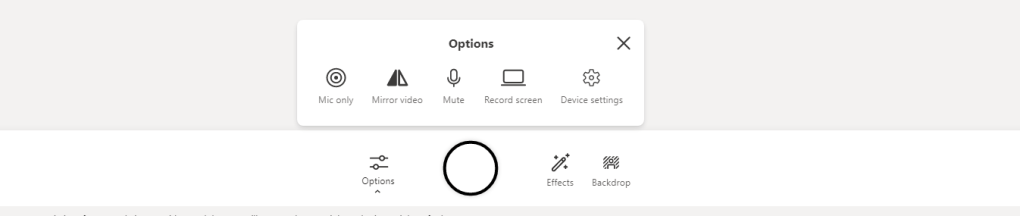
2.) The video device will switch on. On the recording bar select Options

3.) Select Record Screen
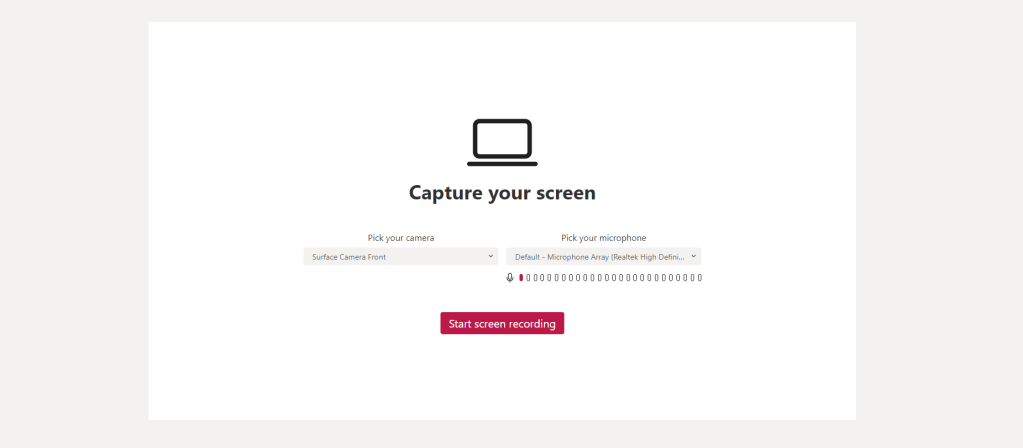
4.) Select Start Screen Recording
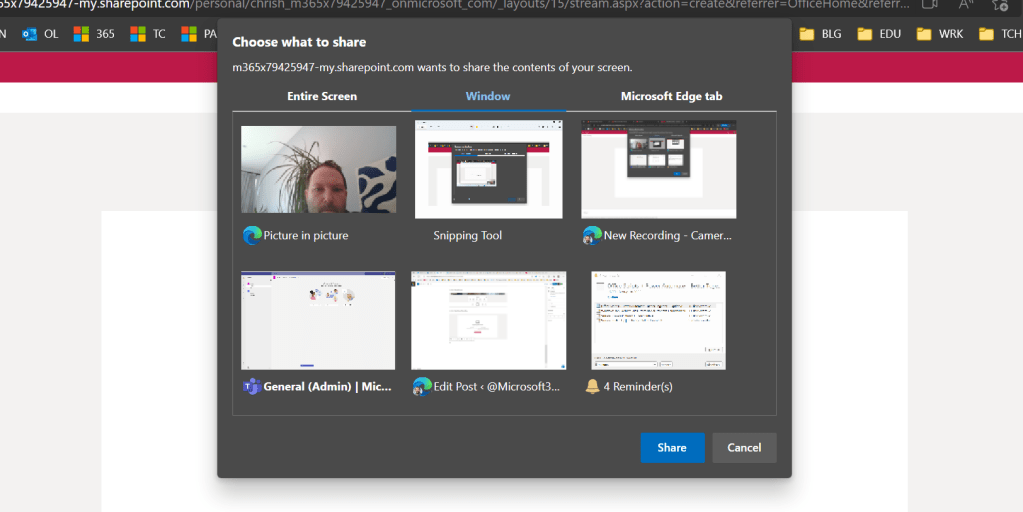
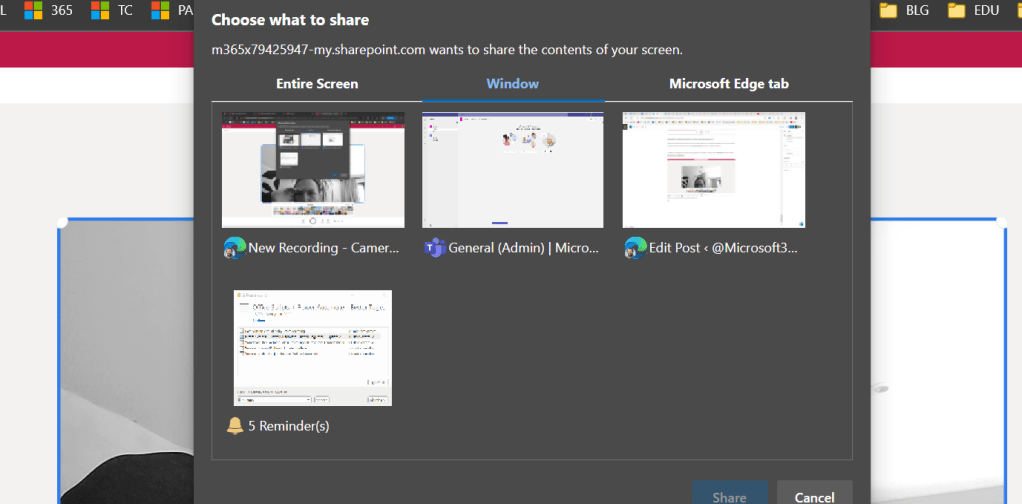
5.) Choose Entire Screen, Window or Edge Tab and then Share
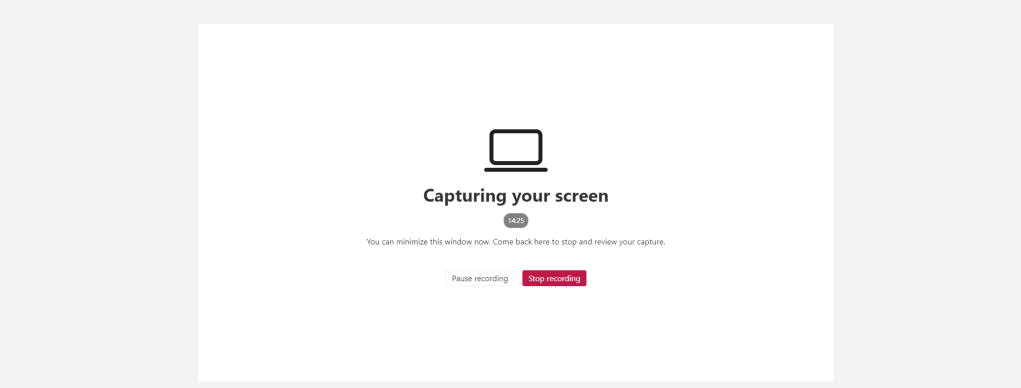
6.) The screen will start recording, as noted by the capturing your screen and the Sharing overlay. Once done select Stop Recording

7.) The video will be reviewed and then you can choose to Retake or Publish
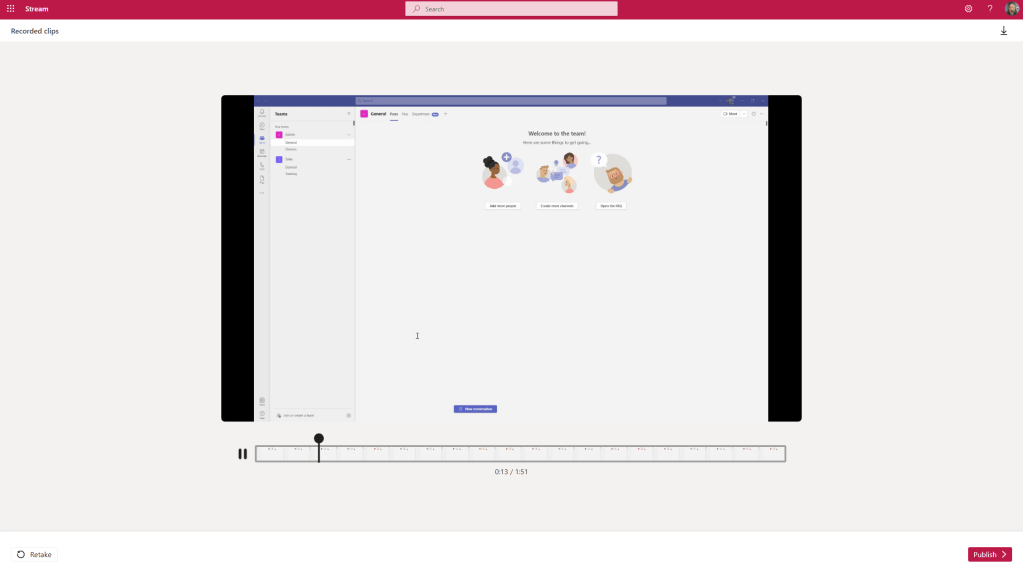
8.) Note you can also Download the video

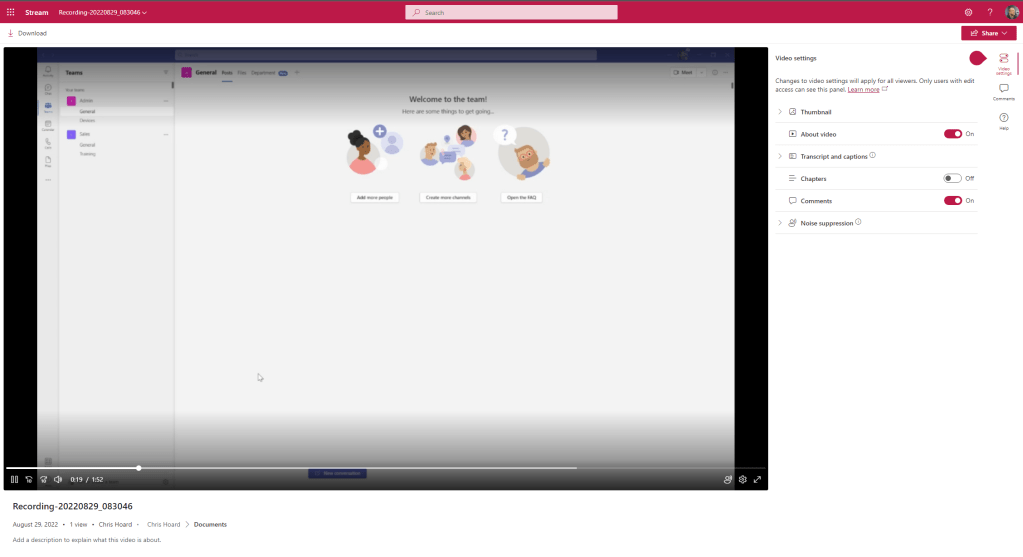
9.) Publishing the video will Upload it to OneDrive

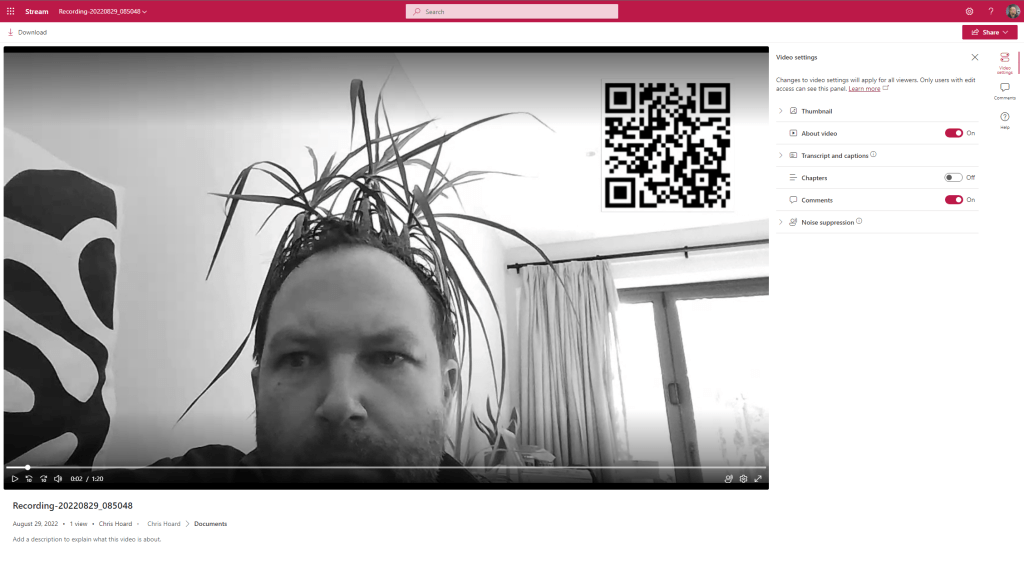
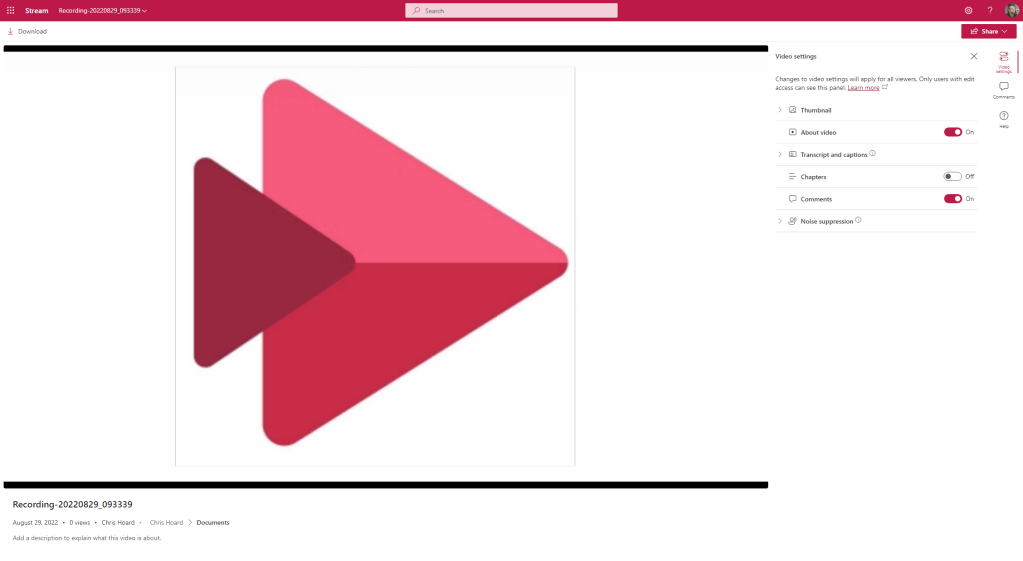
10.) It will then open in the Stream Web Player where things like chapters can be added, and the title can be modified. Note transcript is not generated by default.

RECORDING OURSELVES WITH EFFECTS
Now we can record the screen with ease, lets record via our camera. This example is an inbuilt camera in a Surface Laptop.
1.) Select New Recording
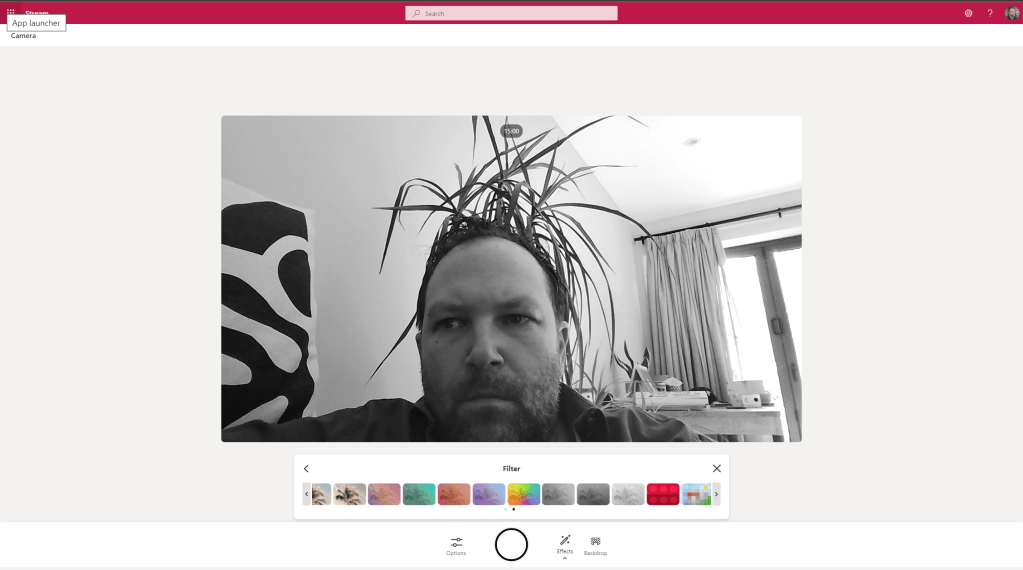
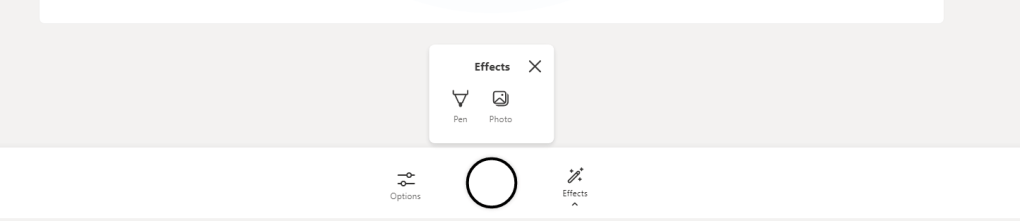
2.) The video stream will switch on. On the recording bar select Effects and you will have the ability to add FIlters, draw with a Pen or insert Photos

3.) Adding Filters like Black and White or Sepia add the filters to the stream prior to the recording. This can be modified on the Filters Menu
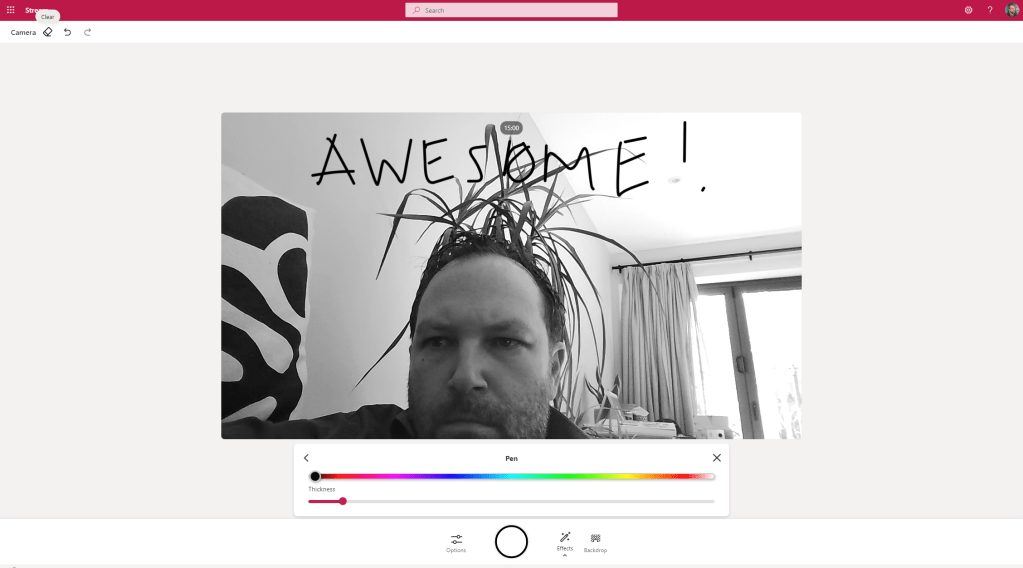
4.) Drawing adds inking to the stream prior to recording. This can be removed or modified via the eraser and back/forward options at the top left

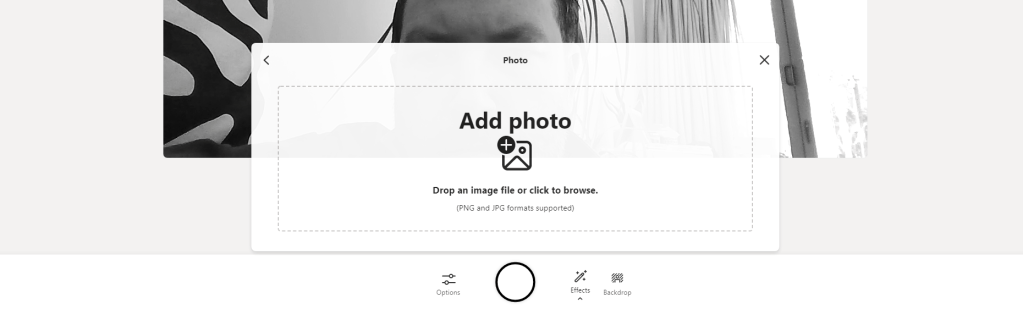
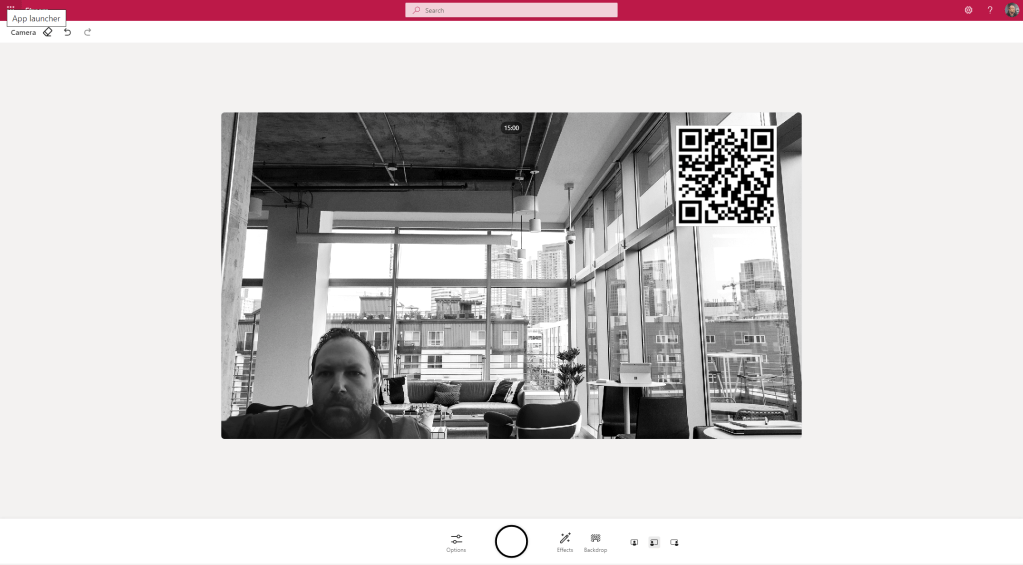
5.) Photos can add photos to the stream prior to recording. This is really cool because it means you can add things such as QR Codes to the recording. Add one from your local machine (via a local folder or OneDrive synced)
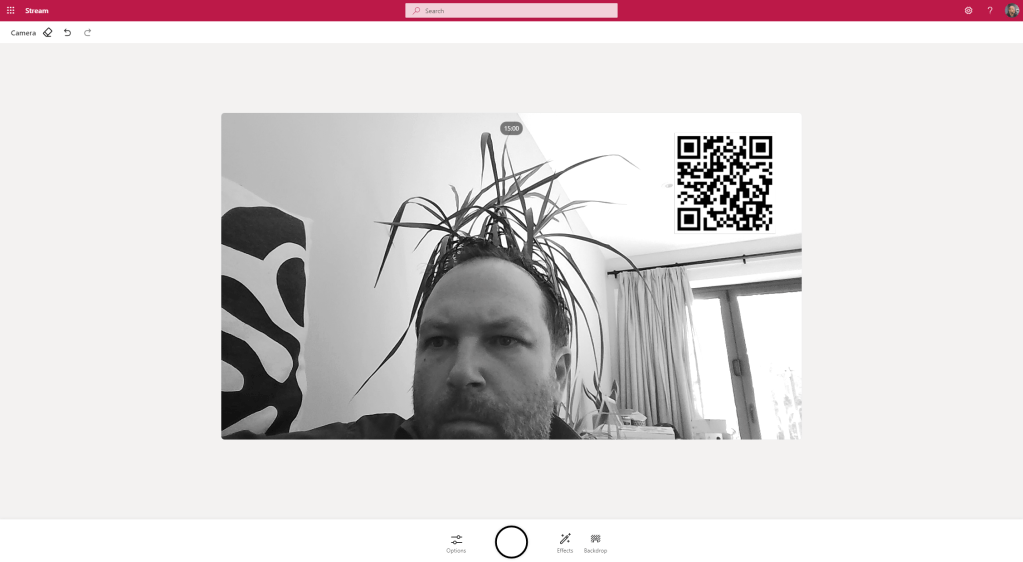
6.) Now go ahead and record the video by pressing the Circle (Recording Button)

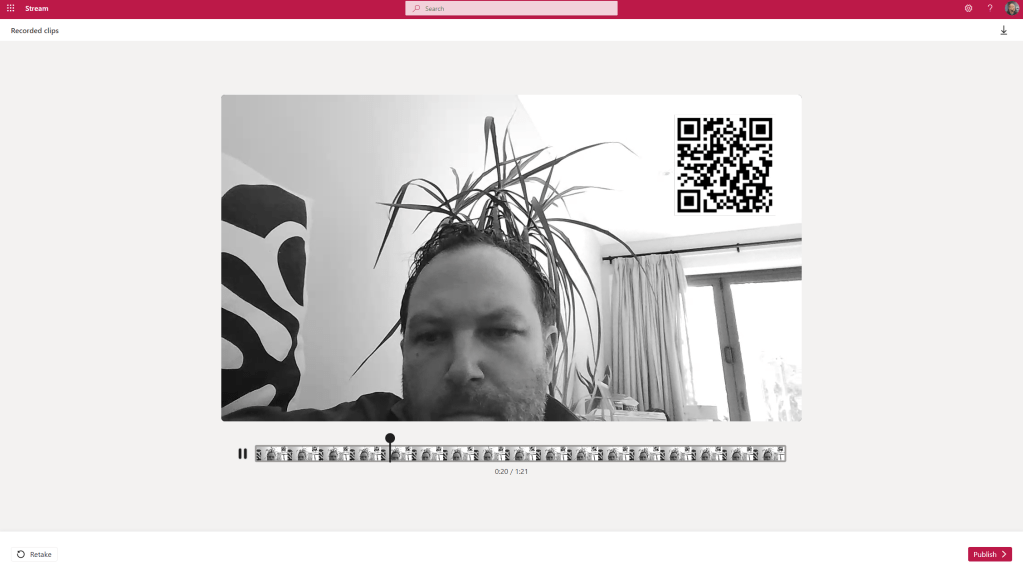
7.) The screen is now recording marked by the Timer. All of the effects above can be added in situ. Once done select Next. This then plays back the video for review and can be published/uploaded into OneDrive and starts playing on the Stream Web App like the screen recording above

8.) Note, during a recording of the camera the screen cannot be recorded. In other words, you can’t transition between recording on the camera and recording the screen at the current time

9.) You can modify the camera to an external camera via the Device Settings

RECORDING IN PRESENTER MODE OR USING BACKGROUND EFFECTS
We can record the screen and record from a camera. But we can’t transition between the two. So how do we get around this? We can record in Presenter Mode similar to a Teams meeting.
1.) Before recording from a camera (as opposed to recording a screen) select Backdrop and then select Use Screen as a Backdrop

2.) Select Entire Screen, Window or Edge Tab
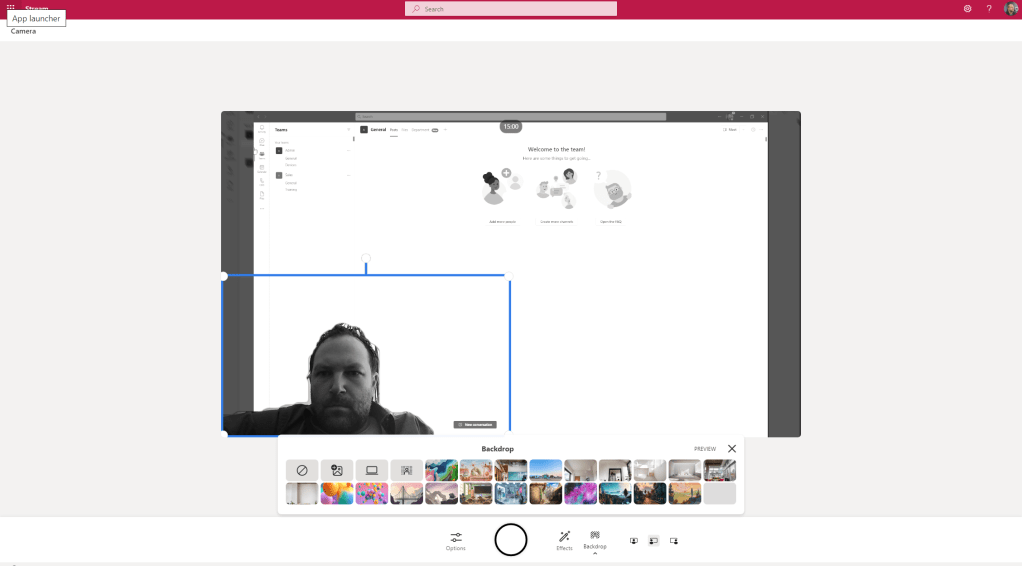
3.) I am now presenting in front of my shared window which is Microsoft Teams. This could be extremely effective in a dual screen setup.
4.) I can switch where I am on the stream

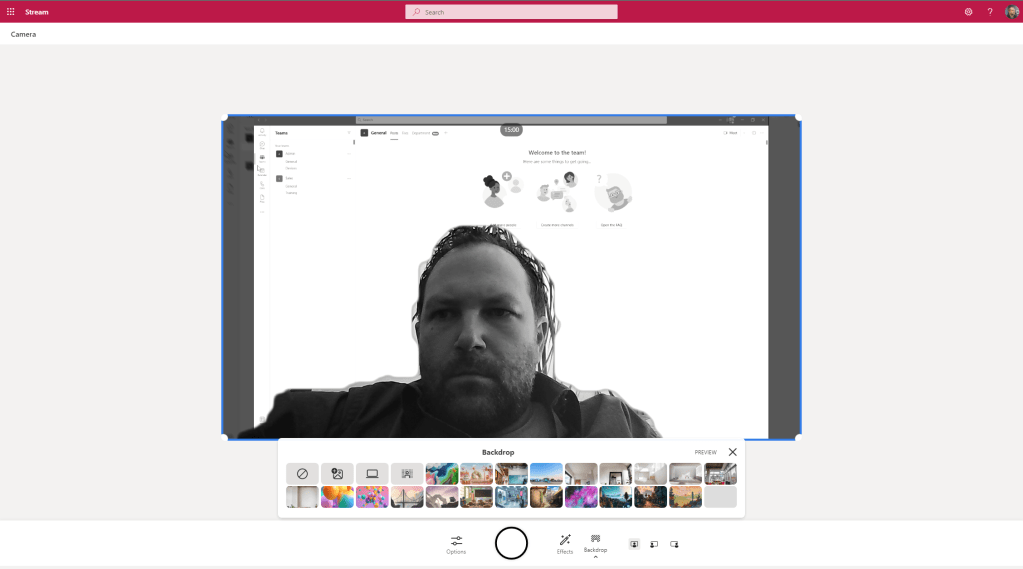
5.) I can also use Backdrops such as the Custom Backgrounds in Teams. Note what is interesting is that the filters also apply to the backdrop as do the photos


RECORDING A PODCAST
We have now recorded a screen, recorded via a camera (which we can use an in-built or external cam) and have shown we can also use a presenter mode where content and camera can be used together. How about an audio only podcast?
1.) Before you record, select Options and then select Mic Only
2.) What I love about this is that you can also add effects like a Photo if you want to record the podcast with a cover image

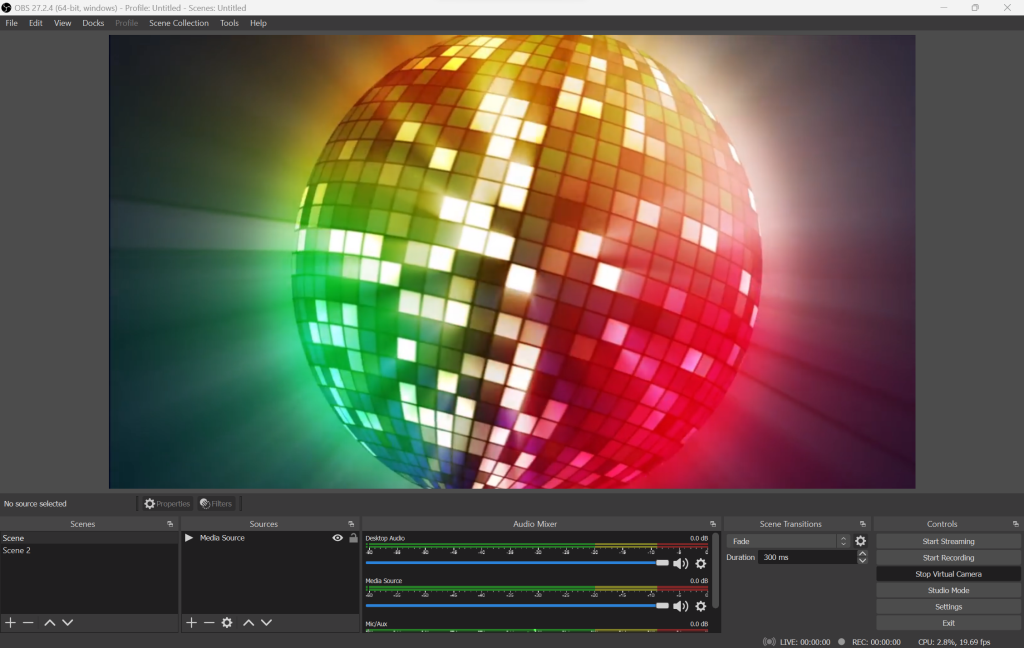
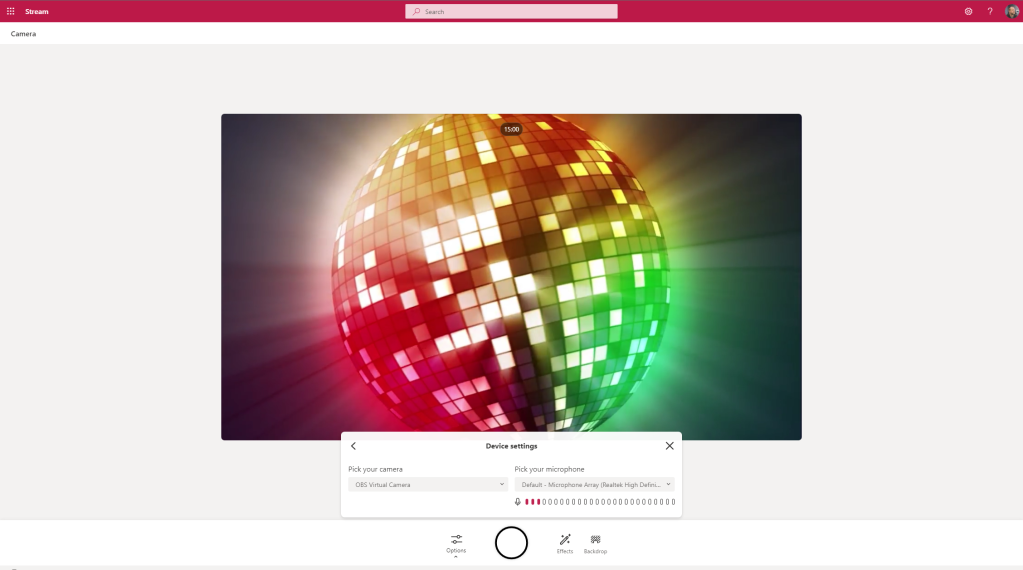
USING OBS AND SNAP CAMERA (VIRTUAL CAMERAS)
If you know how to use OBS Virtual Cam or Snap Camera these are picked up and supported under Device Settings

Here is OBS in action
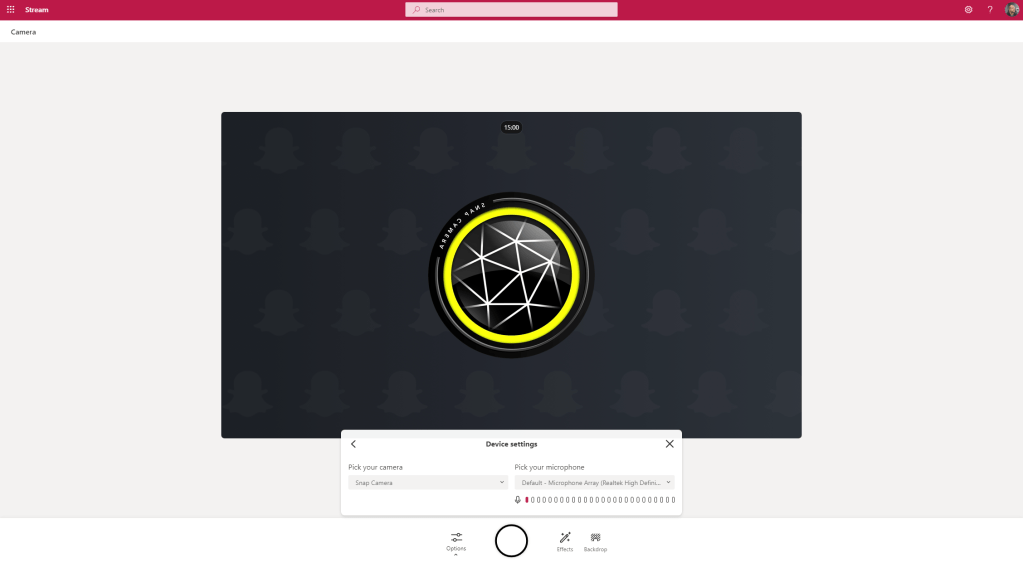
Here is Snap Camera in action. Got this one to work after a reboot.
STORAGE AND ACCESSING RECORDINGS
We have got recording to work in a number of scenarios. But where do we access the recordings?
1.) From the waffle, or from the left app rail select OneDrive
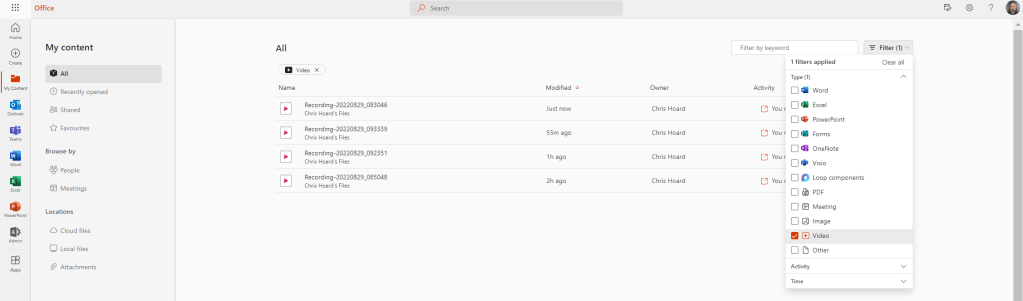
2.) Recordings go straight into the top level of OneDrive as .webm files
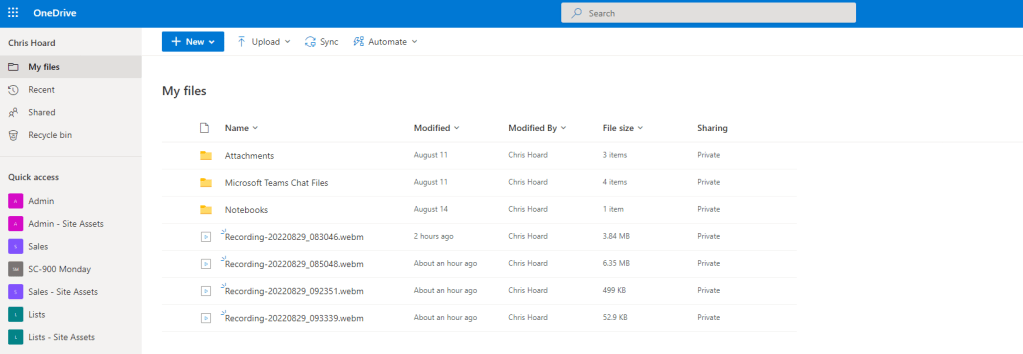
3.) In office.com you can also Search and Filter videos in My Content
LIMIT OF 15 MINUTES AND DOWNLOADING CLIPS WITHOUT GOING TO STORAGE
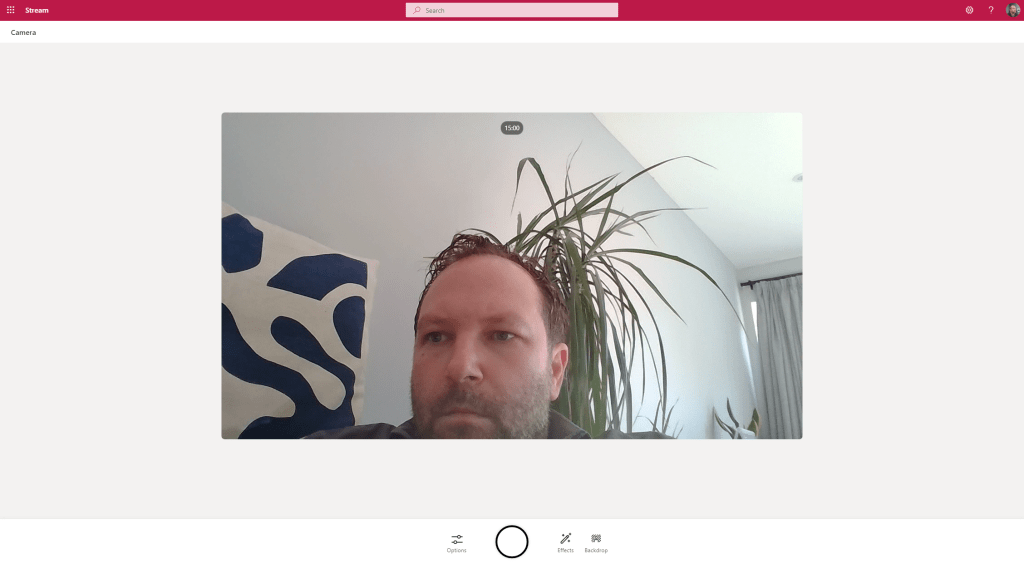
The most important thing to remember about recordings is that there is a limit of 15.00 minutes, and this is shown at the top of the recording itself

Now when the recording is done, as explained above you can download it without the file going to storage

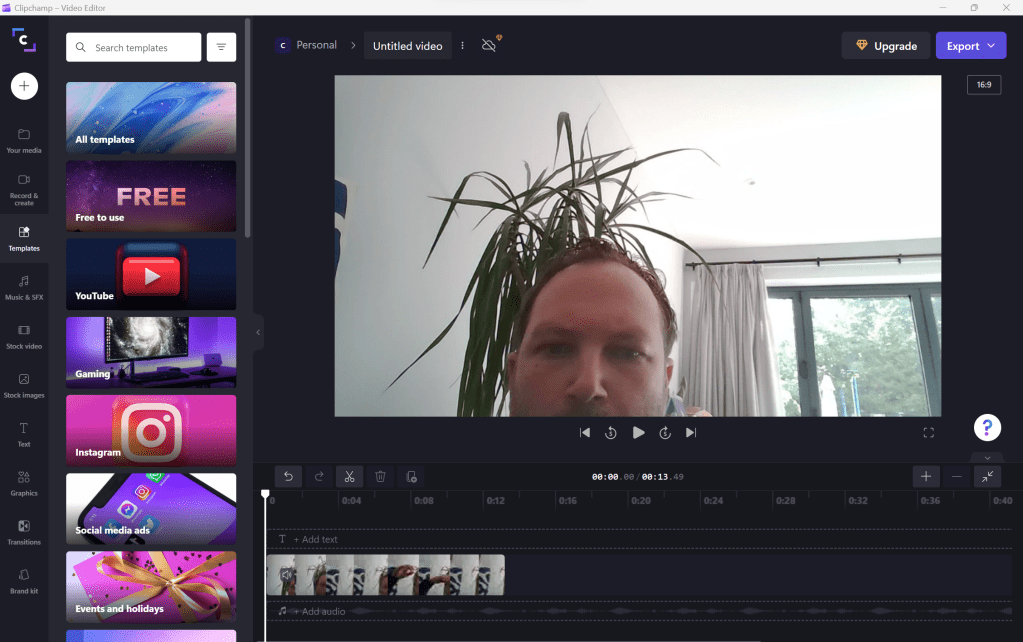
This could then be used in Clipchamp to edit a number of ‘segments’ of video to put together a video longer than 15 minutes

CONCLUSION
I have enjoyed this brief spin of recording features in Stream this morning. I am sure I will dive in further into the intricacies, however it’s a great start and can be used in a number of scenarios, including screen capture, recording oneself, demonstration in presenter mode, podcasting and even the integration of virtual cams. The closing point about segmenting and using Clipchamp as an editor is really where it’s going. We record the raw video in Stream with some base effects and then splice, edit and combine video in Clipchamp. 15 minutes isn’t a barrier to producing polished video. To wrap up, it’s more exciting developments from Marc Mroz, Ignacio Davila and the Stream Team and I am sure it will go down well in the tech community. I am a big fan from simply playing with it for a few hours.

One thought on “Let’s Record in Stream on SharePoint”