

This blog is part of a series on Teams. For more articles, check back often
Written: 19/03/2023 | Updated: N/A
Back in 2021 I wrote a blog on Lists and Power BI. Microsoft had just released the ability to visualise a list through the integrate tab. And at that time everything was pretty much good, except it had a fundamental issue where whilst it generated the report on top of List, that report didn’t appear in the Power BI service itself. I know, I know. It kind of sounds like one of those first world problems right – and I guess to some extents it is given that the report could be created after all. But for me, who uses Lists as data sources, and wanted them in the service, in a workspace alongside other reports and then to pull then back through into the Power BI App in Teams, it was kind of a frustrating situation being that close. Today, I am probably a bigger user of the Desktop App than the service, connecting to Lists and then publishing them to the service. And this scenario probably pushed me to being more of a Desktop user than a Service user all up. But now we have the ability to export the list directly into Power BI as a dataset. This is massive. So let’s go building.
Let’s go
his blog will cover
- Setting up the team/channel ready for the List
- Setting up the List in the Team
- Setting up a Workspace in Power BI Service
- Exporting a List to the Power BI Service
- Creating a Report
- Getting the Power BI Report into Teams
- Closing thoughts
Note this blog will have abridged steps which will assume some experience with Teams, Lists, Power BI and navigating the Microsoft 365 environment. I will refer to past blogs throughout
Pre-requisites
- Teams Licence, SharePoint Licence (In an Office/Microsoft 365 Subscription)
- Power BI Pro Licence (for Sharing)
- Permissions in Teams to add tabs and Lists/Power BI App (App Permissions)
SETTING UP THE TEAM/CHANNEL READY FOR THE LIST
Whilst you do not need to be Team owner to do this, this example will assume you are. Use an existing Team and existing channel or set up the Team and channel ready for the List and the Power BI Report. As you can see here I have a Team called Microsoft Lists, a private channel which is called ‘Power BI’ (functional so it’s easy to remember) and I am a Team Owner. This channel has several members including Vesku and Adam.


SETTING UP THE LIST IN THE TEAM
Before we can export the list to Power BI, we need to add and populate the list. There are several ways to create the List in Microsoft Teams as outlined in this previous blog including from scratch, via excel, via an existing list, from a template or as has been recently introduced, from a CSV. This list, in this fictitious example, is going to be a master list of all the company owned devices which have been issued to users within my organisation and I am going to build this from scratch.
1.) In the channel select + to add a tab

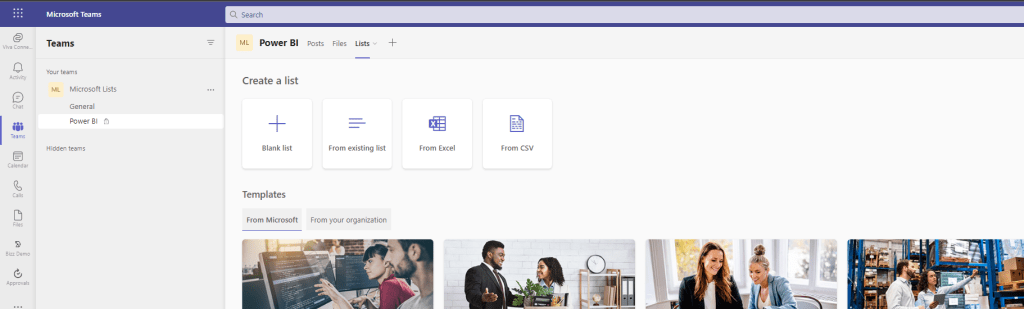
2.) Search for and select Lists

3.) Select Save

4.) Select Create a List
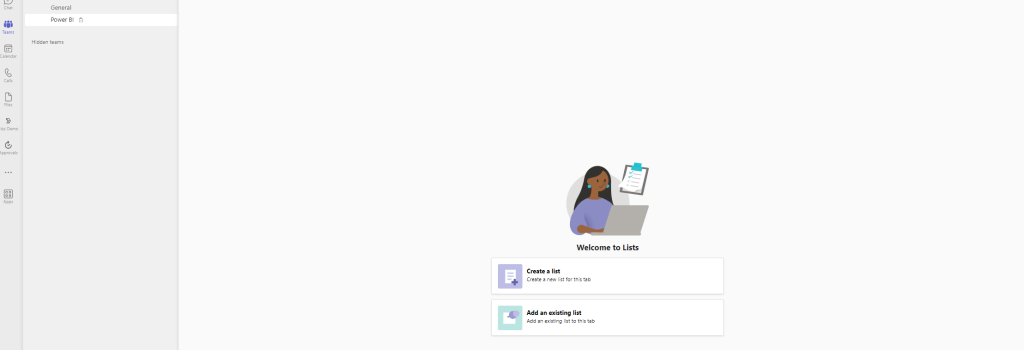
5.) Select Blank List
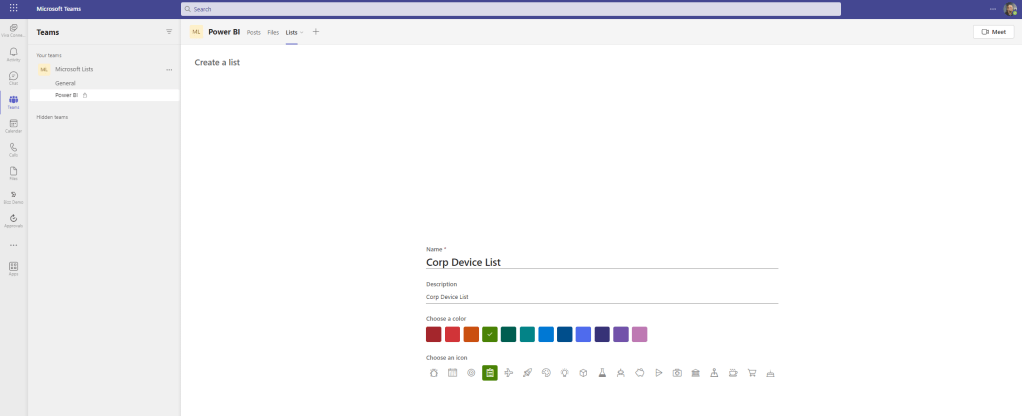
6.) Enter a name, description, icon and colour for the List and then select create. Per the fictional scenario this is to explicitly show that the List being built is to track and manage company owned devices
7.) The List is now created

8.) At this point you will want to build out your list with the appropriate columns and list items. Within this fictional example of devices the list would contain things such as the device owner, what operating system it has, where the owner is based and when it was issued. Try different column types for different columns and populate the list with data you will want to ultimately measure. Also, drag and drop the columns to ensure it looks correct in the all items view.

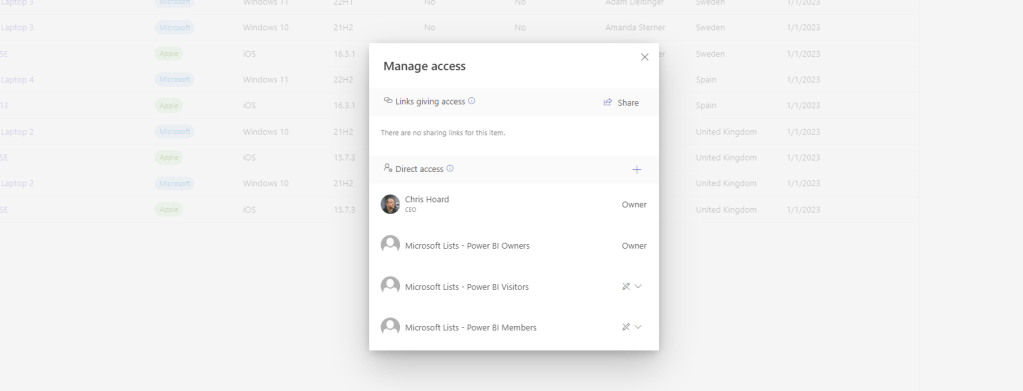
9.) Once done, ensure that members of the team have the right permissions on the list. This can be accessed by selecting the info icon on the top right of the list, and then selecting manage access. By default, members of the team have edit permissions however I have set this, for this fictional example, to be read
SETTING UP A WORKSPACE IN POWER BI SERVICE
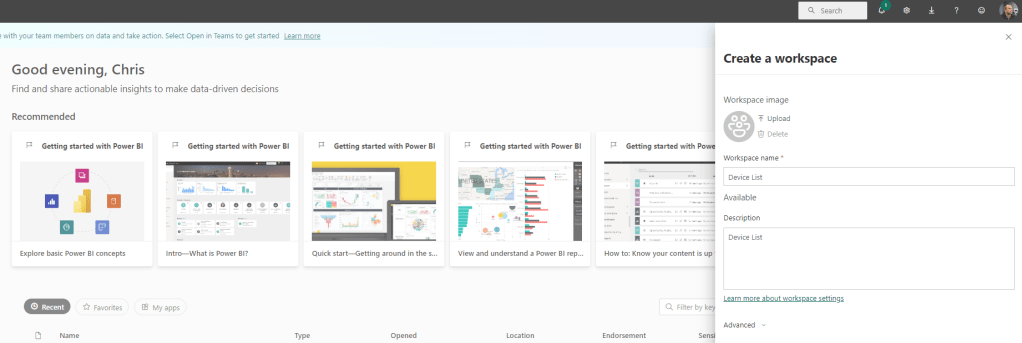
Now that the List is up and running, the next optional action is to create a workspace in Power BI for the data. You can export the List to your own workspace, but this fictional example is going to create a new workspace just for this list
1.) In the Microsoft 365 Admin Centre, select Power BI from the waffle

2.) Select Workspaces

3.) Select New Workspace

4.) Give a Name and Description for the Workspace and then select Save
5.) The new workspace is created. If you need to work with others in the workspace you can give them access and roles via Access


EXPORTING A LIST TO POWER BI SERVICE
Now that the list has been created, and the Power BI Service Workspace has been created, we can now go and export the List into Power BI Service
1.) In the Teams Client, go to the List, select Export and then Export to Power BI

2.) Save the Dataset to the Workspace you have created and select Continue

3.) The Dataset is now created

CREATING A REPORT
Now that the dataset has been created from the List in the Power BI Service, we can go ahead and create a report
1.) From Visualise This Data or from the navigation you can create a report which has options to auto-create, start from scratch or choose a paginated report. This example will select Auto-create

2.) This auto generates a report based off the data

3.) Select Save

4.) Name the report, select the Workspace (typically same as the dataset) and select Save

5.) The Power BI Report is now published. However, you may wish to return and tidy it up or amend a specific visualisation since – from this experience, the generated report does not use all data from all columns in the list.


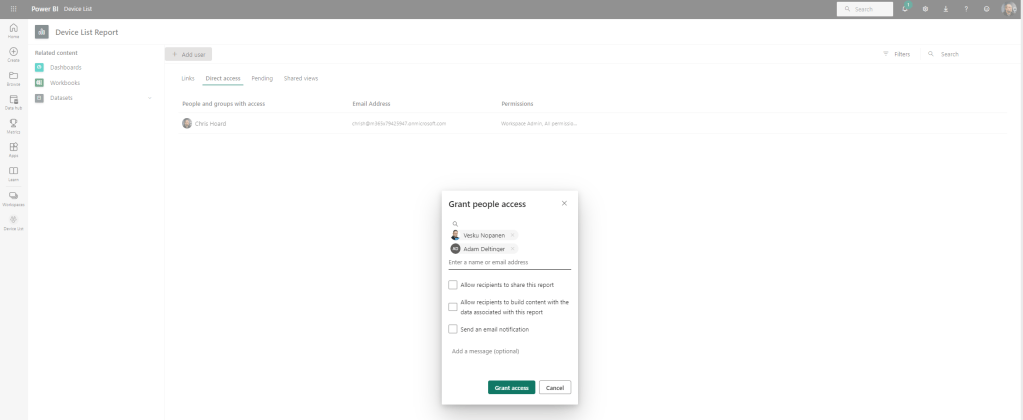
6.) Ensure you have shared your report with those who you want to see it in Teams. This can be done by clicking on (…) More Options and selecting Permissions on the report in the workspace.

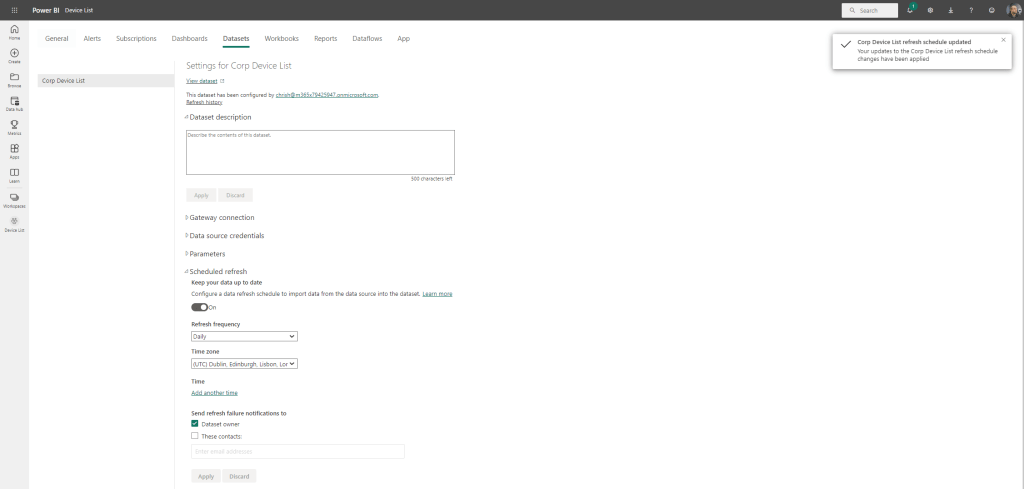
7.) Lastly – and importantly – you will probably want to ensure that the data stays current and up to date as the data in the list is changed. On the settings of the dataset ensure that a scheduled refresh is set up. This example updates daily.
GETTING THE POWER BI REPORT INTO TEAMS
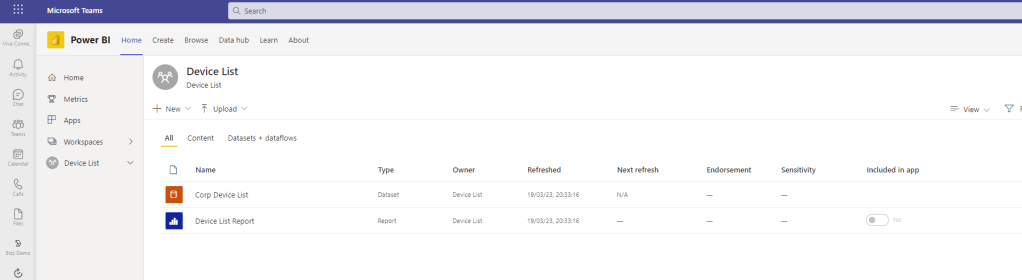
This should be where we need to be. The list is created. The workspace is created. The dataset is created. The report is created and edited. Permissions have been given. Let’s try a tab, then opening it in the app.
1.) In Teams Client, in the channel select + (Add)

2.) Search for, and select Power BI

3.) Open the workspace and select the report and then Save

4.) One report in the Tab in the channel. All good. Let’s go get it in the app.

5.) In the left app rail select (…) More Options and search and select Power BI

6.) Select the Workspace then the Report
7.) And there we go

8.) The Report can even be added as a favourite

9.) When the list is updated, as it is here when user Marco Rocca from Italy has been added, and the data refreshes, the reports will adjust accordingly in the Power BI Service and shows updated numbers 🙂


CLOSING THOUGHTS
Does this mean that I’ll switch back to using the Power BI Service instead of the Power BI Desktop App for Lists? Not at all. I like using the Power BI Desktop App and have become accustomed to using it the last 18 months. And we have to understand that there are still differences between the Service and the Desktop App. However, it is a big leap forward. We couldn’t do this previously, and I can imagine it will also help people who like to only use the service, or who don’t like dealing with PBIX files or connecting to the data. What I probably will do from this point on is choose what is the best and easiest way to author and share the reports depending on the complexity, whether I need to build reports off of multiple data sources, or use specific visualisations. Choice is always good.
