

This blog is part of a series on Teams. For more articles, check back often
Written: 04/06/2023 | Updated: N/A
My memory is a little hazy as I approach my 40th year on this earth next week! But it doesn’t seem too long ago that Teams was added into Defender for Office 365. And when I think of the two together, I typically think about Safe Attachments and Safe Links, and their application via built-in security policies, or through custom policies within the Microsoft 365 Defender Portal. But now – after Microsoft Secure a few months back – we have seen the introduction of ‘Collaboration Security for Microsoft Teams’. Sounds awesome. And I almost had to crack a smile whilst I was sitting there in that hotel room in Paris doing Secure since I actually worked on parts of it over recent months through inner ring testing without ever knowing what it was meant to be, or what the totality of it was. By definition CSMT is ‘the full feature set that customers use to protect their email environments across prevention, detection, and response to Microsoft Teams’. In other words its bringing Teams fully into it’s Extended Detection and Response (XDR) solution which is Microsoft 365 Defender, which correlates signals and alerts across others domains such as identities and endpoints. Why is this important? In the words of Microsoft ‘Attacks like phishing and ransomware that for decades have primarily used email as an entry point, are now also targeting users on collaboration tools with growing frequency’ which makes sense given that Teams is now used by over 300 million users worldwide – many of whom it is fair to say are not protected to the extent they could be. So who can use CSMT?, ‘If you are a customer of Microsoft E5, Microsoft E5 Security, or Microsoft Defender for Office 365 (Here meaning Plan 2, not Plan 1) you can take advantage of [this set of new capabilities] immediately and improve the security of your Microsoft Teams’. Very exciting then. Now this blog post was in fact meant to come out a month ago and was meant to be the lead off to a whole CSMT series: but a bug in my Ring 4 test environment meant I had to do attack simulation first. C’est la vie. We are going to enable CSMT and report a suspicious message for our security admins.
Let’s go
This blog will cover
- Enabling Collaboration Security for Microsoft Teams (CSMT)
- Ensuring that End User Reporting for Teams is enabled
- Ensuring that End User Reporting is enabled in the Messaging Policy
- Reporting a suspicious message
- Locating the submission in the Microsoft Defender Portal
Note this blog will have abridged steps which will assume some experience with Teams, PowerShell and a Microsoft 365 Defender environment. This will be used on Teams Desktop using a Ring 4 Test Tenant.
Prerequisites
- Security Administrator (Defender) Exchange and Teams Administrator (PowerShell), or Global Administrator permissions
- Latest Exchange Online and Teams PowerShell Modules Installed
- Microsoft 365 E5, E5 Security step up, or Microsoft Defender for Office 365 Plan 2
- This functionality is in preview at the time of writing and is liable to change
ENABLING COLLABORATION SECURITY FOR MICROSOFT TEAMS
The first step to using end user reporting of suspicious messages in Teams is to enable CSMT. CSMT cannot be enabled in the Microsoft 365 Admin Centre at the time of writing – it is in preview – so it needs to be enabled via PowerShell, and enabling it raises the tenant to be onboarded with Microsoft so to set expectations enabling it may not be immediate. Also to note that whilst one may assume that this operation is executed with the Teams PowerShell Module, it is actually executed using the Exchange Online PowerShell Module. However, once the service goes GA this first step will not be needed.
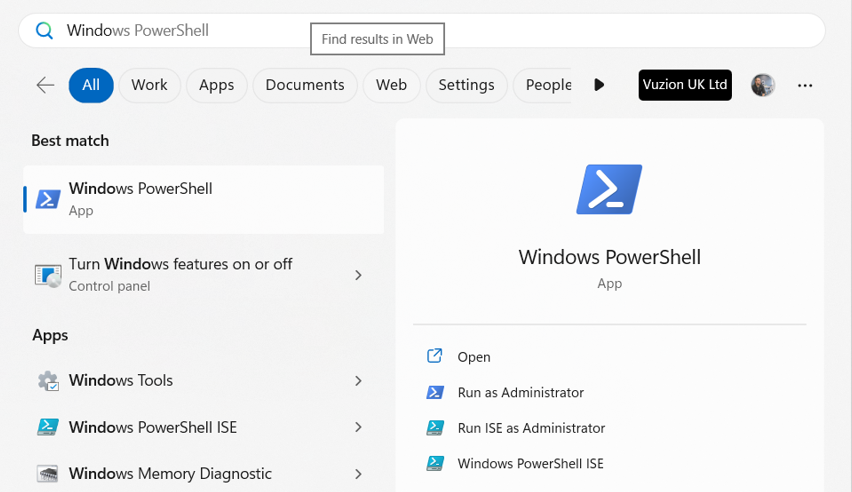
1.) On the Windows Desktop select Start then search for Windows PowerShell. Select Run as Administrator
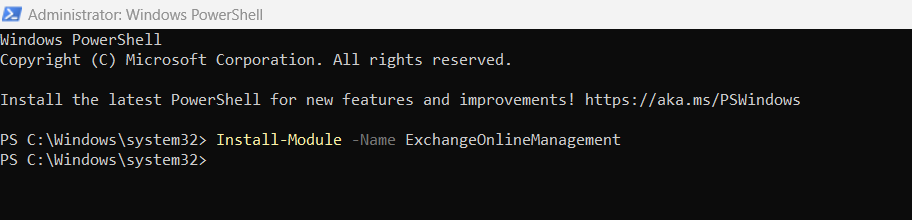
2.) Install the Exchange Online Module with
Install-Module -Name ExchangeOnlineManagement
3.) Connect to Exchange Online with
Connect-ExchangeOnline -UserPrincipalName <userprincipalname>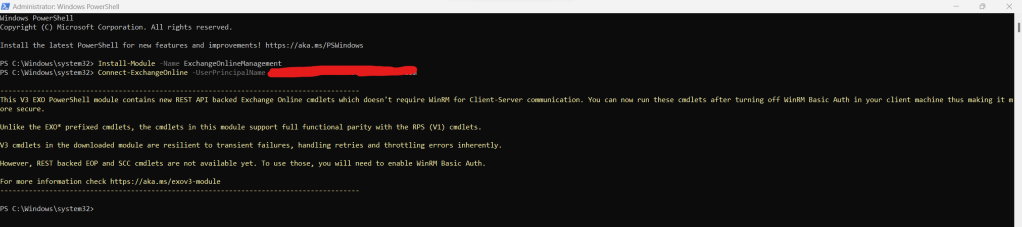
4.) Enable CSMT for onboarding with Microsoft with
Set-TeamsSecurityPreview -Enable $true
5.) You can check back on the status periodically by running
Get-TeamsSecurityPreview
ENSURING THAT END USER REPORTING FOR TEAMS IS ENABLED
Now that preview is enabled, we need to ensure that End User Reporting is enabled in the Microsoft 365 Defender Portal
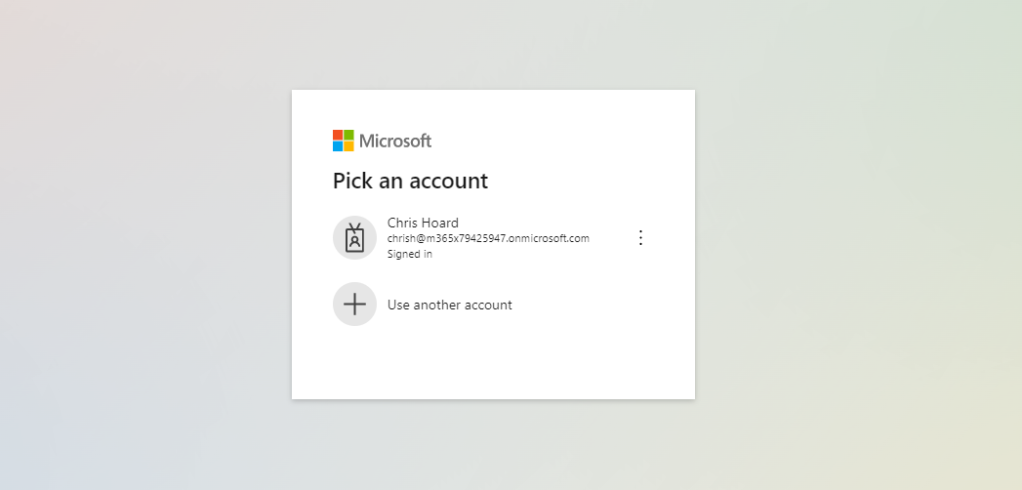
1.) Login to https://login.microsoftonline.com with administrator credentials
2.) Select Admin from the left app rail, or the waffle

3.) In the Microsoft 365 admin portal, select Show All from the left navigation and then select Security

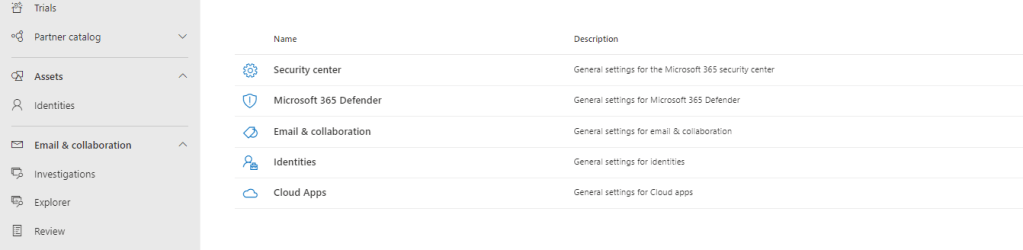
4.) In the Microsoft 365 Defender Portal select Settings in the left navigation

5.) Select Email and Collaboration
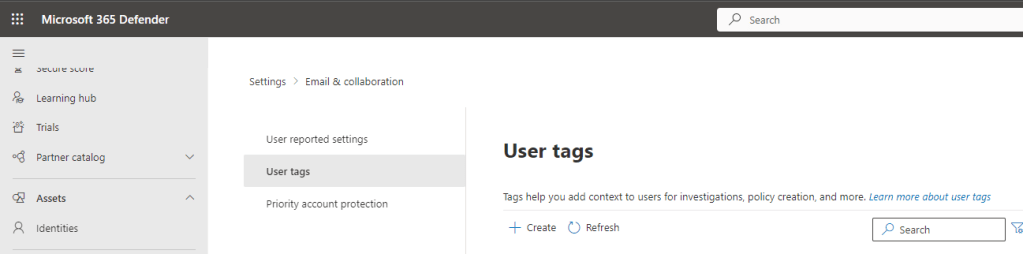
6.) Select User Reported Settings
7.) Scroll down and ensure Monitor Reported Messages in Microsoft Teams is ticked and select Save. Also set the reported messages destination at this point. This can be Microsoft, a mailbox of your choice, or both.
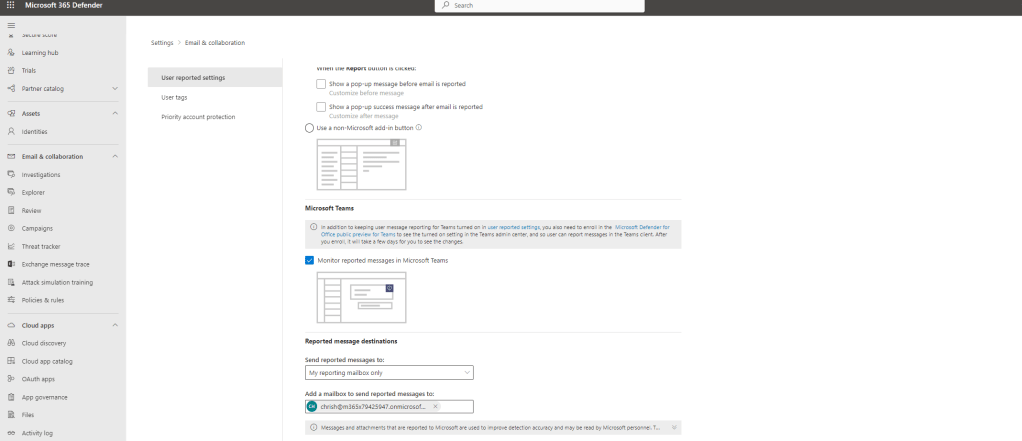
The Microsoft 365 Defender Portal is now configured.
ENSURING THAT END USER MESSAGING IS ENABLED IN THE MESSAGING POLICY
Now that CSMT has been enabled in Preview via Exchange Online PowerShell, and the Microsoft 365 Defender Portal settings for End User Reporting in Teams has been configured, we can now need to finish off by checking that reporting is enabled within the Messaging Policy of the Teams user (s) that end user reporting will apply to. If it is not on (it should be on by default) we can enable it in the TAC or via PowerShell – which we had to do initally since EUR wasn’t visible in the TAC early on. At this point, it will be important to check which Messaging Policies are being used by the organisation, and the users to apply the functionality to. If only a subsection of users require this functionality for example, then it would be applied to a custom policy as opposed to the global org wide default
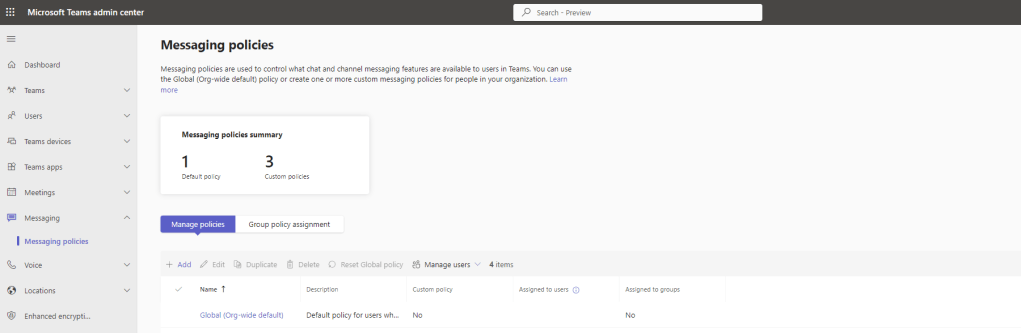
1.) Log into the Teams Admin Centre and select Messaging then Messaging Policies
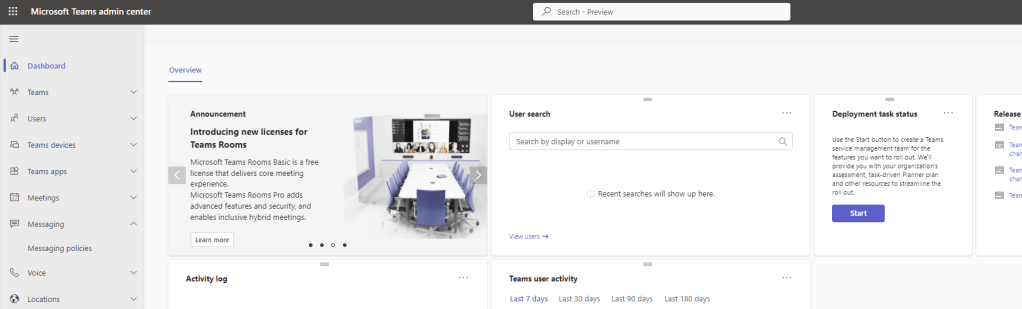
2.) Select the policy. This example will select Global (Org Wide Default)
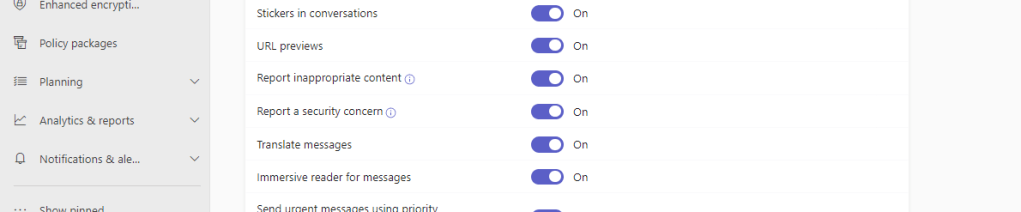
3.) Ensure Report a Security Concern is On and select Save. Note Inappropriate Content slider above is about Microsoft Purview and Communication Compliance whereas Security Concern is regarding Defender for Office 365. Have both on to report on both if both services are enabled.
4.) If you want to achieve this via PowerShell, connect to Teams with
Connect-MicrosoftTeams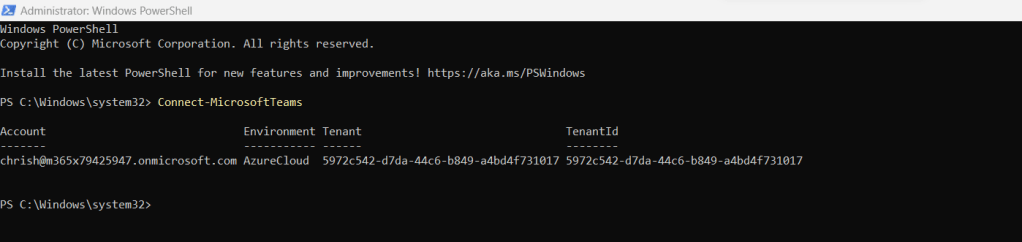
5.) Run the following to enable reporting in the Messaging Policy. This example uses the Global Org Wide Default
Set-CsTeamsMessagingPolicy -Identity Global -AllowSecurityEndUserReporting $true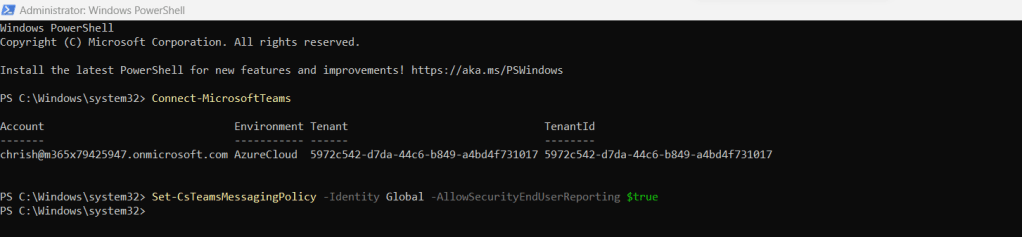
6.) Check back using Get to ensure that this setting is set to True
Get-CsTeamsMessagingPolicy -Identity Global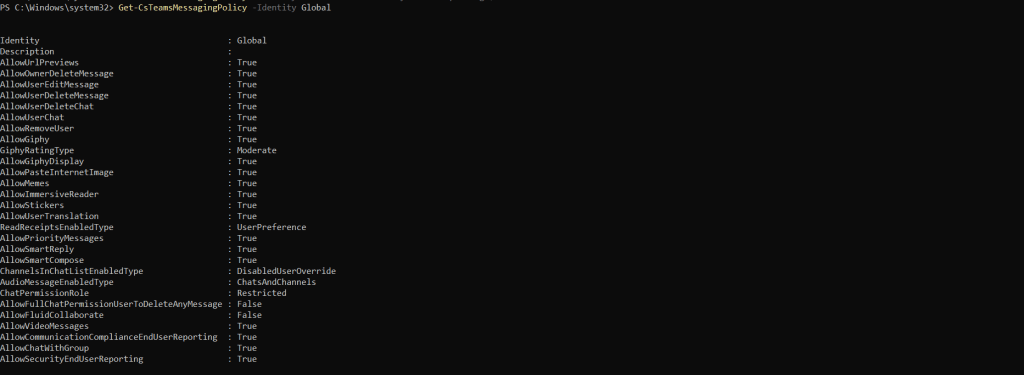
This may take time to propagate but we are now setup. The preview is enabled. The Microsoft 365 Defender Portal is set and the Teams Messaging Policy is set. As already covered above, ensure that all Messaging Policies are configured and applied to the users in the TAC or via Powershell.
REPORTING A SUSPICIOUS MESSAGE
Now that everything is setup we need to see the end user reporting in Action.
1.) Choose a message in a private chat, or a channel which looks to be suspicious.

2.) Hover over the message at the top right and select More Options (…) , then More Actions and then Report this Message
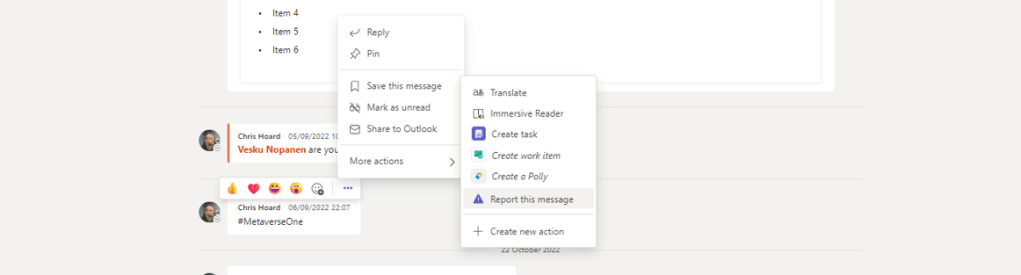
3.) Select Report to report the message as a security risk.

4.) The message has been reported to the organisations security admin

LOCATING THE SUBMISSION IN THE MICROSOFT 365 DEFENDER PORTAL
Finally we need to find the reported message in the Microsoft 365 Defender Portal
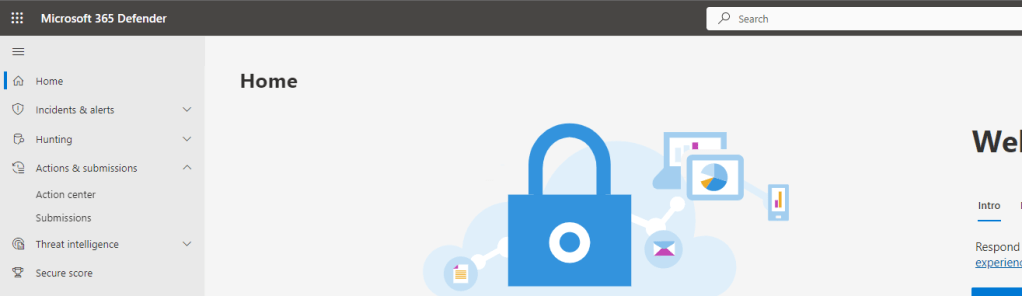
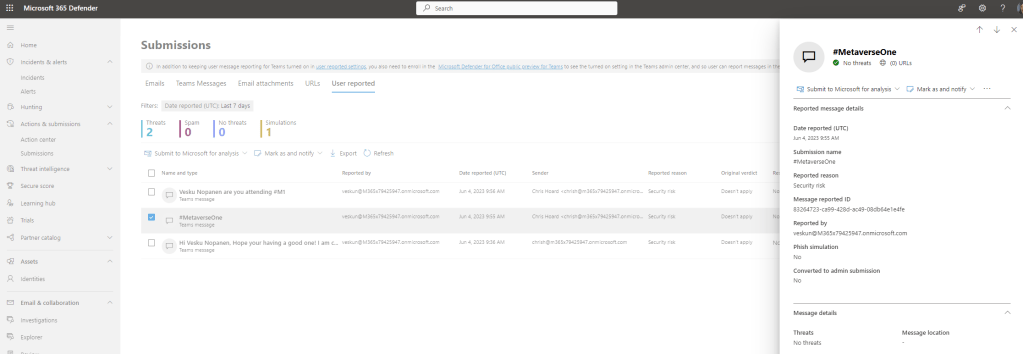
1.) Login to the Microsoft 365 Defender Portal and under Actions and Submissions select Submissions
2.) Select User Reported
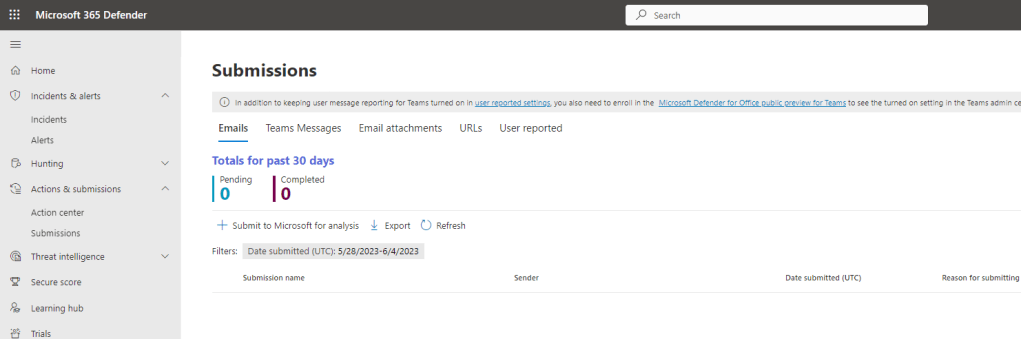
3.) The Teams Message is now visible and actions can be taken upon it such as Send to Microsoft for Review or Mark as a Phish

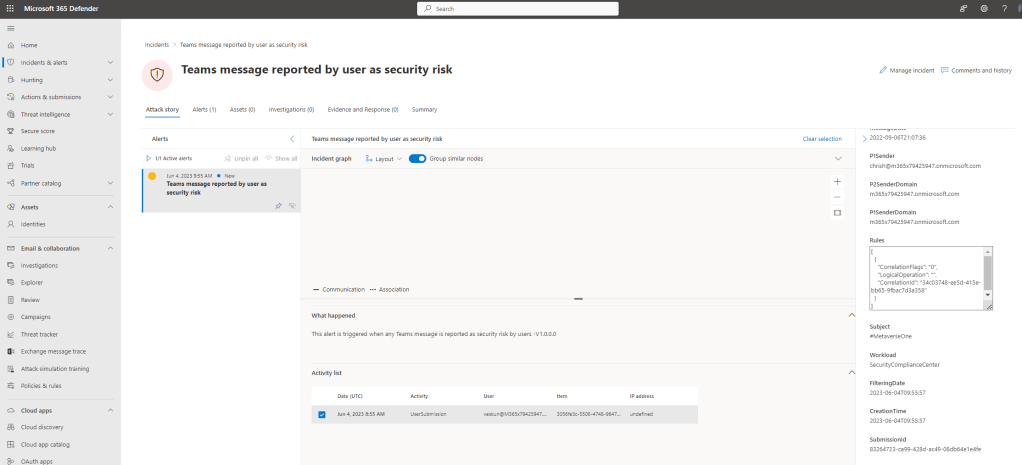
4.) It also appears in the Incidents and Alerts queue
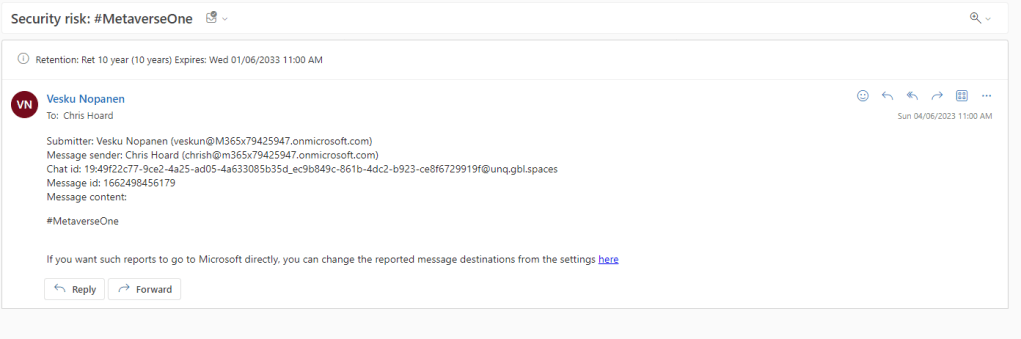
5.) Notifications go to the stated mailbox in Microsoft Defender for Office 365
This is just an introductory look at end user reporting and I am impressed by what I have seen in this simple setup. It will be interestering to see where Microsoft takes this in the next 12 months, and if we will see – for example, full integration with the explorer. But it is a great start, XDR in Teams and the ability for users to report on sight will help admins immensely in terms of identifying and detecting malicious attacks coming through our collaboration tools we use every day.
