
This blog is part of a series on Teams. For more articles, check back often
Written: 05/01/2022 | Updated: N/A
It’s been a fun week to get back after Christmas and the New Year. We’ve explored a bit about the meeting protection features in the new Teams Premium licence. We’ve looked at Watermarking. We’ve looked at End to End Encryption. We’ve looked at how these can be set with Custom Meeting Templates. Now, let’s take a look at Sensitivity Labels. Sensitivity Labels are designed to ‘Protect your organization’s data in a Teams meeting’. If you have ever administered Microsoft 365 then may be familiar with them in the context of Purview, and applying them to files, as well as to SharePoint Sites and Teams. I did a blog some time ago when they first came into Teams. In the context of a meeting, Sensitivity Labels really do two principle things. The first is that they classify the meeting. This is the function of the label itself and the name, much like a label on a piece of clothing. This would be, for example, creating a label called ‘Internal’ or ‘Confidential’ and this would display in the meeting, or on the associated calendar item in Teams and Outlook. The second is that it protects the meeting in terms of rights – what can and cannot be done – so it defines certain meeting options such as recording, and watermarking and end-to-end encryption – much like a meeting template, and it in fact takes precedence over the meeting template. But there are some other things too. Sensitivity Labels contains copy protection, which prevent the copying out of data from the meeting chat. It can also encrypt meeting items, responses and also attachments contained in the calendar items. So, all in all, this is super powerful and useful functionality. But there are a lot of caveats at the time of writing because it is so new: and whilst this subject is really too complex to drill into and analyse in massive depth in a single blog – nuances will certainly come out in the wash as we begin to use them, I’ll outline how to setup, and outline the major caveats in the FAQ. I’ll also explicitly call out the difference in configuring labels for Private Meetings and Channel Meetings.
Let’s go!
This blog will cover
- Getting Teams Premium Trial
- Configuring the Sensitivity Label for a Private Meeting
- Applying a Sensitivity Label to a Private Meeting
- Using a Sensitivity Label with a Custom Meeting Template
- Configuring the Sensitivity Label for a Channel Meeting
- FAQ
Note: this blog may have some abridged steps which will assume some experience with Teams. This blog is using a Ring 4 tenant with GA functionality. Teams Premium will be a trial sign up, but will soon be orderable via Microsoft 365 Portal or your CSP Partner
Prerequisites
- Global Admin for trial sign up. Global Admin or Teams Admin for TAC configuration. Global Admin or Compliance Admin for Purview configuration
- Microsoft 365 Licence for Teams for testing
- Teams Premium Trial Licence for users
- Ensure Teams Client is up to date on the latest version (1.5.00.34874 (64-bit))
GETTING TEAMS PREMIUM TRIAL
Ok, so the tenant I am using is not using Teams Premium so I will need a Teams Premium trial.
1.) Go to https://aka.ms/tpdlnk and login with the global admin credentials

2.) Select Start Free Trial. Currently in this trial only 1 licence is permitted

3.) Select Try Now

4.) Select Continue

5.) Wait a few minutes and the licence will be provisioned to the tenant. In the Microsoft 365 Admin Centre select Users then Active Users

6.) Select the User to assign the Teams Premium Licence to, then Manage Product Licences. Tick Microsoft Teams Premium and then Save Changes. All set up and ready to go.

CONFIGURING THE SENSITIVITY LABEL FOR A PRIVATE MEETING
Ok. Now the licence is assigned to the user we can go ahead and create our Sensitivity Label for a Private Meeting. There is differences for a Channel Meeting that will be covered later in the blog.
1.) In the Microsoft 365 Admin Centre, select Show All then Compliance from the left navigation

2.) From the left navigation select Information Protection

3.) Select Labels

4.) You should see labels already populated. Select Create a Label
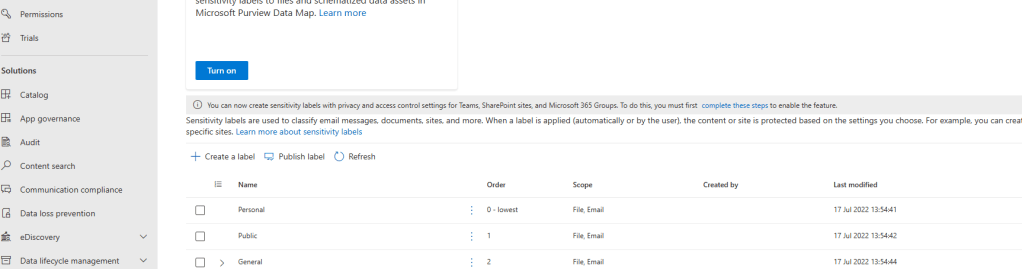
5.) The wizard begins. Select a Name, Display Name, Description to Users and Description to Admins, then select a Colour. In this example, I have called all Sensitive Meeting. Once done select Next

6.) Select Items and make sure the Include Meetings is checked.. Once done select Next

7.) Now you have the option of applying Encryption, Marking and Protection: these are defined in Teams Meeting terms as:
- Encryption: if you want to encrypt meeting invites and responses, and any Office attachment in that calendar item
- Marking: if you want to add headers or footers to meeting invites and responses
- Protect Teams meetings and chat: to display the label in Teams meetings and enforce Teams-specific settings for the Teams meeting itself and chat messages
This example I have selected all. Select Next

8.) First Encryption settings. In this example I have chosen to let users assign permissions when adding the label. I addition to encryption I have also set that the meeting cannot be forwarded. Select Next after setting the permissions you want

9.) Second Marking settings. In this example I have chosen to add a Header and Footer saying that the Meeting is Sensitive and the content is under NDA. I have not chosen a Watermarking in this context because this is Watermarking that refers to files, not the actual meeting, so I don’t need that here. Select Next after setting what you need.

10.) Third, Meeting and Chat Options. You can control meeting options for
- Lobby: Who can bypass Lobby. This example uses people who I have invited
- Present: Who can present. This example uses Organiser and Co-organiser
- Record: Who can record. This example is greyed out as End to End Encryption and Watermarking is on
- Record Automatically: If the record automatically starts. This is also greyed out due to same reasons
- End to End Encryption: If E2EE is enforced. In this example it is.
- Watermarking: If Watermarking is enforced. In this example it is
- Control Meeting Chat: This needs to be explained: by definition this can enforce chat to be on or off or allowed only during the meeting. This setting can be left unconfigured to be controlled by a template or the meeting organizer
- Prevent Copying to Clipboard: this prevents chat being copied to the clipboard. This example enables this
Once done, select Next. It is advised to carefully look at this section and ensure boxes are ticked and swipers are explicitly set to on or off, as these can easily be missed.

10.) Fourth, automatic labelling which doesn’t support meetings at the time of writing. This stays off and select Next

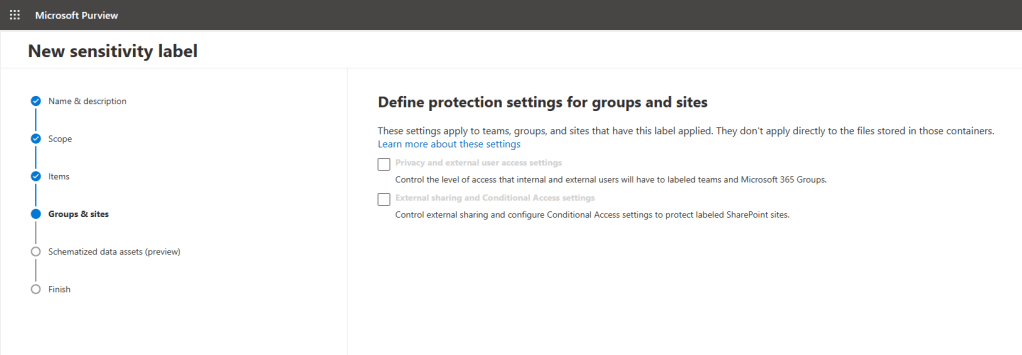
11.) Next is the Groups and Sites page. If this were a Sensitivity Label for a Channel Meeting this would be configured here but since we are doing a label for private meetings we don’t need to worry about this section and we can simply select Next
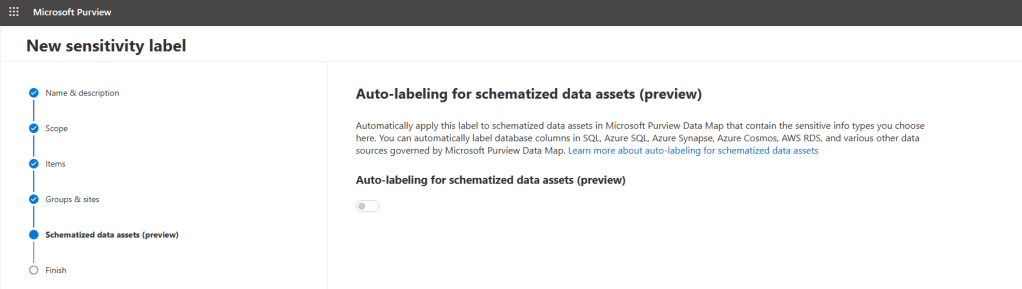
12.) Next is Schematized Data Assets which we don’t need to worry about and simply select Next
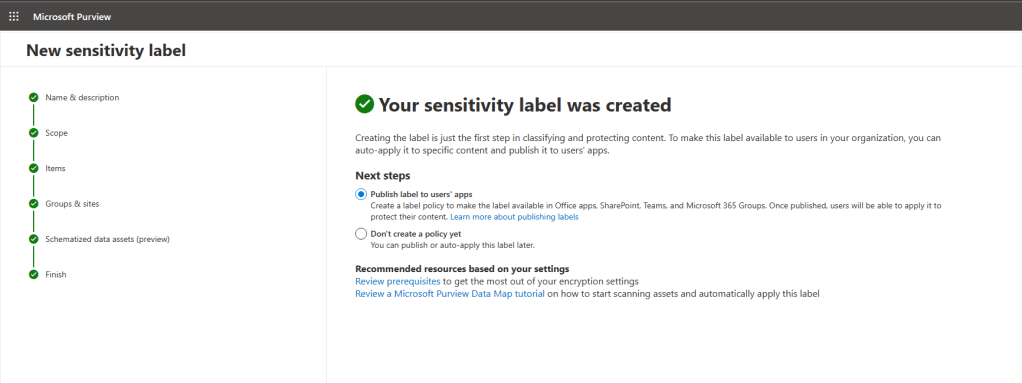
13.) Review the Sensitivity Label and select Create Label

14.) The label is created. But we now have to create the label policy and apply it to those with Teams Premium Licences. Select Publish Label to Users Apps and then Done
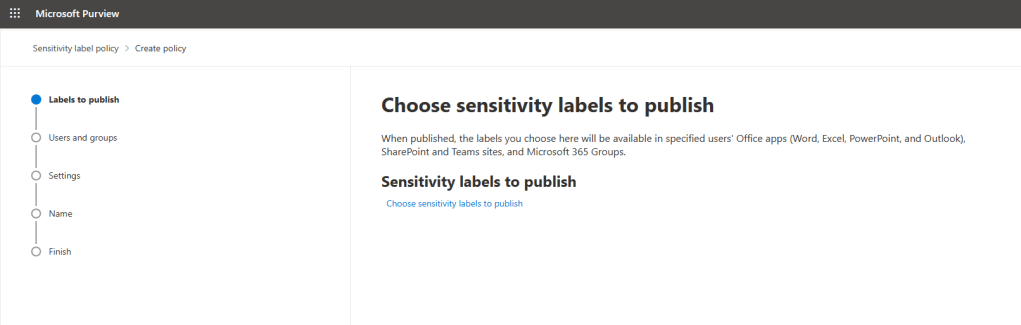
15.) Select Choose Sensitivity Labels to Publish, add the label just created and select Next

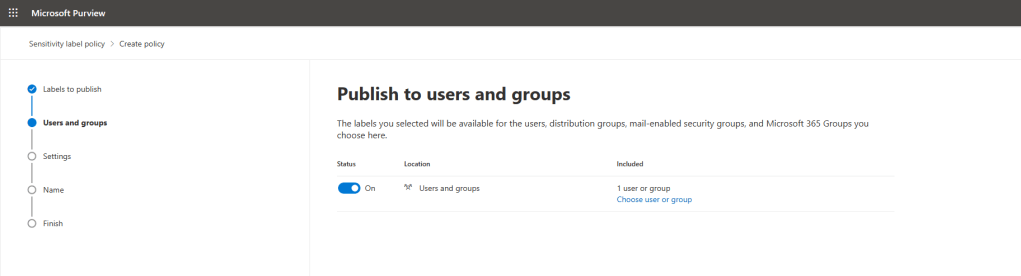
16.) Select who you want to add the label too. In this example I have selected just the user with the Teams Premium Licence. Select Next
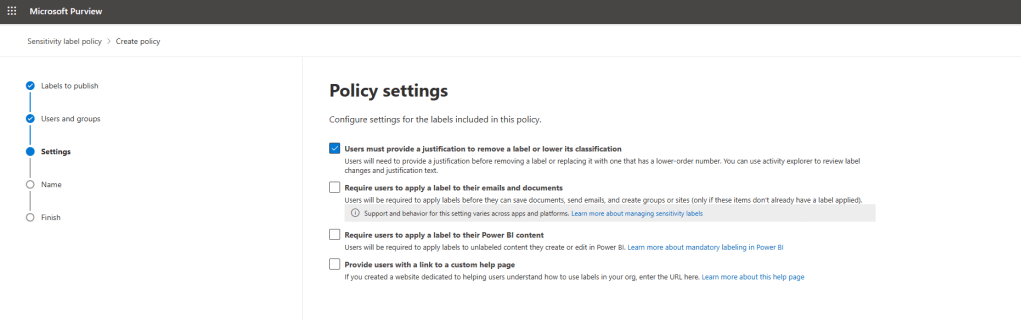
17.) Configure the policy settings and select Next. The only one used for this example will be to provide a business justification if the sensitivity label has been removed. Important Note: this justification upon removal isn’t supported today (See FAQ) and won’t work but if the functionality were supported I would want the label to have this.
18.) As part of this settings section you will also be asked if you want to apply default labels to documents, emails, meetings and Power BI and each one is a single screen. Applying defaults could be advantageous should you want to label up all items your users work with – or if you want specific settings scoped to items. In this example, I am setting the default label to none on all of them including meetings, giving the user complete discretion whether to add the sensitivity label or not. Once done select Next.

19.) Finally, give your label policy a name and description and select Next

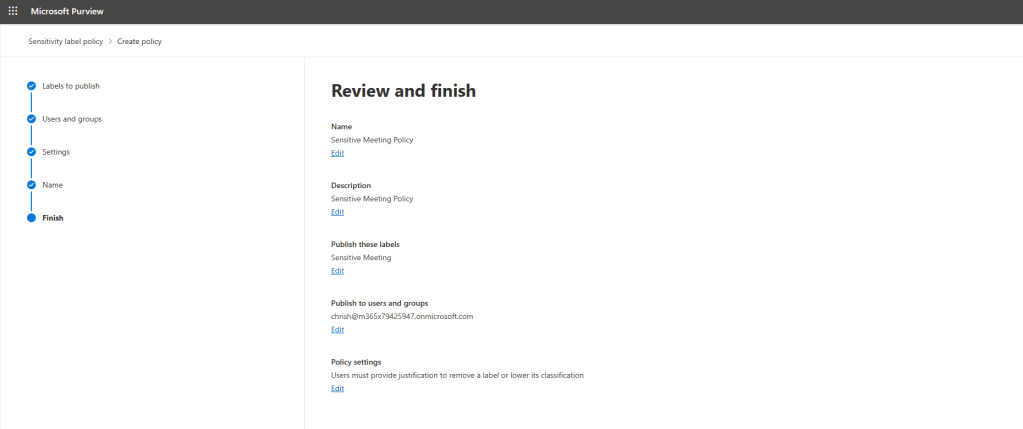
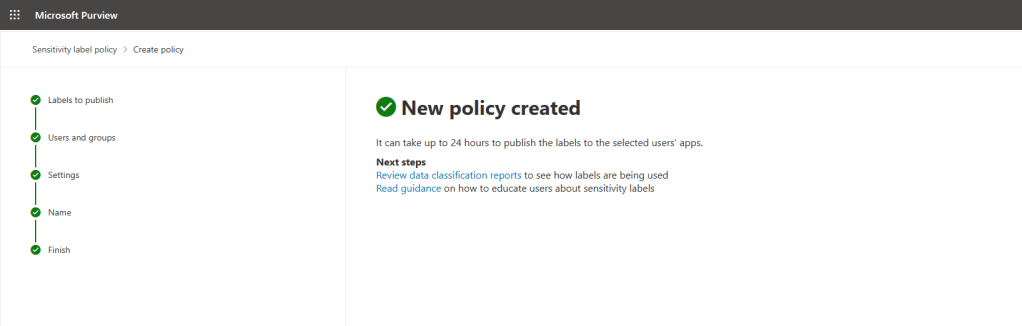
20.) Review and select Submit to finish
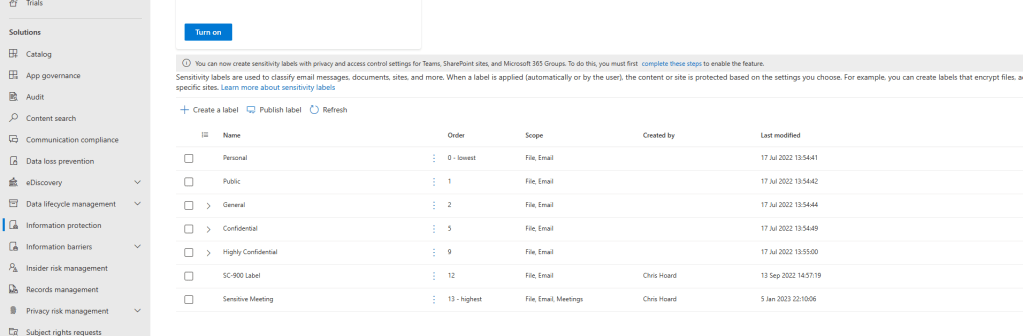
Congratulations. We have now created both the Sensitivity Label and the Label Policy and applied it to users with the Teams Premium Licence so they can apply that specific label in Private Meetings. We now begin the propagation period which can take up to 24 hours to surface. We can check pack in the Purview portal that both the label and the policy have been created. Here, it is shown that the label has the highest priority, and the policy has the highest priority. If you haven’t worked with Sensitivity Labels up to this point it is recommended to look into and learn about prioritisation and precedence.

APPLYING A SENSITIVITY LABEL TO A PRIVATE MEETING
Now that the propagation period has concluded, let’s go and configure a Sensitivity Label in a meeting.
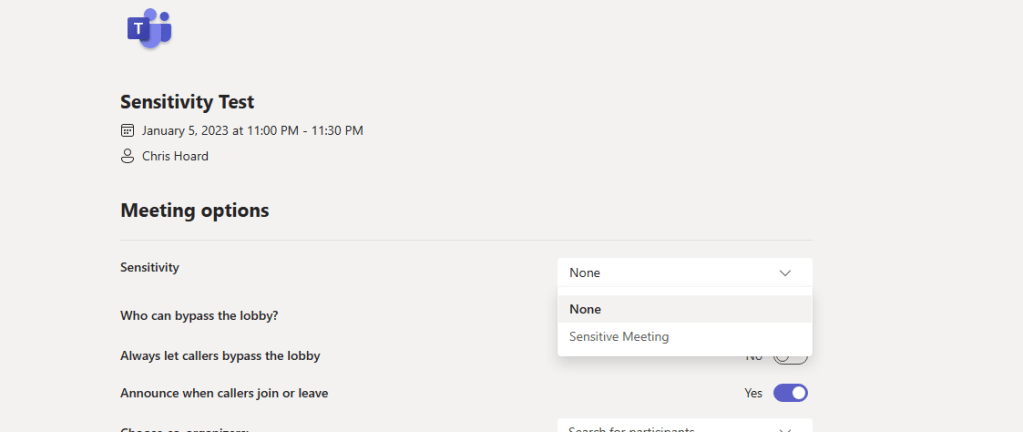
1.) In the Teams Client, or in Outlook, setup the meeting as usual, and then go to the Meeting Options

2.) In the Meeting Options the Sensitivity option will now appear, and the sensitivity label we created should also appear. Apply that and the meeting options will change per the settings in the sensitivity label. Select Done to apply
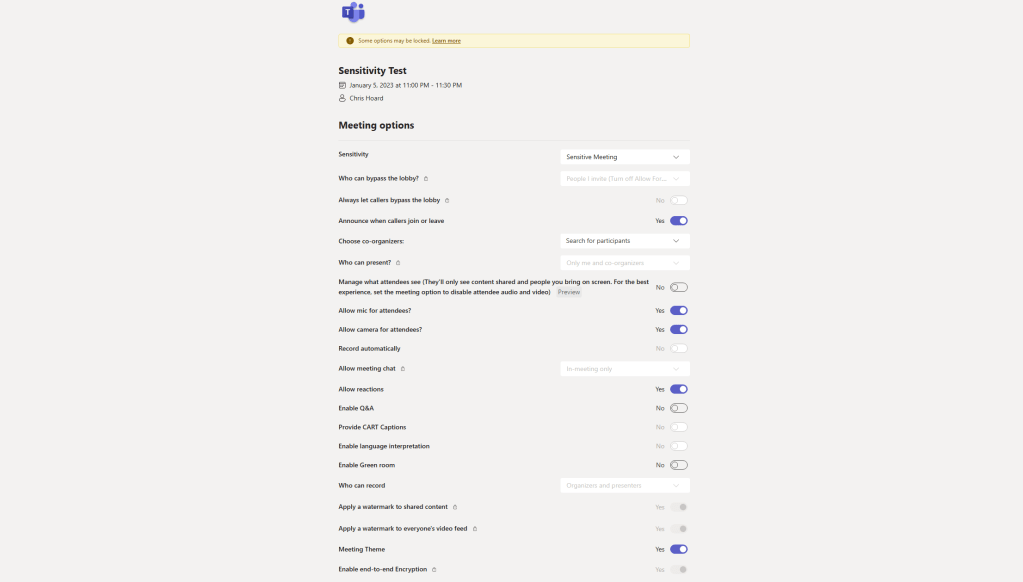
Signs that it has been applied is that the sensitivity will be shown in the meeting details at the top right – although faint. I imagine this experience will change over time and become far more explicit
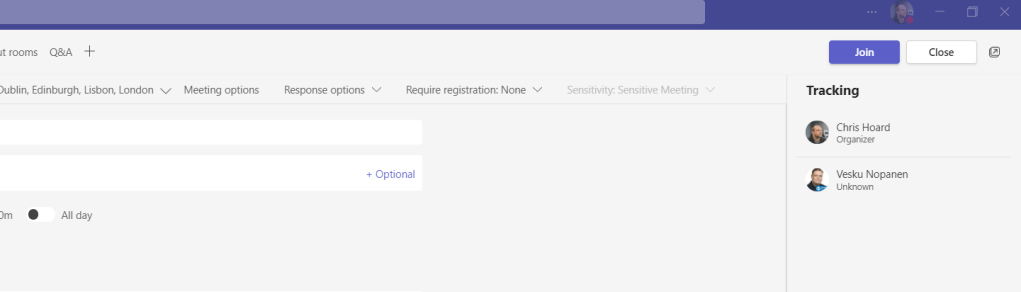
All the meeting options will be configured as set by the Sensitivity Label

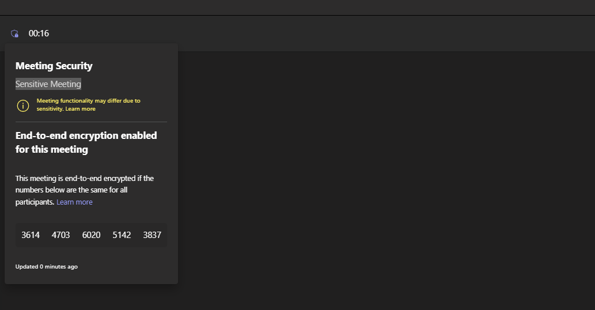
The Sensitivity Label will appear where the End to End Encryption details and Safety Number is – in the padlocked shield icon at the top left of the Teams client
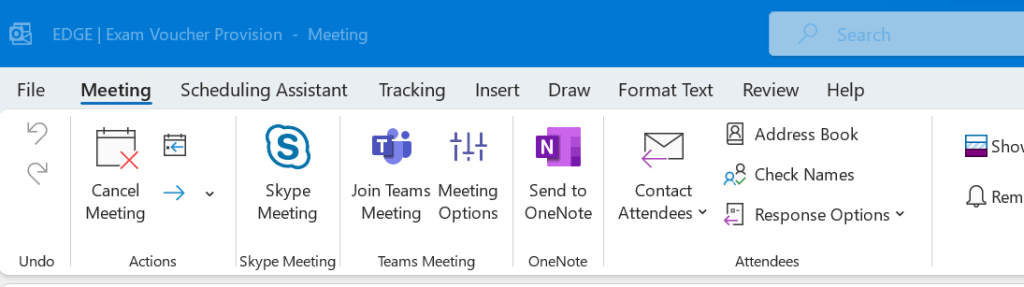
In Outlook it shows that the meeting is protected by MIP. Attendees will see the applied header and footer.

So all good, the Sensitivity Label for a Private Meeting works out. Further testing will be needed in the future on visibility and every setting including copy prevention
USING A SENSITIVITY LABEL IN A CUSTOM MEETING TEMPLATE
Now the label works, we can inject the sensitivity label into a Custom Meeting Template. I’ll use the one created yesterday in the Teams Admin Centre

The outcome of adding a sensitivity label to a meeting template is that the settings of the Sensitivity Label take precedence. Some people may wonder why would we use these two together? Because whilst each can cover certain meeting options, they both have slightly different scopes. Together we can aggregate it all. For example, Sensitivity Labels control copy protection, whilst Templates control camera and audio of participants. Both cover Watermarking and E2EE but Sensitivity Label overrides. By using a sensitivity label we are using something that can be used over many different meeting templates, but with templates we are making it easy for users to protect data based on Meeting Type rather than on Labels which can be an abstract concept to them.
I think together they are a winning combination.


CONFIGURING A SENSITIVITY LABEL FOR A CHANNEL MEETING
Finally, for admins who are creating labels we have to be aware that Sensitivity Labels for Channel Meetings are configured in a slightly different way to labels configured for private meetings. To do this, you would enable sensitivity labels for Groups and Sites via PowerShell. I covered this previously in a blog but it was some time ago so could have changed. Once labels for containers have been enabled, you would specify a default label to apply whilst creating the label. The caveats on this include: all channel meetings and chats inherit the associated label which can’t be changed by users, the item only appears when editing an existing label and the label’s scope includes items and meetings. As the more rigid of the two labelling methods, it really has to be thought about what kind of meetings are taking place in the channels in the team.

FAQ
Q.) Are there any types of meeting that Sensitivity Labels are not supported?
A.) Sensitivity labels are currently unavailable in Teams webinars and live events
Q.) What about Meet Now Adhoc meetings?
A.) Per Documentation –
- The following meeting options won’t take effect for a Meet Now meeting:
- Who can record
- Encryption for meeting video and audio
- Automatically record
- Video watermark for screen sharing and camera streams
- Prevent or allow chat
Q.) What clients are supported?
A.) At the time of writing, only Teams for desktop. Mobile participants can join, but not schedule, meetings with sensitivity labels. From testing, web does support the configuration of labels and the viewing of labels in the meeting details and options, however it may not support the functionalities applied by sensitivity labels such as end to end encryption.
Q.) Is Automatic Labelling supported?
A.) Not at the time of writing
Q.) What about Outlook? Just of clarify how these would be applied
A.) For Outlook, to be clear, applying, changing, and viewing sensitivity labels for meeting invites and appointments are supported with Outlook on the web, and with minimum versions of Windows and macOS. I would probably do this through the meeting options in Windows
Q.) What are the major limitations of Sensitivity Labels?
A.) These include: Labels configured for other languages aren’t supported and display the original language only. If the label policy includes configurations such as business justification upon removal, these aren’t currently supported and while a meeting is in session, a sensitivity label can’t prevent participates from inviting people to join by copying the meeting link, or by sharing via default email or the Outlook calendar. All the limitations can be seen here
Q.) So Labels and Meeting Templates cover different functionalities
A.) Yes. There is overlap between them – so for example both can apply end to end encryption. However, they do have different functionalities or scopes. Labels can apply encryption to the meeting invite, headers and footers, and copy protection of the Teams Meeting chat, whereas Meeting Templates can set the video and audio permissions (hard mute) of attendees. Using them together will produce the best result in terms of control and security
Q.) I don’t see options in the Meeting Template for Sensitivity Labels. What do I do?
A.) If you don’t see an option in the meeting template it is because a label either hasn’t been created, the label hasn’t been assigned to a policy, or the policy doesn’t include the user. It could also be that the user doesn’t have a Teams Premium licence
Q.) As the meeting organiser I don’t see headers or footers applied by the sensitivity label
A.) Correct, it’s a limitation and only recipients/attendees see this
Q.) Can the Sensitivity Label be changed in the meeting?
A.) At the beginning of the meeting, meeting options from the sensitivity label are enforced. Per documentation, if the label is changed in Outlook the meeting settings will not change during the meeting, and if the meeting is part of a series it won’t change until the next meeting. If it is changed in Teams some settings will change but some won’t. Recording, End to End Encryption, Watermarking and Prevent/Allow Chat won’t change
Q.) Any limits on copy protection?
A.) At the time of writing, copy protection is available to attendees inside the organisation – but also – and documentation has been updated by MVP Christian Jernqvist Bergström who has tested this in depth, guests. It does not apply to externals/anonymous users. For Teams on the web, the prevent copy to clipboard option isn’t supported for all browsers, such as Safari and Firefox
Q.) If Encryption is applied to the meeting invite, what happens?
A.) If recipients aren’t using an email client that can decrypt this meeting invite, they’re directed to Outlook on the web or the encryption portal where they can read the invite and access the meeting link
Q.) So what do you think of the new Sensitivity Labelling Feature?
A.) I think it’s excellent. I think it looks complex at first but understanding how it works with templates (which is outstanding integration), and what the caveats are will help you to use them in the right context. It is important to know the limitations so there is an educational piece around them, but some of these limitations will change over time. I expect much fuller functionality in 6 – 12 months as it develops and the gaps are filled in.
Q.) How will you use them in reality?
A.) I will use them either through setting up the meeting in Outlook and applying Meeting Options, or using Custom Templates in Teams via the Calendar app. But the nirvana would be using custom meeting templates in Outlook 🙂
