

This blog is part of a series on Teams. For more articles, check back often
Written: 18/01/2022 | Updated: N/A
Today has been a good one. A lot of security – Defender for Cloud, Defender for Servers, a bit of Sentinel then a bit more Defender for Cloud. A tidy up of the old DevOps tasks for the UX. Nice. So I thought I would spend this evening chilling out and putting on those a few Jeff Beck classics like Wired and There and Back. Closing down my Ring 4 tenant I noticed that it was finally there: the new Viva Home experience has landed. Now I don’t mind telling you that I have had the PowerShell in place for about two or three weeks, and I have been checking back every single day because I have been looking forward to this ever since it was announced at the launch event prior to Ignite back in 2022. Before I implemented the PowerShell, or should I say before I became aware that it was executed on the command line – should a home site already exist in Viva Connections I spent hours – and I mean hours on a wild goose chase to see what could change it. Site Settings. The Microsoft 365 Admin Portal. The new Viva Admin Portal. You name it. For all new implementations of Viva Connections – as in never used before – the Home Experience should be there by default. But if you already have a Home Site transition is possible using PowerShell. Now, before we get all gung-ho, we may not want, or need, or have any inclination to move to the new Home Experience. That’s fine – because should you not like it you can always switch back to the Home Site using PowerShell too. We’ll cover this. But just a disclaimer on this one. I imagine that some organizations’ Home Sites used for Viva Connections could be quite rich given that SPO Home Site configuration has been around for a while now. I want to say eighteen months but maybe it’s two years. There could very well be some reconfiguration to be done when the transition via the shell is complete. For me, that rebuild/redesign and the sprints that inevitably result is all interesting work for the latter half of the week. But just a heads up, you may want to test it all out in a dev environment first – but all the better knowing we can reverse course.
Let’s go.
This blog will cover
- Getting the Home Site URL
- Configuring SharePoint PowerShell
- Transitioning to the Viva Home Experience
- Transitioning back to the Home Site
Note: this blog may have some abridged steps which will assume some experience with Teams, Viva and SharePoint. This blog is using a Ring 4 tenant with GA functionality
Prerequisites
- Tenant is on Targeted Release
- Viva Connections is set up with a SPO Home Site Configured
- SharePoint Administrator or Global Administrator for PowerShell
- Microsoft 365 Licence for Teams and Viva Connections Testing
GETTING THE HOME SITE URL
Within Teams, this is the SPO Home Site within the Viva Connections app that we are going to change into the new Viva Connections Home Site Experience. I have used this in previous blogs.
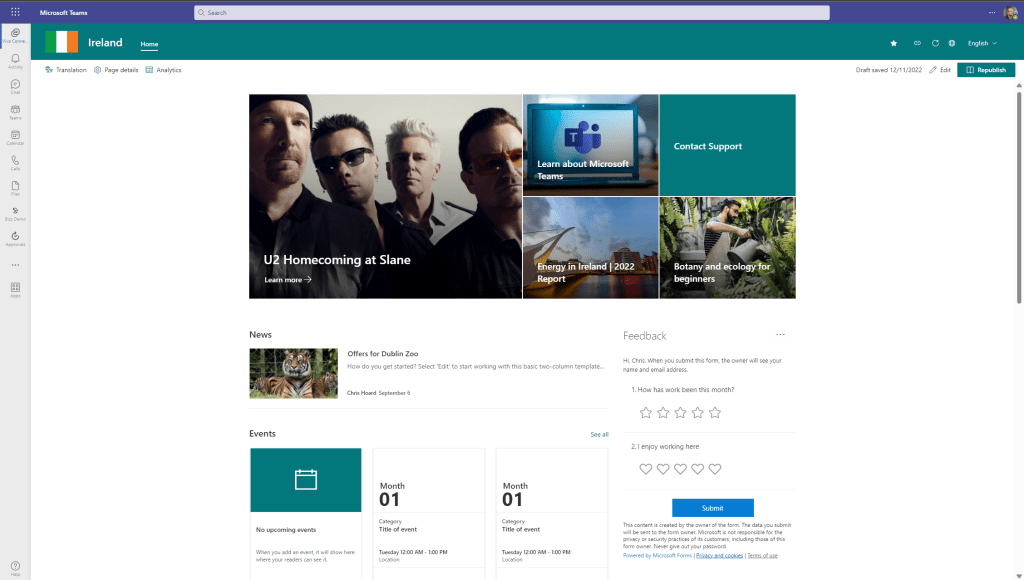
The first thing we need to do is get the Home Site URL as we need it for the PowerShell Command
1.) Select Go To Website (Globe Icon)

2.) Grab the SPO Home Site URL which in this example is https://m365x79425947.sharepoint.com/sites/Ireland

CONFIGURING SHAREPOINT POWERSHELL
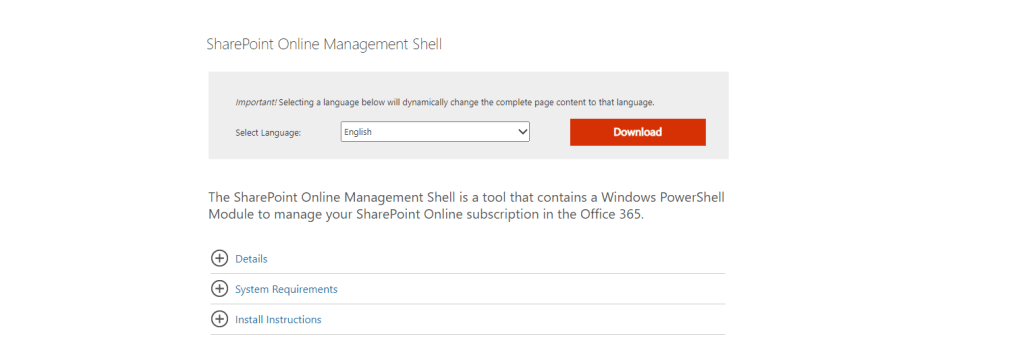
Now we have the URL, we need to install the latest version of SharePoint PowerShell
1.) Go to https://www.microsoft.com/en-us/download/details.aspx?id=35588 and select Download
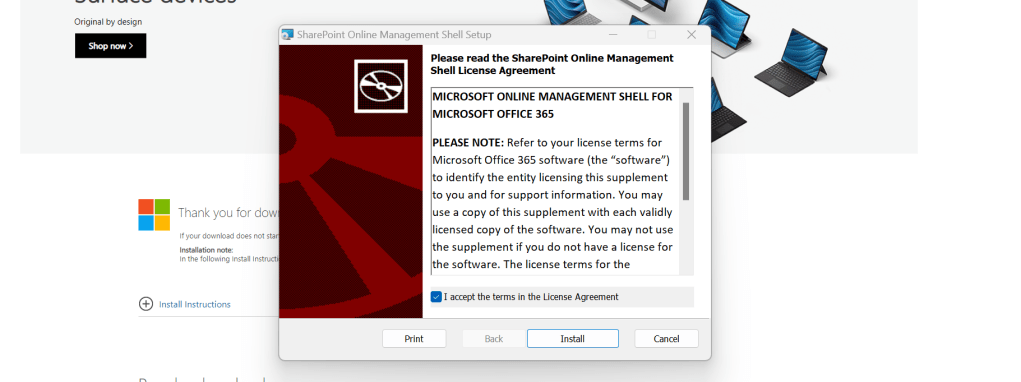
2.) Open the download, follow the instructions and Install
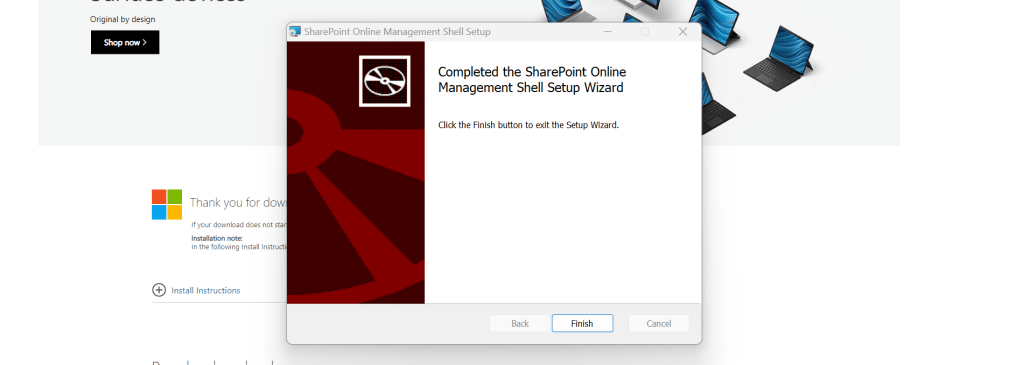
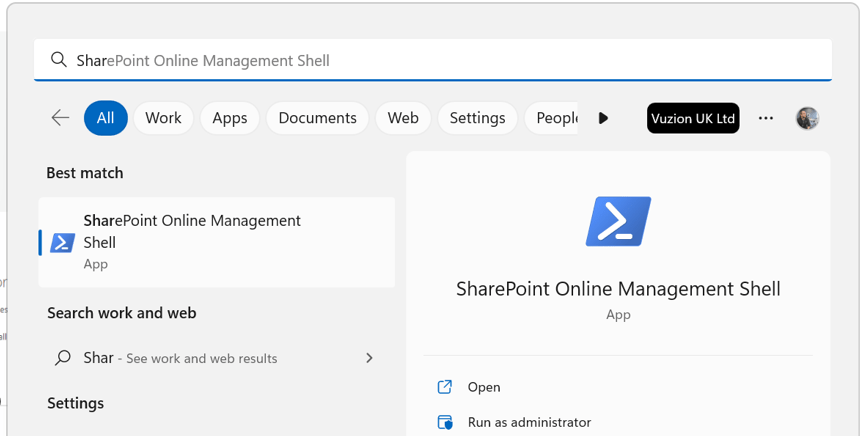
3.) From the Windows Start Menu search for SharePoint Online Management Shell and then Run as Administrator
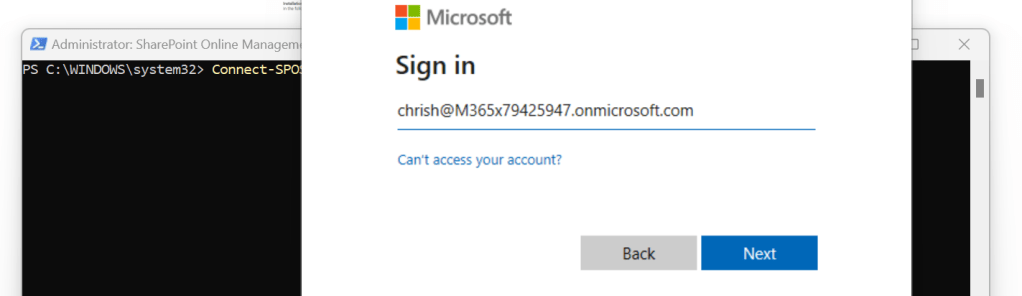
4.) Enter the following command
Connect-SPOService -Url https://$orgName-admin.sharepoint.com
5.) Authenticate with Administrator credentials
6.) Ready to go

TRANSITIONING TO THE VIVA HOME EXPERIENCE
Transitioning to the Viva Home Experience is straightforward given you know the SPO Home Site URL
1.) Use the following command
Set-SPOHomeSite -HomeSiteUrl <homesiteURL> -VivaConnectionsDefaultStart <$true/$false>Note that the command is false because it is saying that the existing SPO Home Site will no longer be used for the default start and that the landing should be the new Viva Home Experience. Also remember to use quotation marks around the URL, as in:
Set-SPOHomeSite -HomeSiteUrl "https://m365x79425947.sharepoint.com/sites/Ireland" -VivaConnectionsDefaultStart $false
2.) Select Y (Yes) to Confirm. Once done, the value specifies that the Viva Connections Default Experience is set to False and this may take ‘some time to apply’

3.) Ratify this using Get-SPOHomeSite which should now be set to False

4.) Wait for the propagation and the New Viva Home Experience is here in Viva Connections

TRANSITIONING BACK TO THE HOME SITE
Should you wish to transition back to the SPO Home Site then the command for doing so is similar to the above, however you change the parameter to $True, as in
Set-SPOHomeSite -HomeSiteUrl "https://m365x79425947.sharepoint.com/sites/Ireland" -VivaConnectionsDefaultStart $True
Again, propagation time should be expected.
Happy Transition, and rebuilding. I am off to go listen to Jeff ✅
