

This blog is part of a series on Teams. For more articles, check back often.
Written: 17/02/2020 | Updated: N/A
In part 1, we explored adding Metadata to files in Teams through choice columns. This time around, we’ll look at adding what is called managed metadata via the Term Store. In SharePoint, the Term Store can be thought of as a collection of term sets, each set containing metadata labels that can be used and applied to files in any SharePoint Site or Site Collection, so any Team or Channel. Therefore, they can be thought of as being managed centrally or ‘managed metadata’ unlike choice columns which are created on a site by site basis by members of the Team. This saves significant time for Team Owners and members who want to use the same metadata labels across Teams. Like choice columns, Managed Metadata is configured within SharePoint as opposed to Teams itself
WHY WOULD WE DO IT?
- For the structure and organisation of the Teams files
- To make the Teams files more easily searchable and discoverable
PREREQUISITES
Users need Teams and SharePoint licences – usually via Office/Microsoft 365
SharePoint Admin or Global Admin permissions are needed to access the Term Store and add via the SharePoint admin centre. User needs to be an Owner of the Team to access the Term Store Management and setup groups. Owner can go on to set permissions on who can access and edit the group and Term Sets within the group
HOW
1.) As the administrator (SharePoint or Global), login to https://login.microsoftonline.com
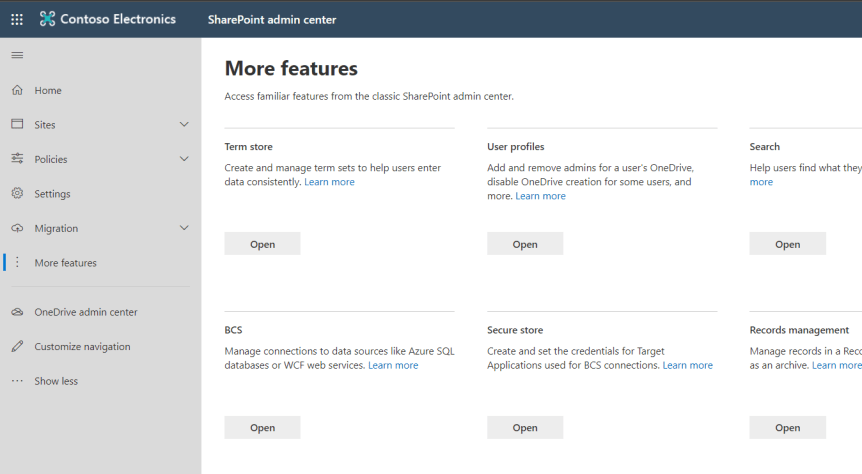
2.) Select Admin

3.) Select SharePoint

4.) Select Open on Term Store
5.) Add the administrator to the Term Store Administrator and select Save

6.) In Teams, pick the Team to begin with, select Files and then Open in SharePoint

7.) Select Site Information
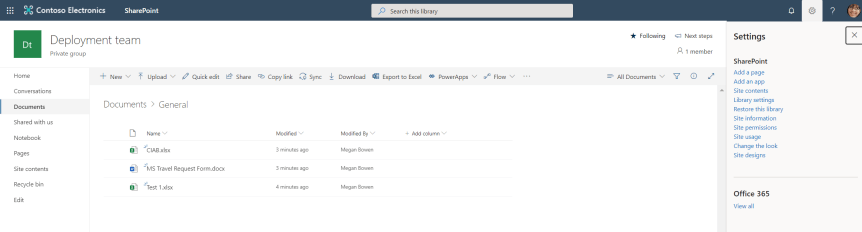
8.) Select View All Site Settings

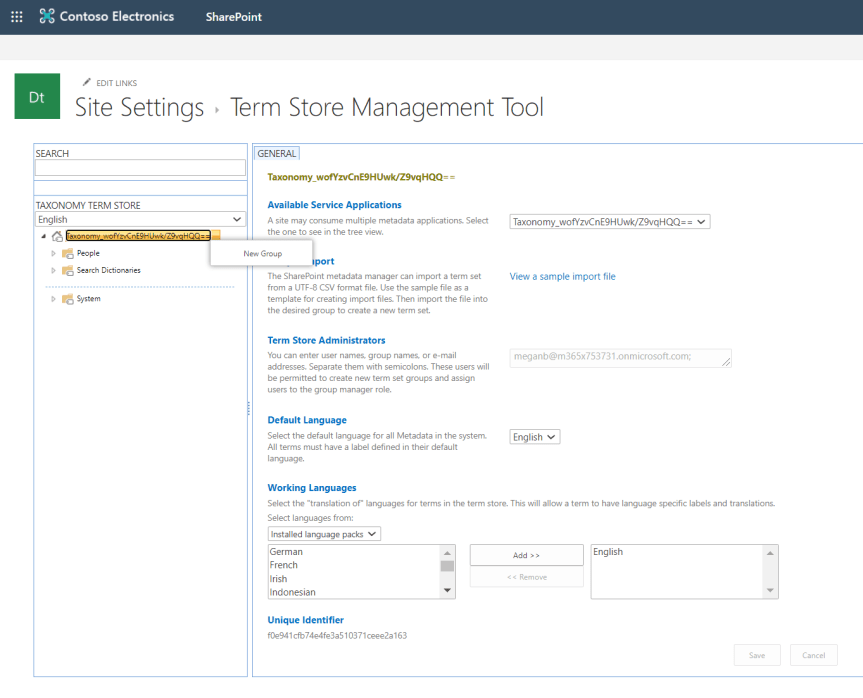
9.) Select Term Store Management under Site Administration

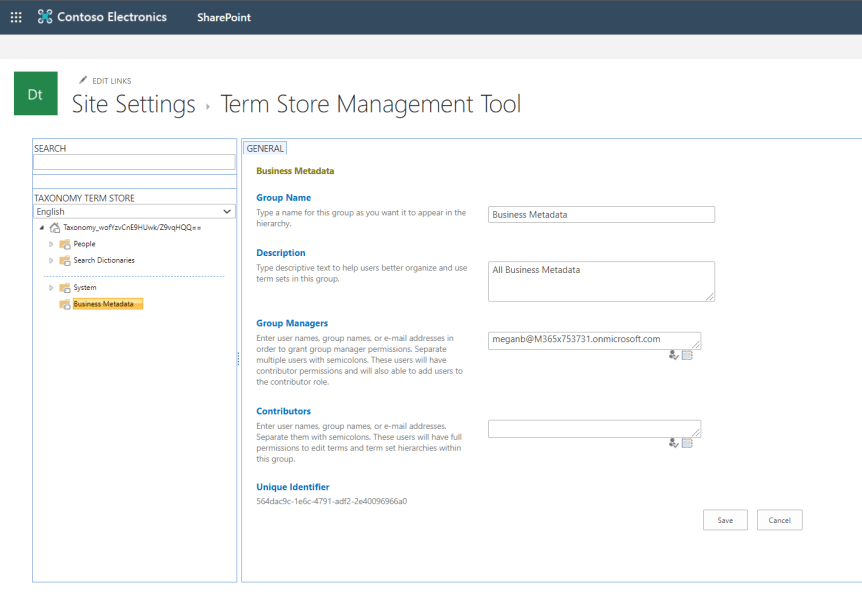
10.) The Term Store is currently empty. Right click on the root and select New Group. Groups are used to store and organise Term Sets – sets of metadata labels.
11.) Enter the name for the group. In this example, it has been called Business Metadata as it will be a single group to contain all the Term Sets, and all the Metadata labels within those Term Sets. Add a description and permissions on who can manage and contribute. Select save
12.) Right click on the group and select New Term Set
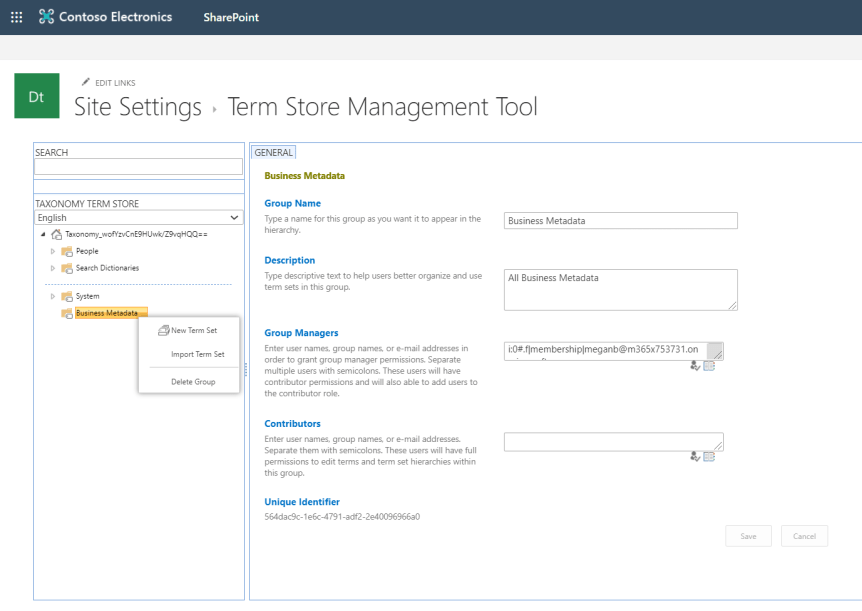
13.) Enter the name for the Term Set. In this example, it has been called All Metadata as it will be a single Term Set, and will contain all the terms/labels for the business. Add a description, contacts who will be notified for new suggestions, stakeholders who will be notified of changes if required, and define a submission policy. Select save

14.) Right click on the group and select Create Term

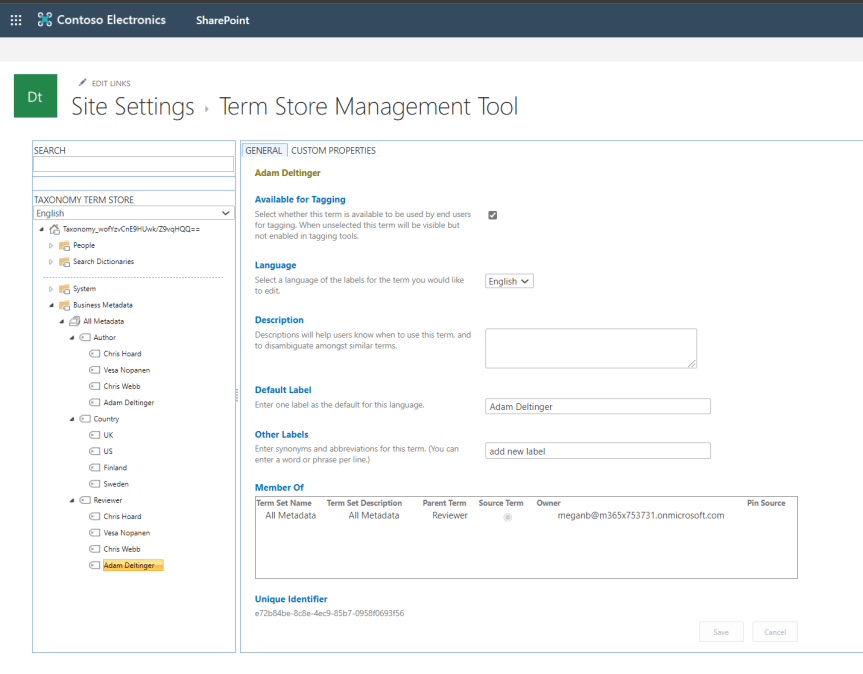
15.) Enter the name for the Term/Label. In this example, it has been called Author for all the authors in the business who author documents. Select save

16.) All the Authors can now be added as terms/labels under the original term. Repeat steps 14-15 until the terms/labels are as required. In this example, the three root terms have been defined as Author, Country and Reviewer and the metadata labels have been defined under each
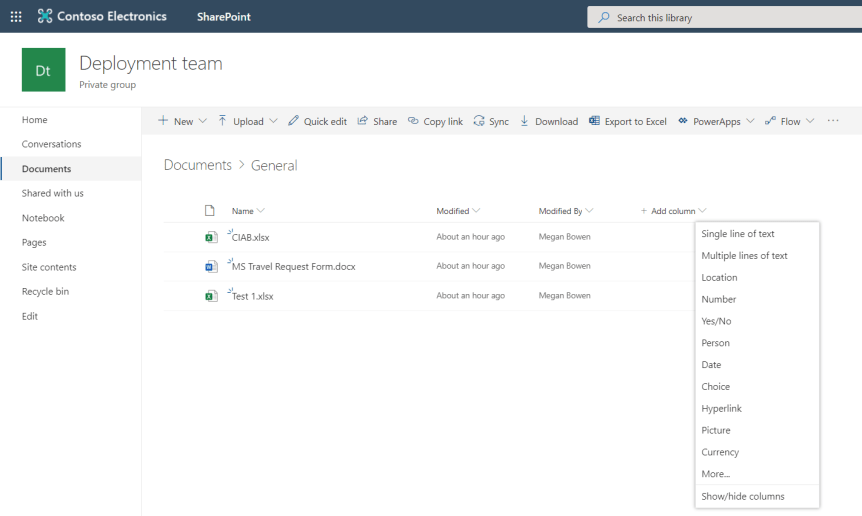
17.) Return to the document library and select Add Column then More
18.) Set the Column Name and Description. Select Managed Metadata and require that this column contains information. Link the column to the the appropriate Tag within the Term Set Settings – here the Column Author has been linked to Term Author which should display all the tags underneath it as set in step 16. Once done, select Ok


19.) Repeat steps 17-18 to build out columns linked to the managed Metadata. Once done, return to the document library where metadata is now required. It should also surface within Microsoft Teams

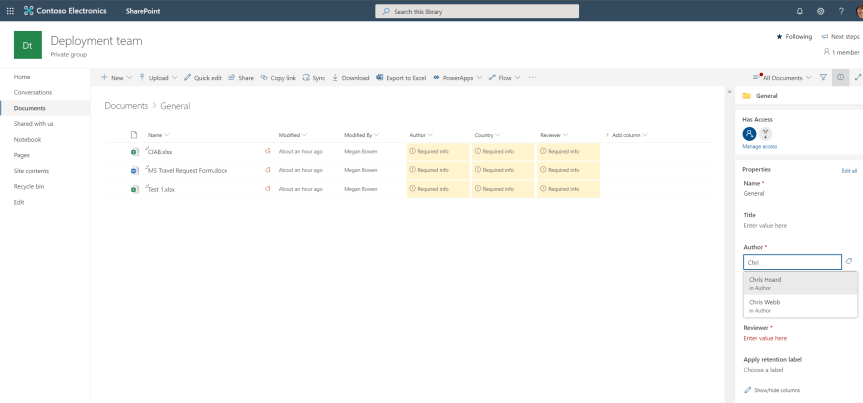
20.) Complete the Metadata within the SharePoint site. Metadata choices within the site are by suggestions when typing as opposed to given options as when created through choice columns. These will then be surfaced into Teams
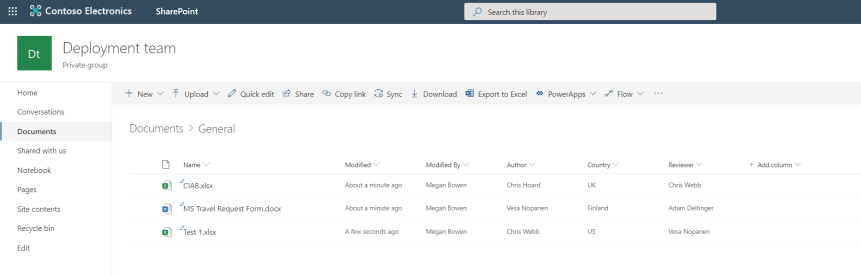

Some of the benefits include sorting by group
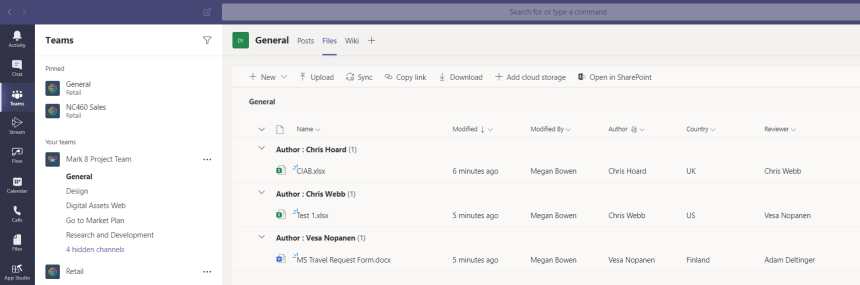
And viewing by tiles

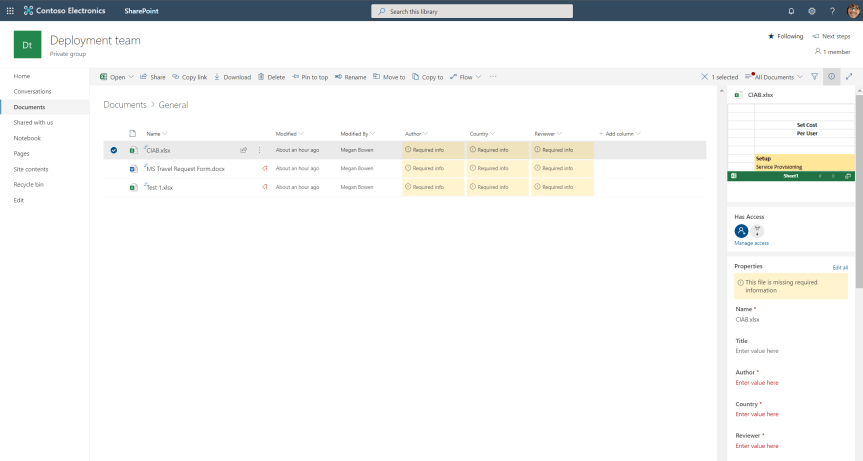
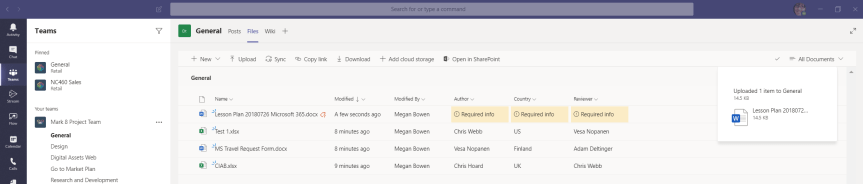
Uploading a new file will result in Teams highlighting that there is missing metadata, which can be sorted in the top right view files needing attention

Our job here is done
Managed Metadata provides a convenient way to add metadata without having to create choice columns for every site or site collection. Whilst owners who manage teams may need training in otder to use managed metadata when creating columns in their site libraries, or adding terms if they are contributors, this would cut down on inconsistency between Teams by using standardised term sets. The benefits of using managed metadata also include suggestions when adding, being able to import a Term Set via CSV and being able to build the entire Term Store from the SharePoint Admin Centre if management is completely centralised
Here, it’s been implemented in a really simple example – but more complex Term Stores can be created with multiple term sets defined by permissions. For example, Term sets can be created per department, or per business function.
This is, of course, only the start of the enhanced file experience. Like choice columns, it would be good to be able to enter the metadata within Teams itself as opposed to having to do it in SharePoint. At some point in the future, it would also be good when Teams are created to automatically create them with specific columns or create columns based upon managed metadata within the Teams client. I am confident that these functionalities will surface in the future
No doubt, the ability to work with files in Teams has never been greater. It’s been a great development by the Team and one that I intend to work with moving forward
