
This blog is part of a series on Teams. For more articles, check back often.
Written: 13/07/2019 | Updated: N/A
Teams is the collaboration hub for our needs. We can chat, we can share files and we can create wiki’s to share our knowledge to the Team. Another way we can collaborate is with video. As a Microsoft Certified Trainer, I can add sites such as Pluralsight and Udemy as Web Tabs within the Team, but I can also build video channels with my own content and make this easily available. Creating channels are also effective in scenarios such as introductory videos, meetings and if I saw a great video on a site like YouTube, but don’t want the team members to go specifically to that site. It’s all about bringing the rich content to them.
WHY WOULD WE DO IT?
- To share video with the Team
- For training purposes
PREREQUISITES
The following is required
- Teams licence
- Stream licence
Usually both are within an Office 365 licence. The user does not need to be an Owner of the Team (just a Member) but should have permissions to create Tabs. They should also have the ability to create channels in Microsoft Stream.
The accepted formats and codecs for Stream is here
HOW
NOTE: Recorded meetings in Microsoft Teams are automatically uploaded into Microsoft Stream and will appear in My Content > Videos
1.) Ensure your recorded video is in a folder on your machine in the correct format. In this case I am using an mp4 as an example

2.) Ensure you have created your Team. For this, we’ll use the Team called Mark 8 Project Team as shown below

3.) Login to https://web.microsoftstream.com
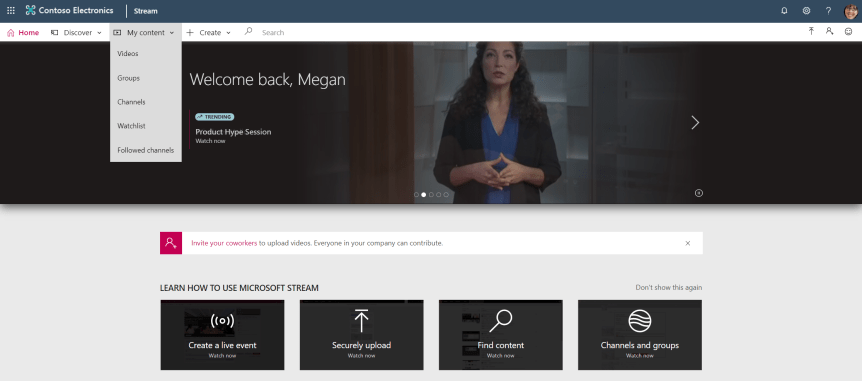
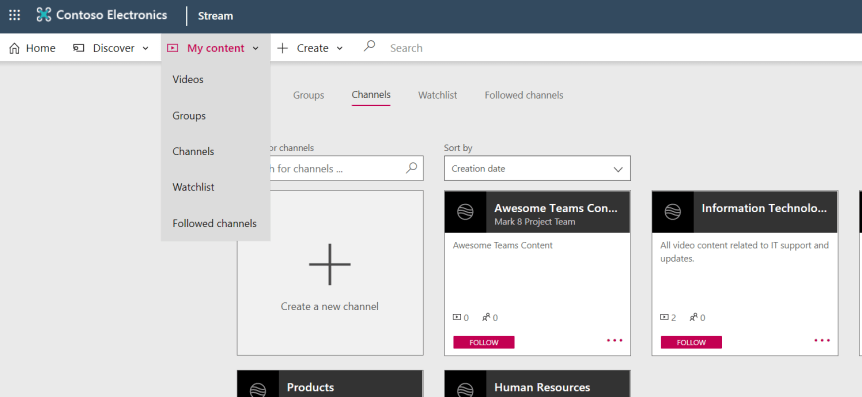
4.) Go to My Content > Channels
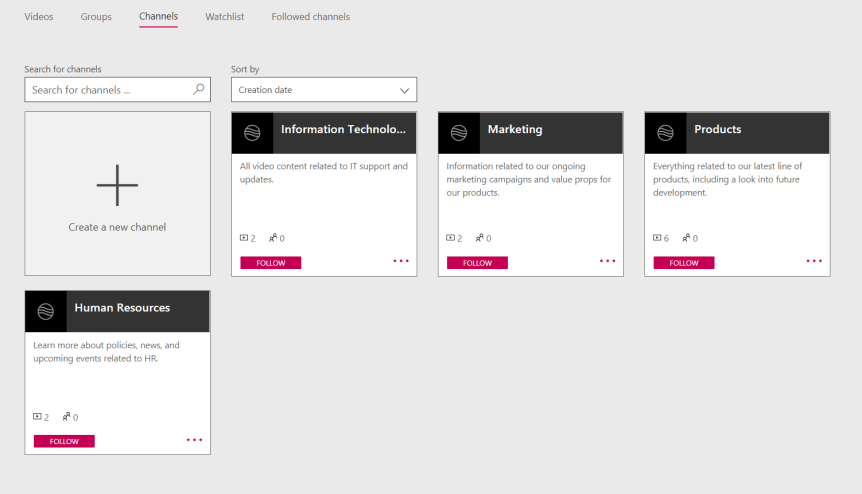
5.) Select Create a New Channel
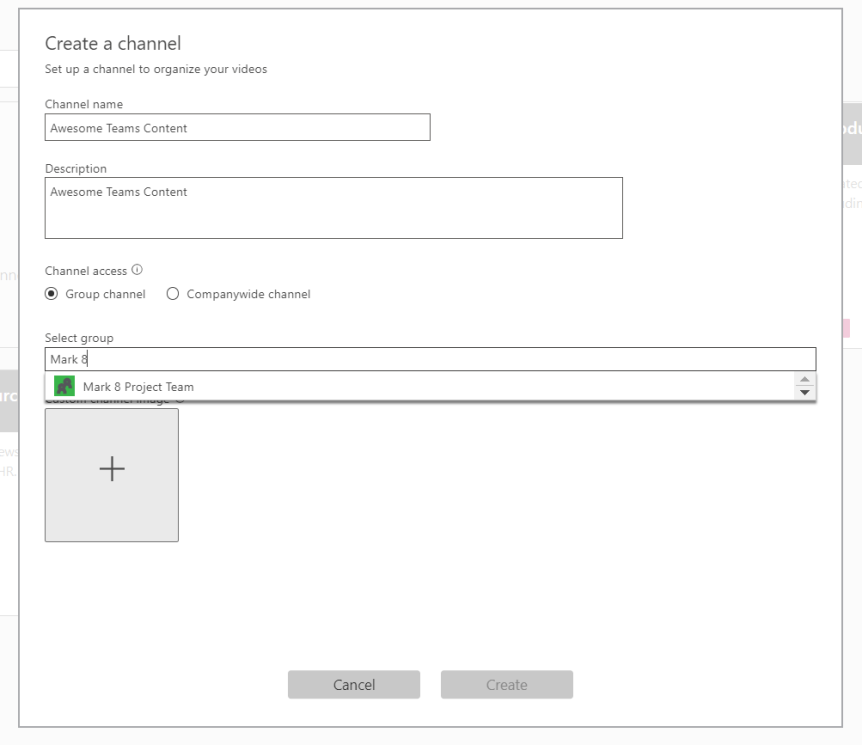
5.) Add a Channel Name and Description. Select Group Channel and link it to the Team that you want to push the Videos into. Select Create
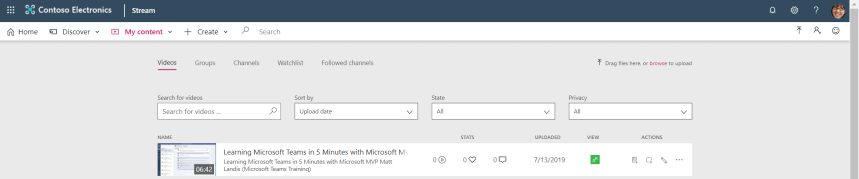
6.) The Channel is now setup. Select My Content > Video
7.) Drag the file onto the page or Browse to upload the video

8.) Set the default video language and Save

9.) Set the settings and permissions for the video. Ensure on the permissions section that the video is shared with the channel which was just created. This will add the Team (Mark 8 Project Team) which is linked to that channel with view permissions. Select Publish now


10.) Head back to My Content > Video to make sure the Video is published
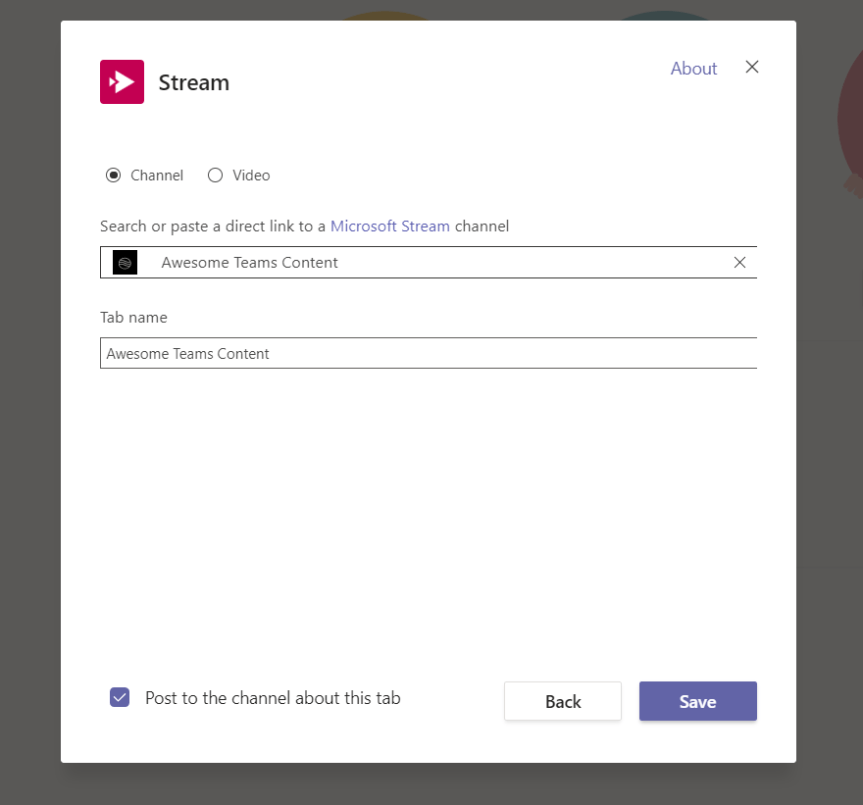
11.) Now we are ready to set this all up in Teams! Go into the Teams client and in the Team Add a Tab in the Teams Channel. Select Microsoft Stream

12.) Link the Channel created in Stream
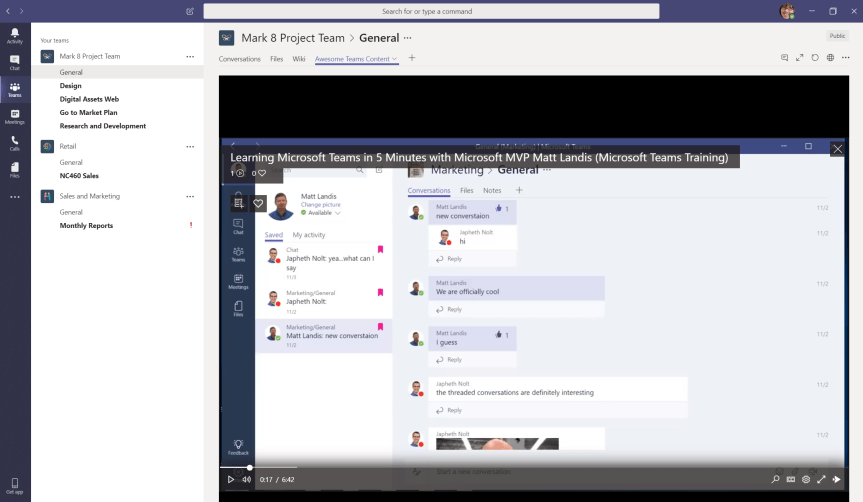
13.) Our work here is done. We now have a channel to serve up awesome video content straight out of Teams 😀 Go ahead and enjoy the video

ADDING MORE VIDEOS
Adding more videos is super easy – just repeat steps 6 – 10 and you can have a whole gallery of video’s for your Teams viewing pleasure.

10 thoughts on “Teams Real Simple with Pictures – Setting up a Video Channel for the Team”
Comments are closed.