

This blog is part of a series on Teams. For more articles, check back often
Written: 07/11/2021 | Updated: N/A
Ok! It was back to teaching this week. First up? Microsoft Teams Phone Essentials. I had spent the previous week facelifting the course; aligning it to Microsoft’s new branding of Teams Phone for the calling workload. But then Ignite came along. And so I had to facelift it again with all of the awesome news which dropped: native contact centre, SIP gateway, workspace management and the device dashboard. It really is awesome. True – after all these years it still hasn’t got 100% of the old Skype for Business features and yes, still no sign of native compliant call recording and smaller SKU’s. But the news last week, together with the news that comms credits will run through an Azure subscription, is all pointing in the direction we are looking. For those who worked with OCS, Lync and SfB these are the kinds of things we always wanted to see. Now, setup for the labs for courses are always opportunities to spot features in preview or GA and this week I spotted a few which were ripe to send to the blog. First, we now have the ability to now opt in to using OneDrive to store Whiteboard. Microsoft Whiteboard is being rebuilt on top of OneDrive for Business and this will become the default starting in January 2022. We can opt the whole tenant in. However, there is an important caveat to know. We are now also seeing the View Switcher in meetings, the ability to switch seamlessly between modes such as between the gallery and together mode and focus mode. This is ideal insofar that we don’t have to drill down through the control bar where we may, for example, accidently stop recording or turn off live captions if we are in a rush. Needless to say; the introduction and release of functionality for Teams remain relentless. Announcements and roadmap is all very exciting – but so is getting hands on with the functionality when it drops.
This blog will cover
- Opting in to OneDrive storage for Whiteboard
- View Switcher
- Lock Meeting
- Open chat in new window
- Teams Meeting Recording Expiry
- Conclusion
Note this blog will have some abridged steps which will assume some experience with a Microsoft 365 environment
Prerequisites
- Microsoft 365 Licence which includes Teams and SharePoint Enabled
- Global Admin Permissions to opt in to OneDrive Storage for Whiteboard
- Global Admin or Teams Service Administrator or Teams Communication Administrator to be able to set Teams Meeting Recording Expiry
- At the time of writing, Public Preview Enabled in the Teams Admin Centre and assigned to the user who needs to use these features if they don’t appear in GA
OPTING IN TO ONEDRIVE STORAGE FOR WHITEBOARD
Before anyone goes ahead and steams into the opt in its real important to know that this early opt in is only for particular clients, namely Whiteboard on the Web, Teams Meetings and Android. In other words, for all other clients such as Windows, Surface Hub, iOS and for Teams Tabs whiteboards are still stored in Azure. Microsoft themselves say you may want to wait to ensure consistently across clients given the potential to mess with the user experience especially as the setting is tenant wide and you can’t limit scopes. On the other hand, advanced users may wish to get hands on – and by opting in the organisation is on the latest experience or at least prepped for it. It seemed to work ok with Teams Meeting Recordings going into SPO/OD that didn’t happen for a while after setting it in PowerShell
And that brings us to the final note which is that opting in may not actually do anything until Microsoft throw the switch on the functionality in your tenant. You can go and test it out and see if the whiteboards are stored in OneDrive after enabling but be prepared for nothing to occur since the docs article refers to a Message Centre Post when it lights up. If it does work, great and meeting recordings certainly did prior to the message centre post. If not, keep an eye on it the next week or two and hopefully it’ll get to you soon.
1.) Log into https://login.microsoftonline.com
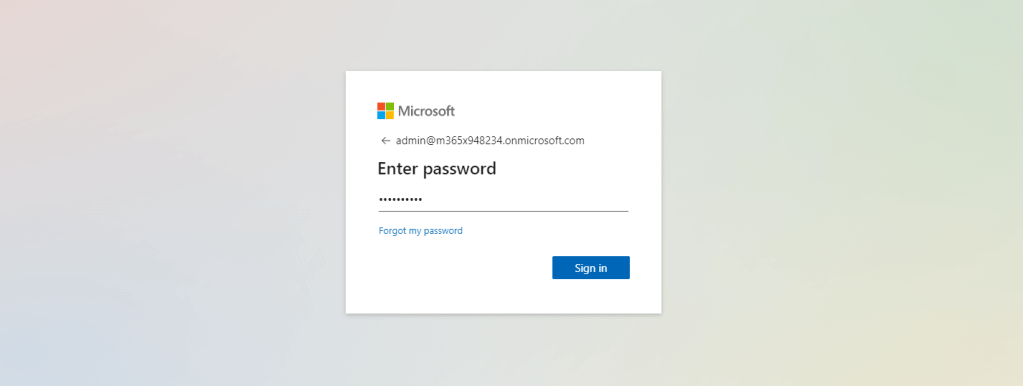
2.) Select Admin from the app launcher on the left
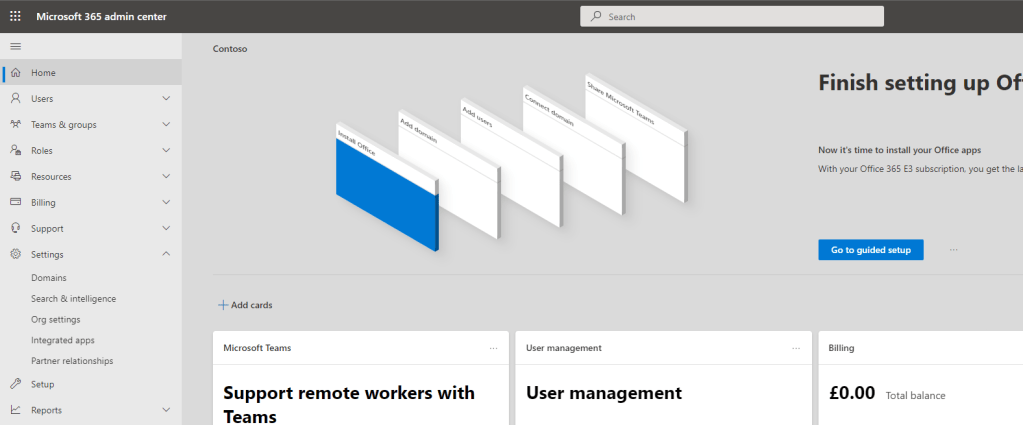
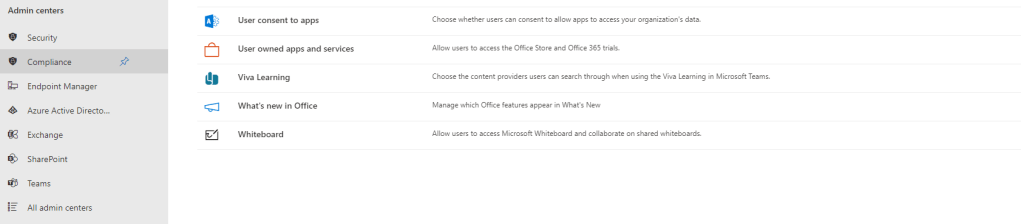
3.) In the Microsoft 365 Admin Centre, select Show All and then under Settings select Org Settings
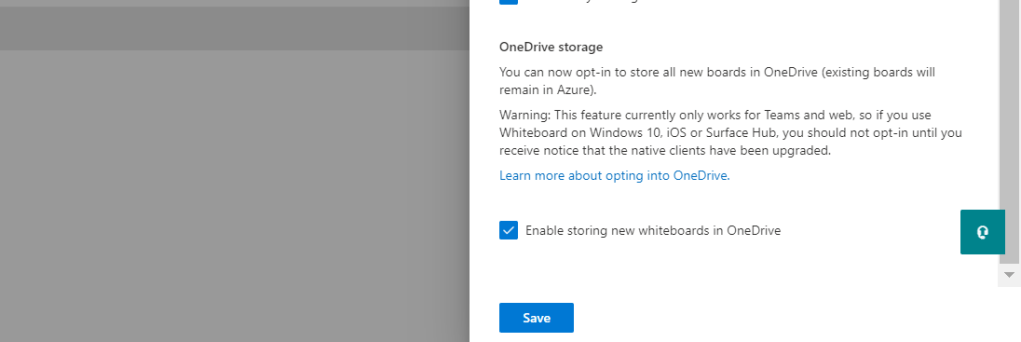
4.) Scroll down and select Whiteboard
5.) Scroll down to the bottom of the flyout, select the box for Enable Storing new Whiteboards in OneDrive and select Save
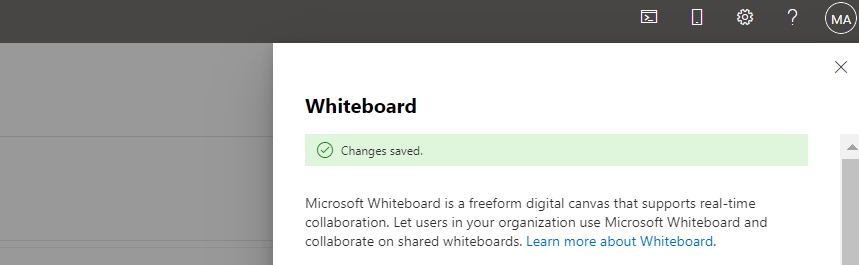
6.) Changes are now saved
VIEW SWITCHER
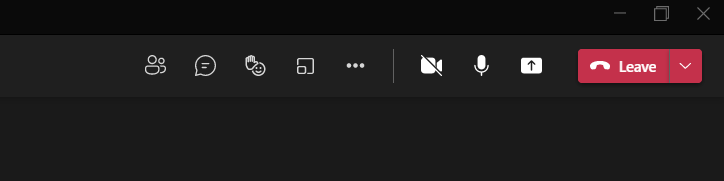
Over the past year or two we have seen the release of many different modes to meetings which move beyond the standard gallery view. From the very beginning, we saw the expansion of 2 x 2 into 3 x 3 and then up to 7 x7 into the large gallery view, which was released along with together mode, a view all designed to make us feel closer together when working remote. Since then we have seen focus mode, removing the gallery and focusing on the content being presented. We have seen gallery on top, a Zoom compete which affixed the gallery to the top of the screen ensuring a greater chance of attendees and presenter looking into the inbuilt camera. We have seen full screen mode, providing more real estate. This year, we have seen the presenter modes be added (standout, reporter, side by side) which whilst they are not currently in the view switcher, will likely to be soon. But what is the point of a View Switcher? Easier transition to change it up: its adds more dynamic to the dynamic view already there as people join the meeting and use their cams. But also, if the views are all bundled into the more options on the control bar, there is more likelihood of a mistake occurring when trying to switch a view as in starting/stopping a recording or turning live captions off. Separation from the rest of the options makes more sense. This is available in scheduled, channel or ad hoc meetings upon testing and looks like there is no setting to manage it in the TAC
1.) Set up and join your meeting as usual
2.) The view switcher is in the very top left (looks like a grid), select it and then select your view to change views.

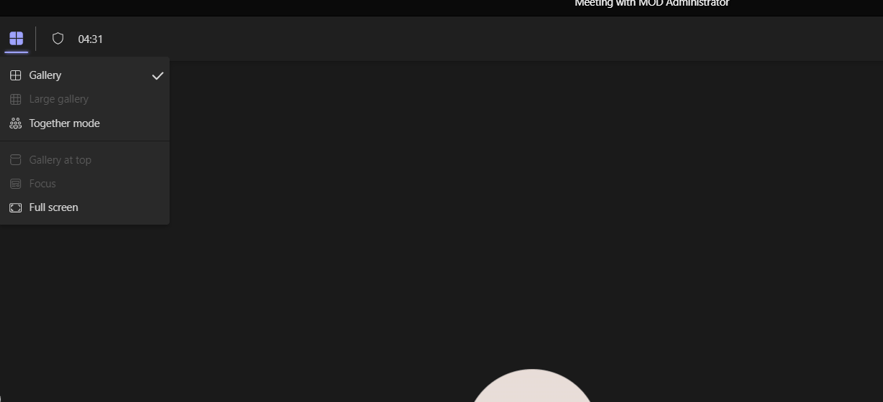
NOTE: The views which are available to the user on the view switcher is exactly the same as they were previously when the options where in more options and depend on what happens in the the meeting. For example, focus mode is dependent on someone sharing content. Large gallery is triggered when enough attendees have joined the meeting
LOCK MEETING
The ability to lock the meeting has been asked for a long time by members of the Tech Community – and this was for a few reasons. The first is meeting security. Once the meeting has started or once it reached a certain point it is desirable to prevent others from attending; for example in meetings where sensitive information is being disclosed or where the lobby is down to allow a frictionless join and mitigate situations like Zoombombing. But more so, in situations where there is disruption in the meeting, there is no opportunity for an attendee who is ejected to get back into the meeting or interrupt it by frequently hitting the lobby. Secondly, it protects privacy. Some meetings have very confidential information and we need to guarantee they will not be interrupted: think of a meeting between a doctor and a patient over Teams, or a teacher and a child’s parents, or HR and an employee. Thirdly, it enforces punctuality. You said you would be in my meeting by 9. It’s 9 and I have put the lock on. Sorry you didn’t make it and missed the important update. Your fault. Not mine. So this new functionality for the meeting organiser. This is available in scheduled, channel or ad hoc meetings upon testing and looks like there is no setting to manage it in the TAC
1.) Set up and join your meeting as usual
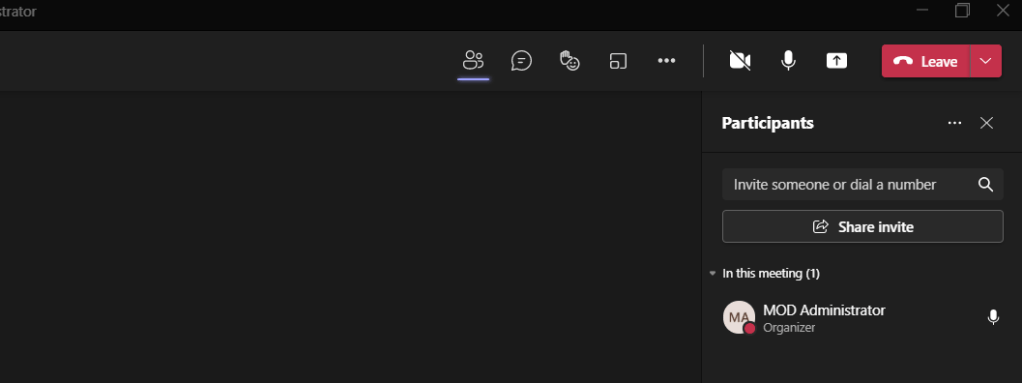
2.) When you want to use Lock Meeting select the People Roster in the Control Bar
3.) Select More Options (…) at the top of the roster
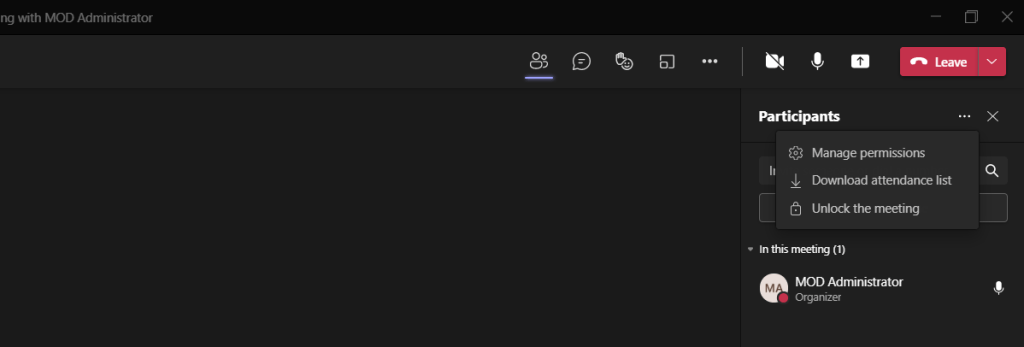
4.) Select Lock The Meeting
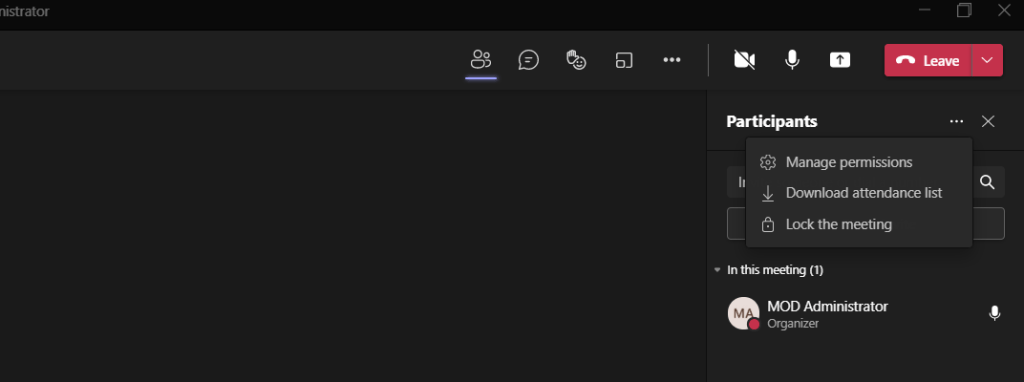
5.) Select Lock

6.) The Lock notification is triggered and no one can get in – but you can unlock again from the people roster

OPEN CHAT IN NEW WINDOW
This is probably a feature that will excite those who used to use SFB. It’s a gap fill. However, users now have the flexibility to set whether they can start a chat in the main window or start it in a new window. This makes sense, you want to have a chat with someone and let’s say that you have dual screen you can either work on something whilst having that chat or collaborate with them throughout the chat. It makes sense; it’s real world situations. Of course, we’ve had the ability to pop the chat for some time, however the more manual actions we can take out of that the better. This means we never have to pop a new chat again. This functionality is client side and is not regulated in the TAC
1.) In the Teams client select More Options (…) next to the avatar

2.) Select Settings

3.) Under Open New Chat In select New Window

4.) Selecting a new chat in the chat app automatically pops a window

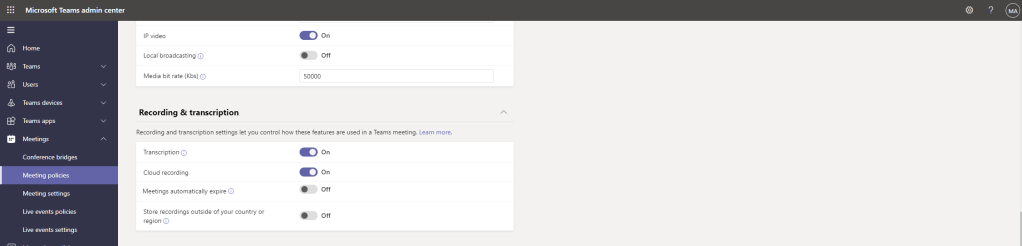
TEAMS MEETING RECORDING EXPIRY
This is one for the admins. The long awaited Teams Meeting Recording (TMR) expiry has finally come into the TAC. This has been long in the making – I remember doing a talk for the Spring Ignite about TMR’s and storage within SharePoint and OneDrive and this featured as a forthcoming functionality. Time flies. However it’s now there and it’s within the Meeting Policy so it’s real important for administrators to have this on their radar otherwise they may start getting tickets when recordings may start disappearing for users – especially as it’s turned on by default. Some things to note, the default expiry is 60 days and this can be modified to a maximum of 99,999 days, which is approximately 274 years surprising given that previous information suggested it would be capped at a reasonable time such as 365 days (this could be introduced later). Two, retention policies and labels supersede this. Three they can be recovered but adhere to SPO/OD recovery processes based on where they are stored. Personally I think this will be a hit in order to clear out storage: Microsoft did the research and found that users don’t typically watch the recordings after 60 days: however it’s like anything isn’t it – we can’t prevent a problem unless we take preventative action before it becomes one. The fact that it can be turned off completely I am just going to guess some admins will just do. However, astute use of the DET (default expiry time) alongside Retention Policies and Labels is far more optimal management of our data as opposed to just leaving it all build up.
1.) Log into https://login.microsoftonline.com
2.) Select Admin from the app launcher on the left
3.) In the Microsoft 365 Admin Centre, select Show All and then select Teams
4.) In the Teams Admin Centre, select Meetings and then Meeting Policies

5.) Select the Global Org Wide Default Policy

6.) Scroll down to Recording and Transcription, set the default expiration time, or if you don’t want to have a default expiration time swipe off meetings automatically expire and then select Save at the bottom of the page

CONCLUSION
Our job here is done: 5 nice pieces of functionality for users and admins. It’s great to see all these items which have been talked about for a while finally land. Each one is small, but each is vital for a great experience and the good governance of Teams. It’s certainly adds to the depth
