

This blog is part of a series on Teams. For more articles, check back often
Written: 01/08/2021 | Updated: N/A
It was a good week last week. Why? Because I finally made it back to the Tech Community (Tech) after a long absence. One I hadn’t planned. But 2021’s been that kind of year hasn’t it. Work, speaking, blogging, user groups, Ignite, MVP Summit, MCT Summit. Build, TeamsNation. You name it. Boom. And with Tech it was simply a case that it just piled up and aggregated to the point I couldn’t contain it given commitments which took precedence. Like an oil spill in the sea. You see, when you have been in the forums for eighteen to two and are involved in a few thousand threads at that point you have to actively manage it: three weeks ago my mailbox had over 2700 emails to work through because of, well – you know, boom. Now it’s true I could have simply gone on and iced them all out the mailbox. But people need help, and I’ll be the first to admit I grew frustrated at times not being able to get back and help as much as I used to. Still, what I did learn throughout this period was this – ringfence time for it; and no matter how far I go or where I end up in this community Tech will always be something I do as long as it exists and I am active. Somebody asked me once why do I still do it now that I’m an MVP as if once I was awarded I’d simply blow it out and move onto ‘better things’. The reason is this: it’s not from some sense that I owe a debt to Tech because whilst it did lead directly to my award my stats will show I’ve very much paid that back then some. No, the truth is I just simply enjoy it. It’s transactional. It’s working stuff out. It’s learning new stuff whilst helping others. Its good for blowing off some steam, like doing reps on the old barbells or lengths in a swimming pool, or sudoku. And getting back to the old stomping ground I actually discovered something new about Teams this week which is the basis for this blog. Someone asked if I knew where the registration information was for Teams Webinars based on a docs.com article which referenced it as MySite. They couldn’t find it. I did. And finding leads to some very interesting implications of what can be done with webinars moving forward. Let’s take a look.
This blog will cover
- Creating a webinar
- How to share webinar registration info with others via a CSV
- How to share webinar registration info with others via Lists
- Automating with webinar registrations
Note this blog will have abridged steps which will assume some experience with Teams, Azure AD and navigating the Microsoft 365 environment
Pre-requisites
- Teams/SharePoint Licence/Power Automate within an Office/Microsoft 365 Subscription
- Webinar functionality (Allow Meeting Registration) needs to be enabled within the meeting policy assigned to the Organiser who is creating the webinar
CREATING A WEBINAR
Let’s start this blog by creating our webinar
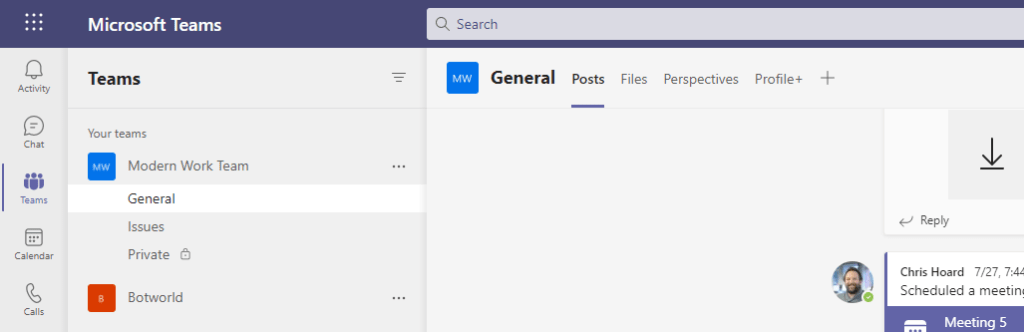
1.) In the Microsoft Teams client select the Calendar app on the left app rail
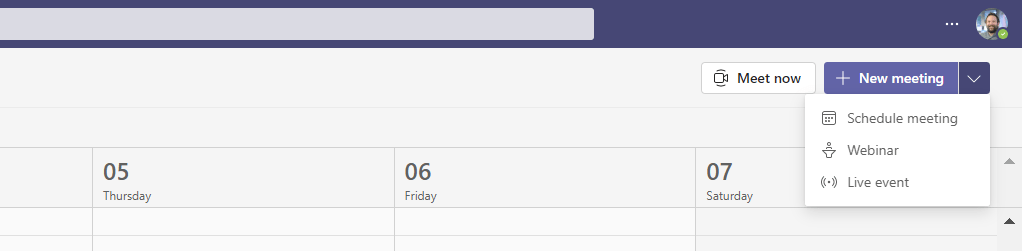
2.) On the New Meeting button select the dropdown then select Webinar. Note: If you do not see this, you can still simply schedule a meeting and change Require Registration from None (see next step). The reason for this – at the time of writing – is a bug which Microsoft are aware of that only show the webinar option if you have Live Events enabled (with licences E1 and above). It will be fixed in the next month or so.
3.) Add all the basic webinar info such as Title, Presenters and Agenda. In the information box select View Registration Info. Important note: whether require registration (the webinar audience scope) is for Everyone (internal and external), or just for people in your org this setting is controlled by the messaging policy applied by the admin and you cannot have both options, so if it isn’t right you will need to have them amend it and proceed once it is corrected. By default, it should be set ‘For Everyone’.

4.) Complete the webinar details for the registration page including Title, Speakers (who you added to the webinar booking) and a Nice Image that makes the webinar look good

5.) At the top of the page select Copy Registration Link and save that URL for later. Select Save and close the registration page

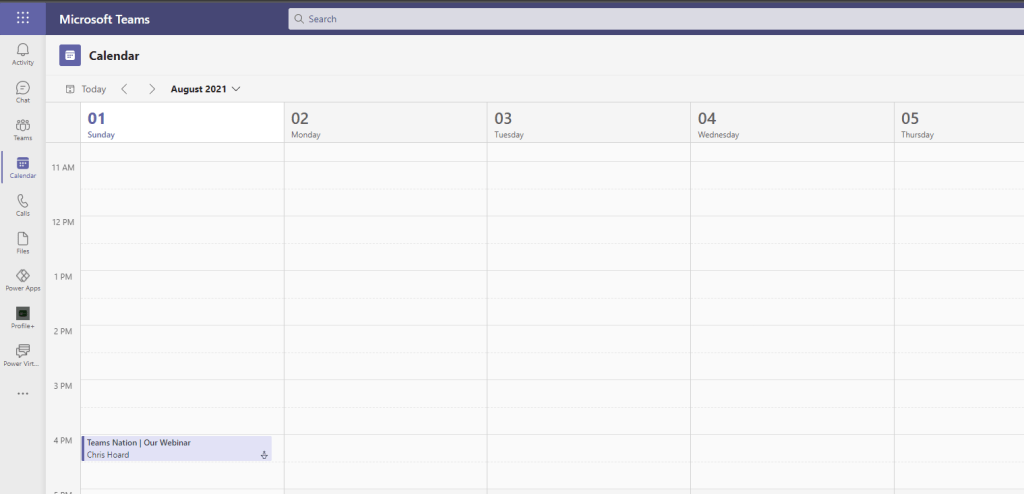
6.) Select Send to book the webinar. It now should appear in your calendar


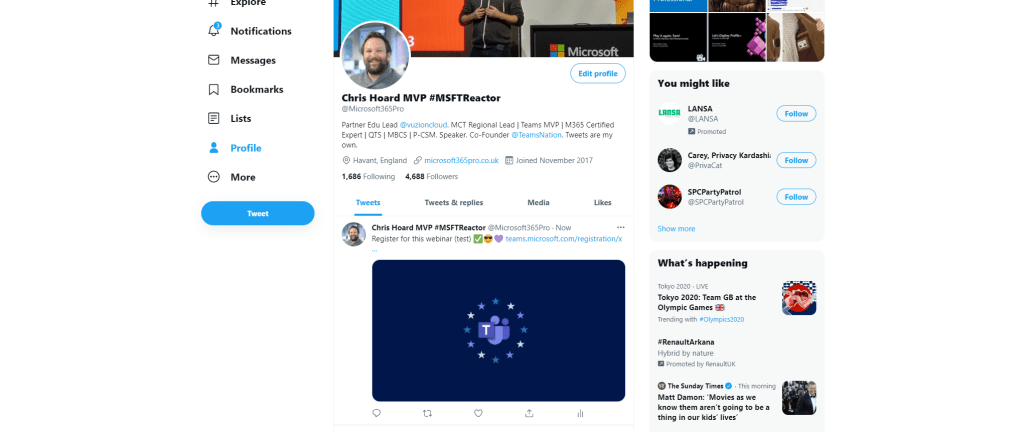
7.) The URL can then be put up on a web site, or social for people to register
HOW TO SHARE WEBINAR REGISTRATION INFO WITH OTHERS VIA A CSV
So people are now registering to the webinar. It’s going pretty well. However, one of my colleagues in marketing ask me to share the registrant information with them. How do I do this?
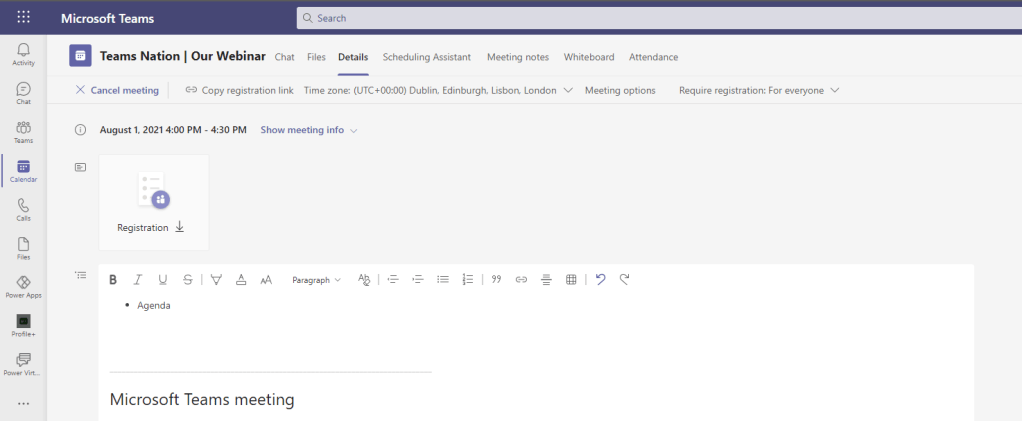
1.) In the Calendar App in Teams, select/double click on the webinar to open it
2.) Select the Registration Download in the Details Tab
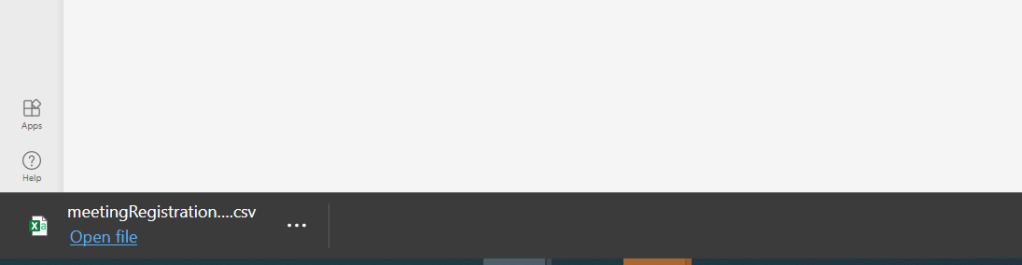
3.) The MeetingRegistrationReport CSV will download. Which you can then open in Excel

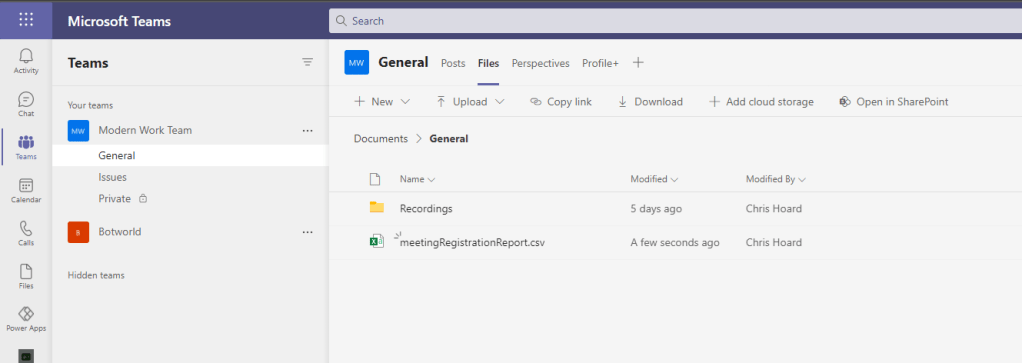
4.) With this file, you can then upload into a Team or into OneDrive and share it these ways
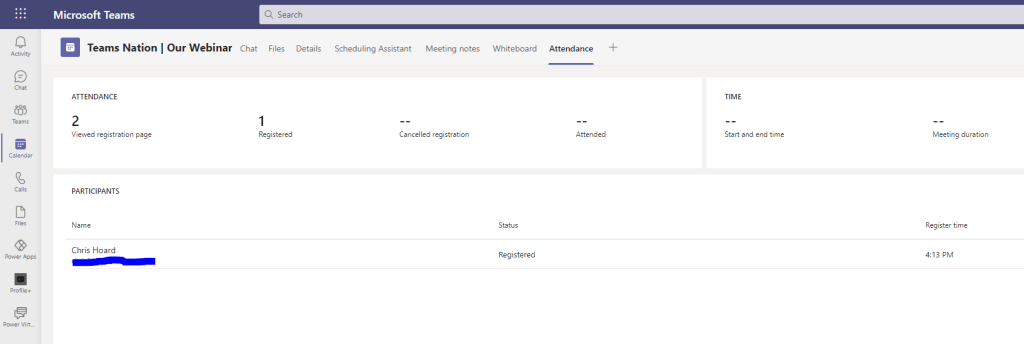
5.) You could also decide on snapshotting the Meeting Engagement Report prior to the webinar which is found in the attendees tab of the meeting and shows the number of registrations. However there isn’t a download function, and it would be difficult to work with the data unless manually adding it to a CSV/Excel. Using an CSV would be recommended over the meeting engagement report.
HOW TO SHARE WEBINAR REGISTRATION INFO WITH OTHERS VIA A LIST
Now here’s where things get interesting. The docs.com article in Tech suggested that the webinar registration information was housed on MySite. So if if it isn’t in Teams, and the CSV we used isn’t the authoritative source, where exactly is it. After searching I found it.
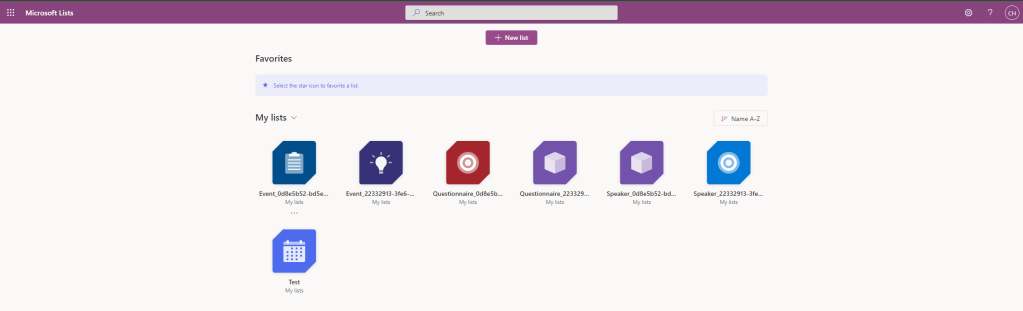
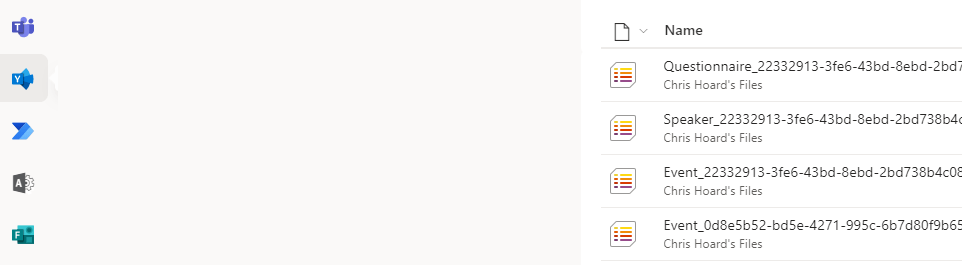
1.) Come out of teams and login to https://login.microsoftonline.com and select the Lists app
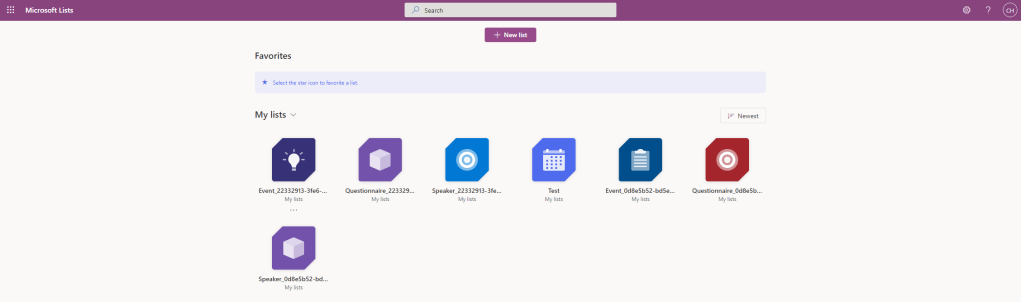
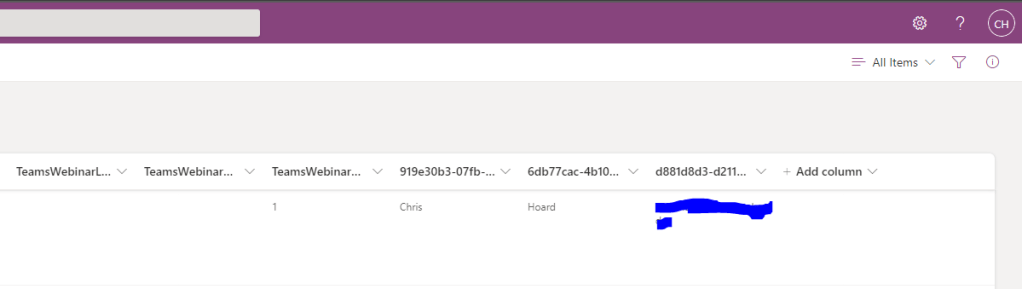
2.) The webinar registration will be shown under My Lists where
- The Event List holds the main webinar information such as the URL, the Metadata and the organiser details
- The Questionnaire List holds the registration details
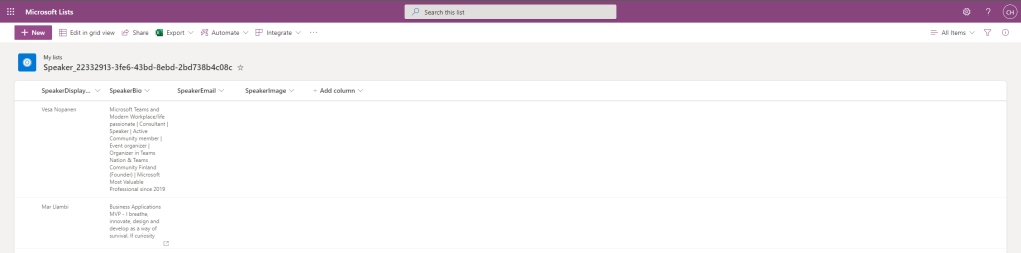
- The Speaker List holds information on the Speakers on the registration page


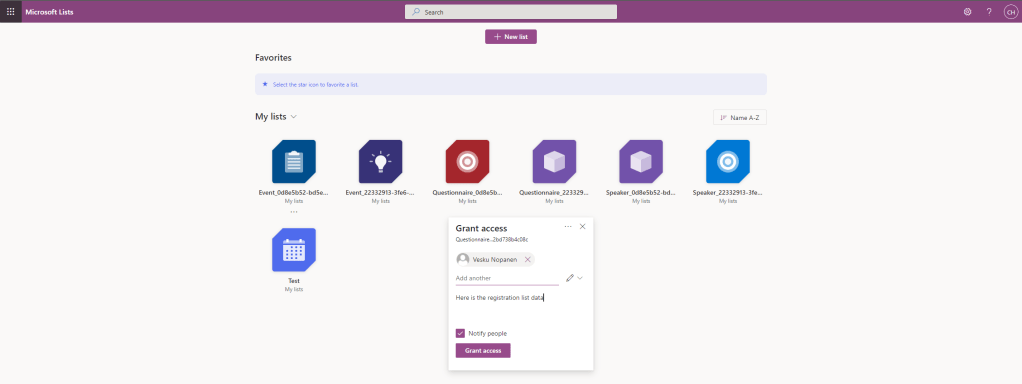
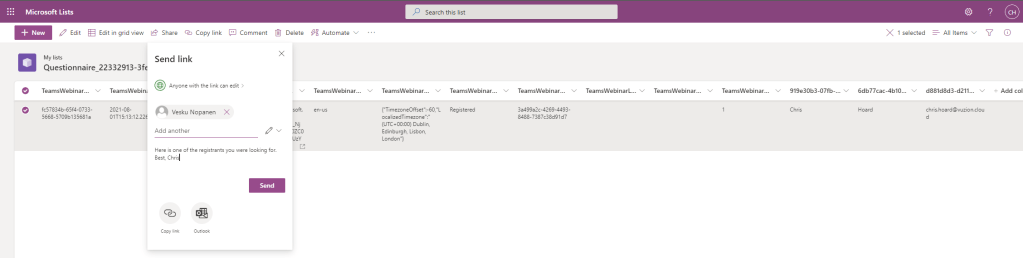
3.) Per my previous blogs regarding Lists such as Microsoft Lists Fundamentals Part 1 you can share the List or the List items with others. For the registration data, share the Questionnaire List or list items from within the list
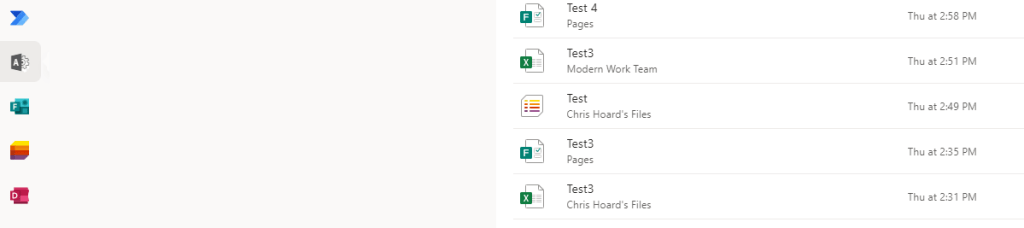
4.) If you have multiple lists for multiple webinar registrations in your Lists, how do you know which one is the right one? Simple. Sort the lists by Newest in the Lists web app
AUTOMATING WITH WEBINAR REGISTRATION DATA
So now we have the Teams webinar registration data and we have located it as being stored in a List which is held in My Lists. This opens up some possibilities including creating automation. Here is one example, sending a follow up to a registrant when they have signed up a a webinar. Let’s go build it.
Create a new webinar per the steps above. Then –
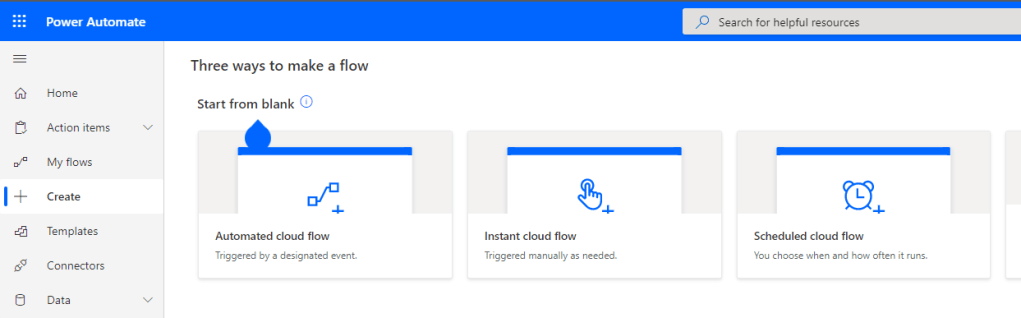
1.) Login to https://login.microsoftonline and select Power Automate
2.) Select create and then Automated Cloud Flow
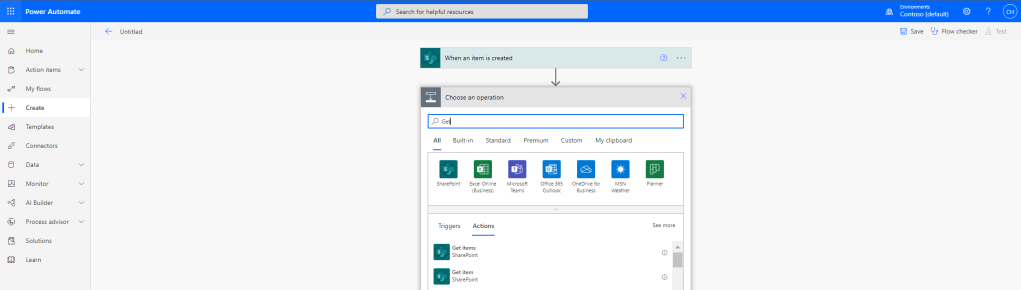
3.) Select the SharePoint Trigger When an Item is Created

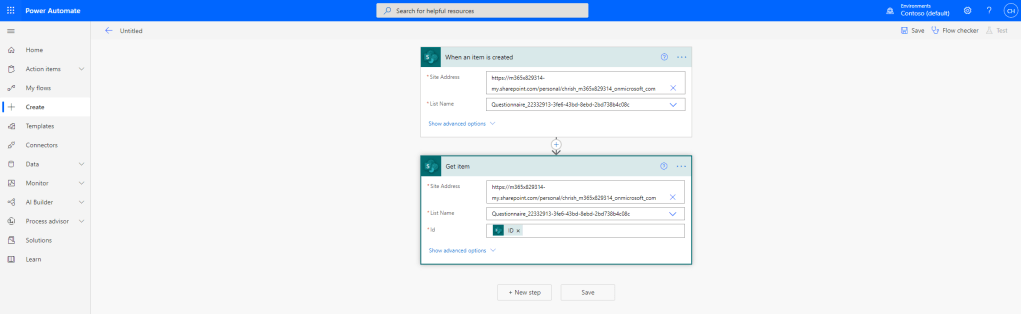
4.) Enter the details of the Site Address (since the site will not show up here automatically you’ll need to use a custom value and copy and paste the URL from the List URL). Select the correct Questionnaire name and then New Step


5.) Search for and select Get Item (SharePoint Action). This fetches all of the details of that item in order to use them in further flow actions
6.) Complete the action with the same details as within the trigger but also use Dynamic Content ID in the ID field. Select New Step
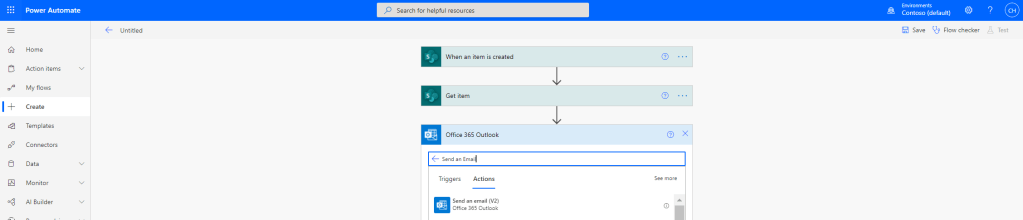
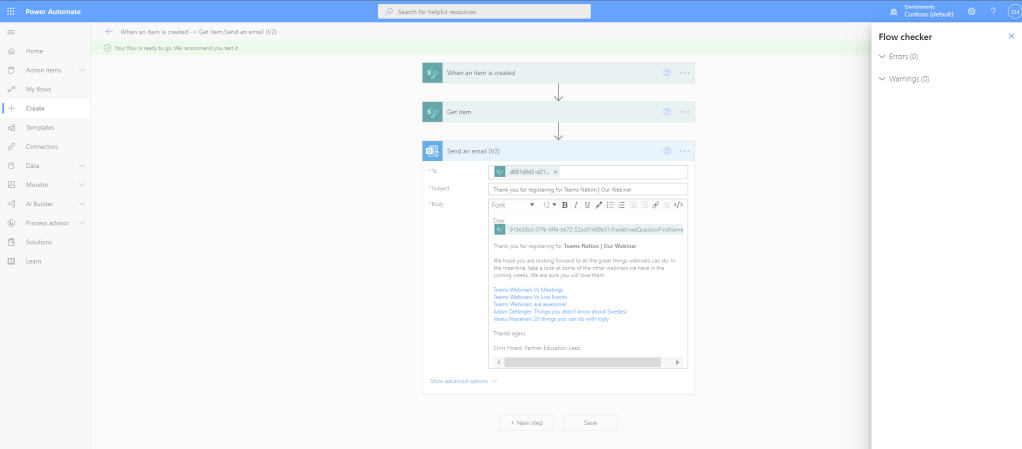
7.) Search for and select Send an Email (Outlook Action). This is intended to send a follow up email to the registrant
8.) In the To Field, and using Dynamic Content add the Registrant Email Column Name in the Questionnaire as we’ll be sending an email back to the registrant. Important: the name of this column is long and may not be completely visible in the dynamic content. If you can’t see a full view of the column name by hovering you need head back to the list and look at the beginning of the column name to identify the right one. Here you can see the one I need to use begins with d881
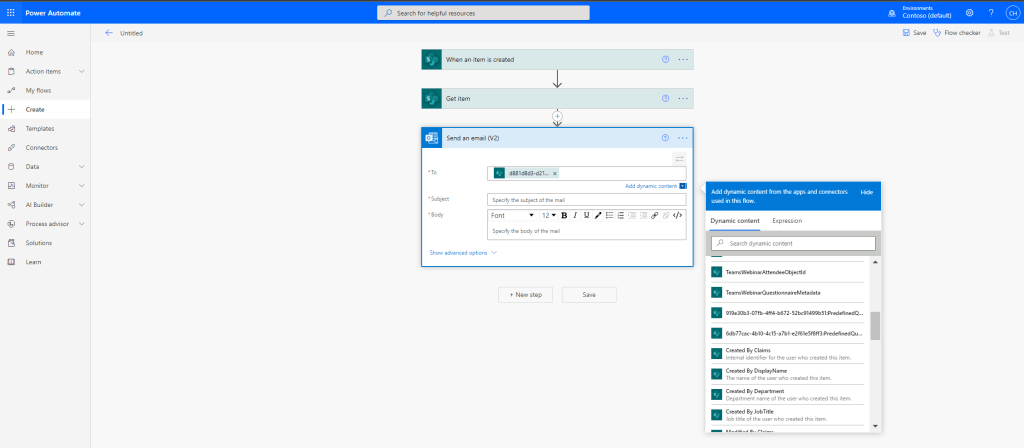
9.) Complete the rest of the Send an Email action and select Save

10.) Use the Flow Checker to check the flow
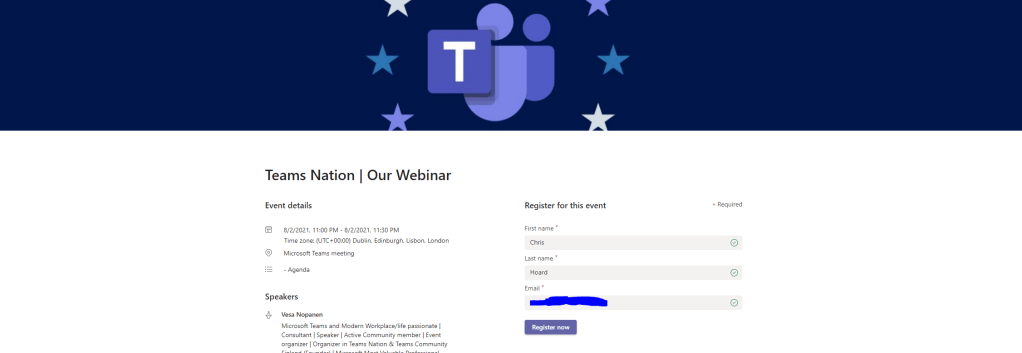
11.) Now time to test! Here is somone registering for the webinar
12.) The flow has run successfully
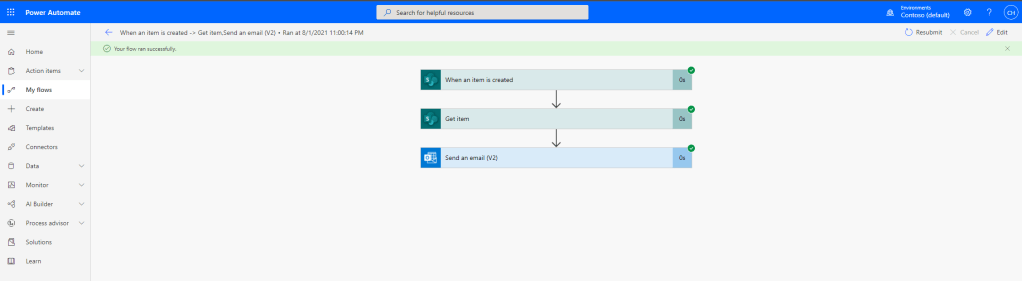
13.) The email has now been sent within Outlook to the registrant
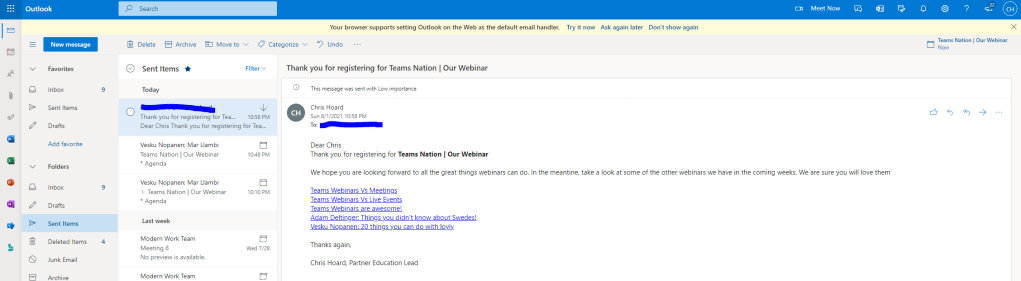
Our job here is done
This is just one very simple example of automation which could be used. There is a lot more scope and possibilities but this example is used to illustrate what is possible and how easy it is when you have access to the actual registration data. We could look to follow up, look to thank attendees for their attendance, look to trigger another event. No dirty CSV’s floating around.
Next week we’ll look at Power BI and the ways this can be used with the data. Have a great week
