

This blog is part of a series on Teams. For more articles, check back often
Written: 11/04/2021 | Updated: N/A
On the speaker circuit I occasionally talk about Policy Management in Microsoft Teams. It’s something I enjoy talking about too. Why? Because when it comes to Teams I believe having a good grasp of policy is necessary for shaping a good user experience. It’s important too from a security, compliance and governance perspective. Now like any talk this one’s evolved to account for a number of incremental adds. We’ve seen the introduction of update policies where you can add users into private preview to test out functionality in advance. We’ve seen template policies. We’ve seen the ability to use the TAC to manage meeting backgrounds within the meeting policy. And during all of these talks one of the things which has featured has been policy packages. Policy packages are defined as ‘a collection of predefined policies and policy settings that you can assign to users who have similar roles in your organization’. In other words, we assign a policy package to a teacher, or a student or a nurse or to a firstline worker – and that policy package contains a messaging policy, and a meeting policy, and a live events policy and so on and so forth. The benefit of the policy package – a container as it were similar to an access package in Azure AD – is that it makes it easy for administrators to standardise what users can do and how users can experience Teams based upon role. It can make it easier to assign multiple policies without getting too granular. An awesome functionality is that you can also use group policy with dynamic groups and assign the correct packages as users transition roles. Yet for all the virtues of packages, the big limitation has always been we couldn’t create custom policy packages. We’ve had a number of preconfigured ones by Microsoft – and that’s all well and good except we’ve needed to create packages for our own roles, our own organisations. Well now we can
This blog will cover
- Building a custom policy
- Building a custom policy package
- Assigning a custom policy package
- Duplicating a custom policy package
- Using Group Policy along with the custom policy package
- FAQ’s including Policy Precedence
Prerequisites
- Teams Administrator, Teams Communication Administrator or Global Administrator Permissions
- Teams Licence (usually within Office/Microsoft 365 licence) to test
BUILDING A CUSTOM POLICY
Before we create our custom policy package, we need to create the policies. Custom policy packages can only contain custom policies. In other words, they cannot contain the global org wide default policies applied when users are first added to Teams. Let’s create one now
1.) Login to https://login.microsoftonline.com

2.) From the app launcher, select Admin
3.) In the Microsoft 365 Admin centre select show all from the left navigation and then select Teams

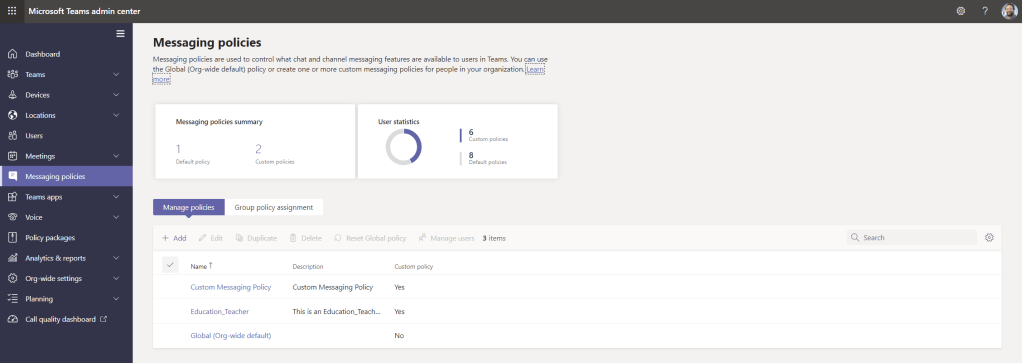
4.) Let’s create a simple custom messaging policy. Select Messaging Policies and then Add
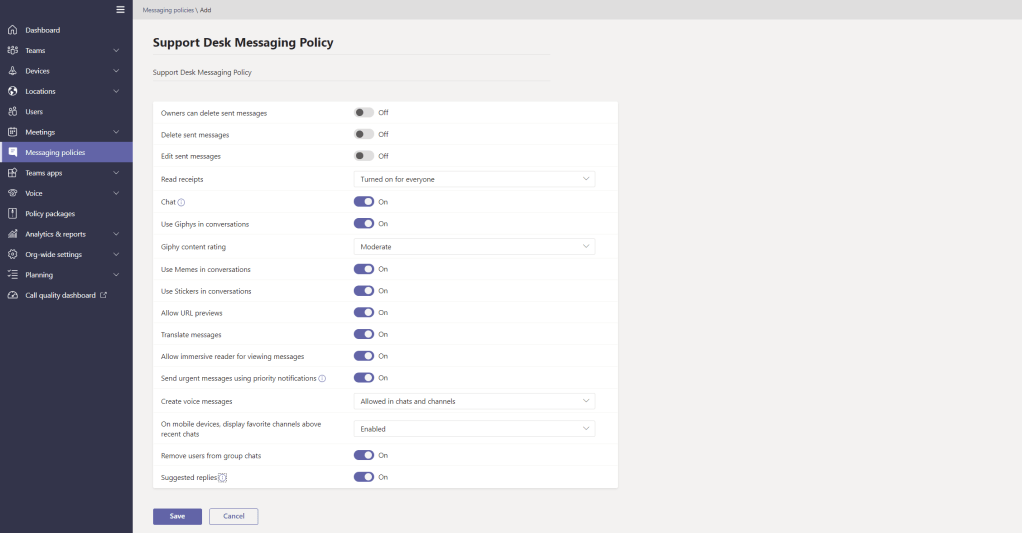
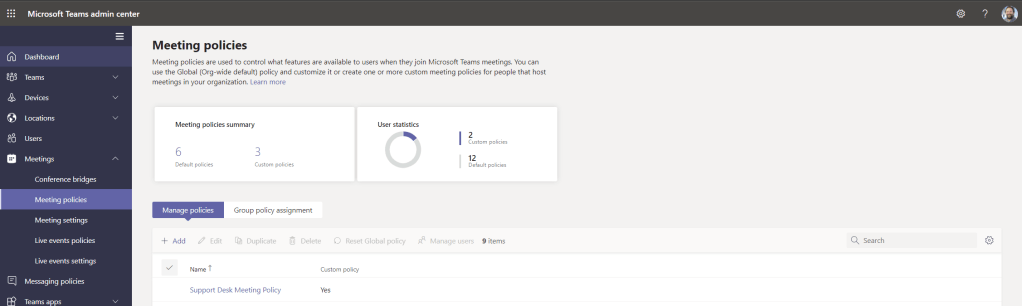
5.) Create your custom policy, configure the settings and give it a name and description. For this example the policy has been called Support Desk Messaging Policy. Once complete select Save
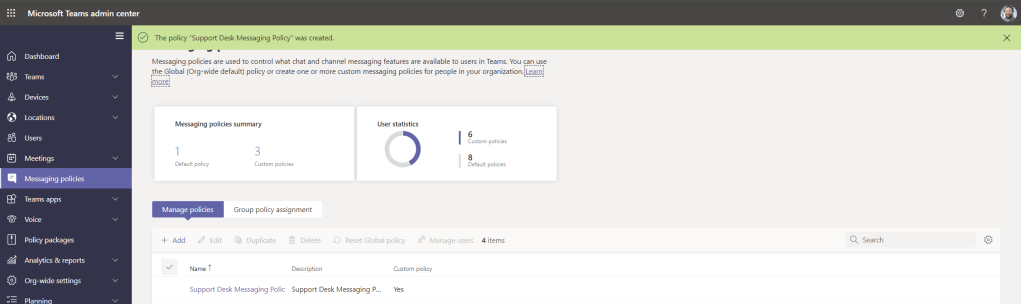
6.) The policy has now been saved
7.) Rinse and repeat for other policies. This example, I have created
- App Setup Policy (Support Desk App Setup Policy)
- App Permissions Policy (Support Desk App Permissions Policy)
- Caller ID Policy (Support Desk Caller ID Policy)
- Calling Policy (Support Desk Call Policy)
- Call Park Policy (Support Desk Call Park Policy)
- Live Event Policy (Support Desk Live Events Policy)
- Meeting Policy (Support Desk Meeting Policy)
- Teams Policy (Support Desk Teams Policy)
- Template Policy (Support Desk Template Policy)
- Update Policy (Support Desk Update Policy)
Once you have created the custom policies you are now ready to create your custom policy package. Note, you do not have to create custom policies for everything. You may want to just include a few custom policies and have others remain as global org wide defaults
BUILDING A CUSTOM POLICY PACKAGE
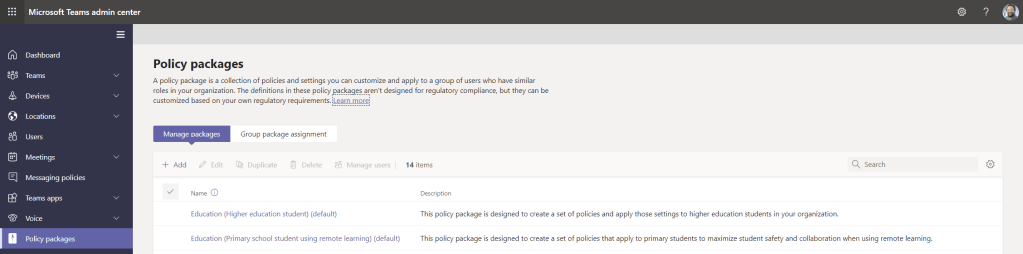
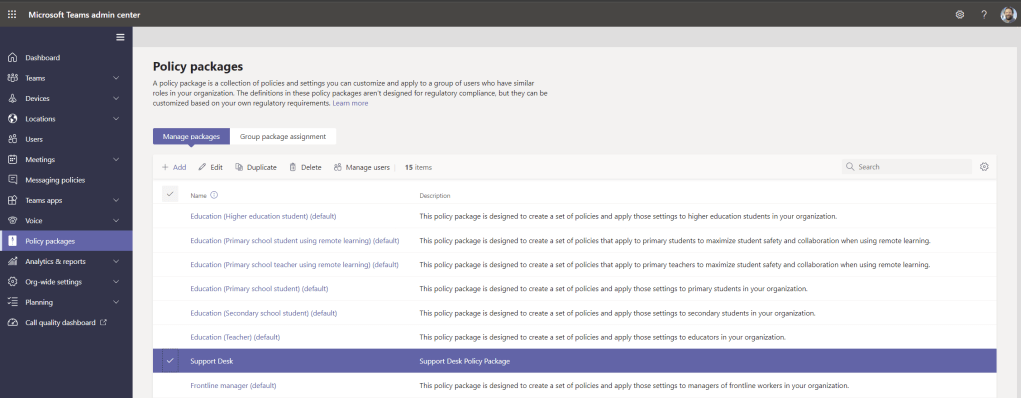
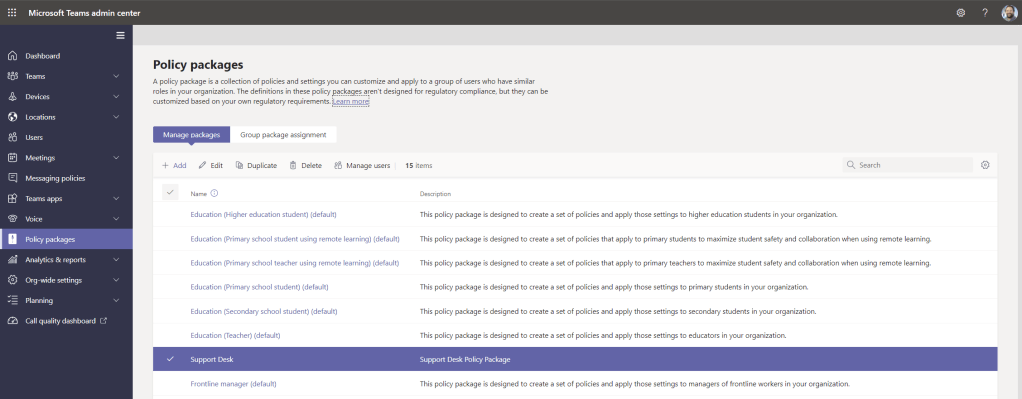
1.) From the left navigation, select Policy Packages

2.) Select Manage Packages and then select Add
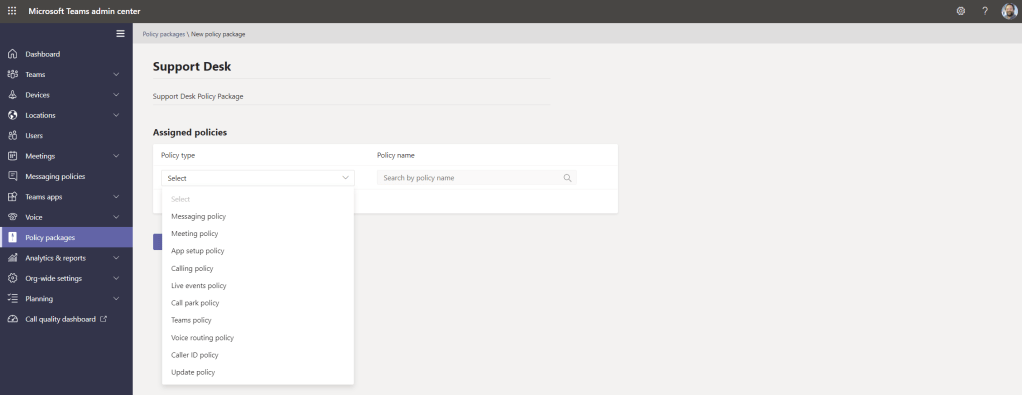
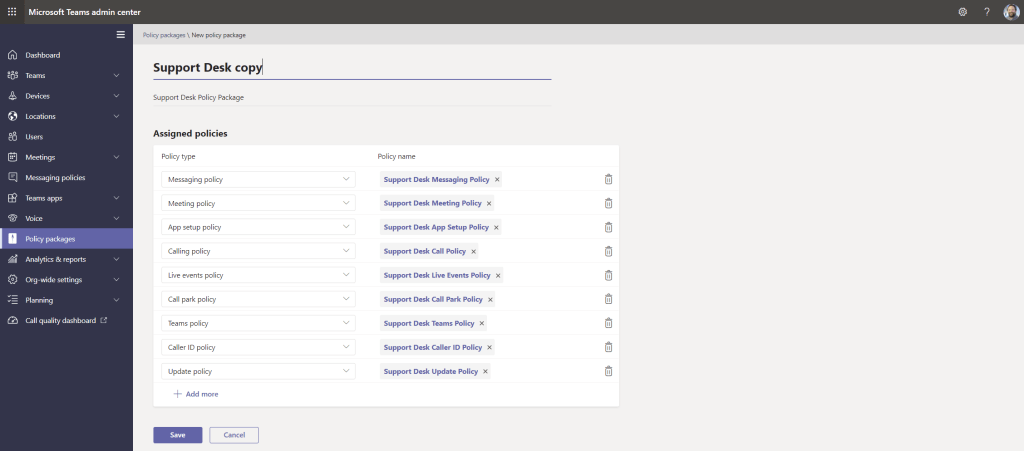
3.) Give the policy package a name, a description (here defined as Support Desk – the role which the package is designed for). Use the policy type dropdown and policy name search to add your policies and then select save

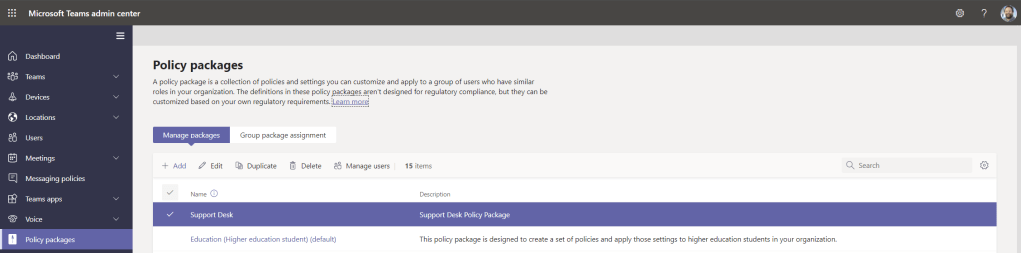
4.) The new policy package is complete
The Policy Package can also be created through PowerShell using the following command
New-CsCustomPolicyPackage -Identity “MyPackage” -PolicyList “TeamsMessagingPolicy, MyMessagingPolicy”, “TeamsMeetingPolicy, MyMeetingPolicy” -Description “My package”
ASSIGNING A CUSTOM POLICY PACKAGE
You can assign a custom policy package in three ways
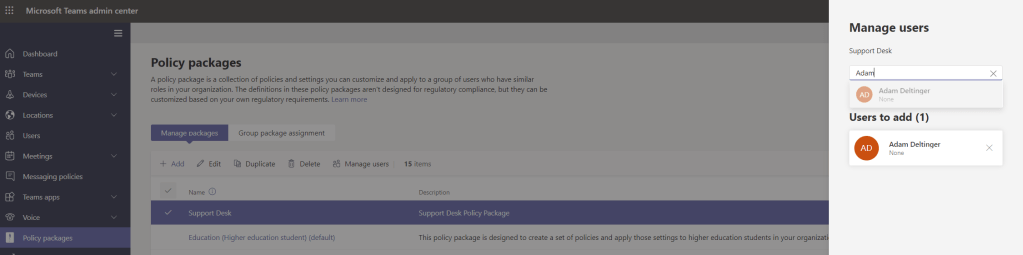
1.) The first is via the policy package. Highlight the policy then select Manage Users

2.) Search for, select and Add the users and then select Apply
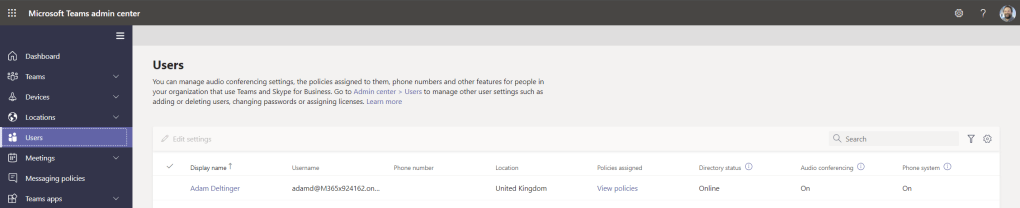
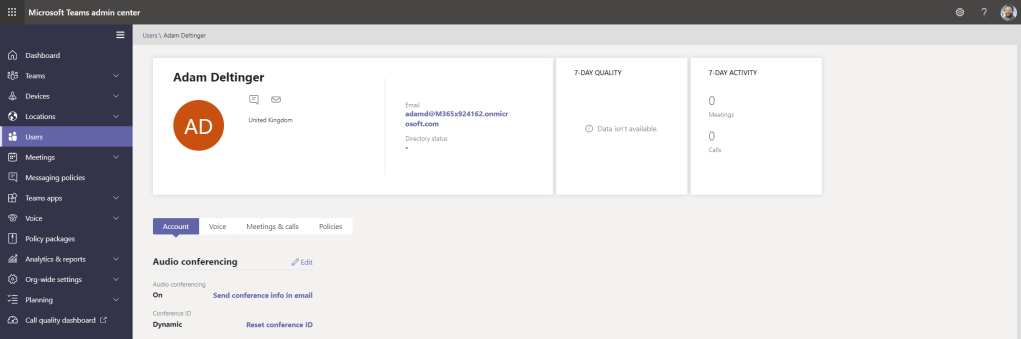
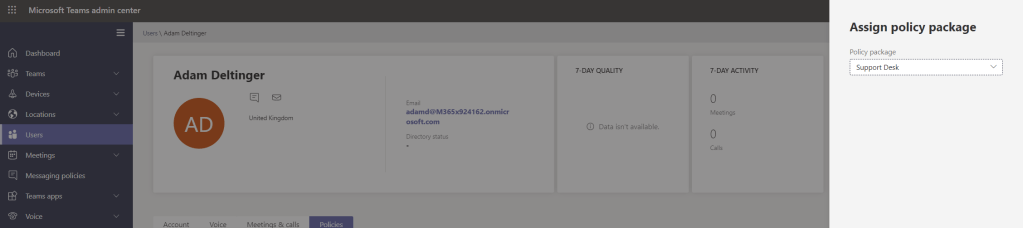
3.) The second is via the user. Select Users and then select the user to apply the policy package to
4.) Select Policies
5.) Select Edit next to policy packages
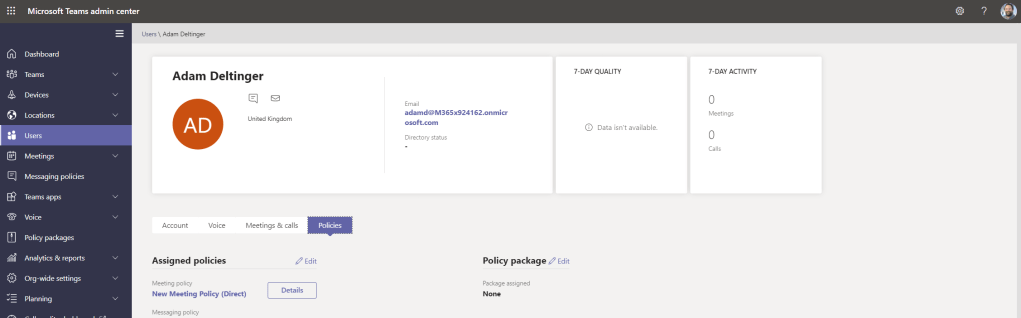
6.) Select the policy package and then apply
The third way to apply policy packages is via PowerShell. Note, you have different commands to apply the package to under 20 users and to large batches over 20 users
Under 20 users
Grant-CsUserPolicyPackage -Identity 1bc0b35f-095a-4a37-a24c-c4b6049816ab,johndoe@example.com -PackageName Education_PrimaryStudent
Over 20 users (Up to 5000 users)
New-CsBatchPolicyPackageAssignmentOperation -Identity 1bc0b35f-095a-4a37-a24c-c4b6049816ab,johndoe@example.com,richardroe@example.com -PackageName Education_PrimaryStudent
DUPLICATING A CUSTOM POLICY PACKAGE
1.) Highlight the policy then select Duplicate
2.) Rename the policy and the description, reconfigure the policies and select save
USING GROUP POLICY ALONG WITH THE CUSTOM POLICY PACKAGE
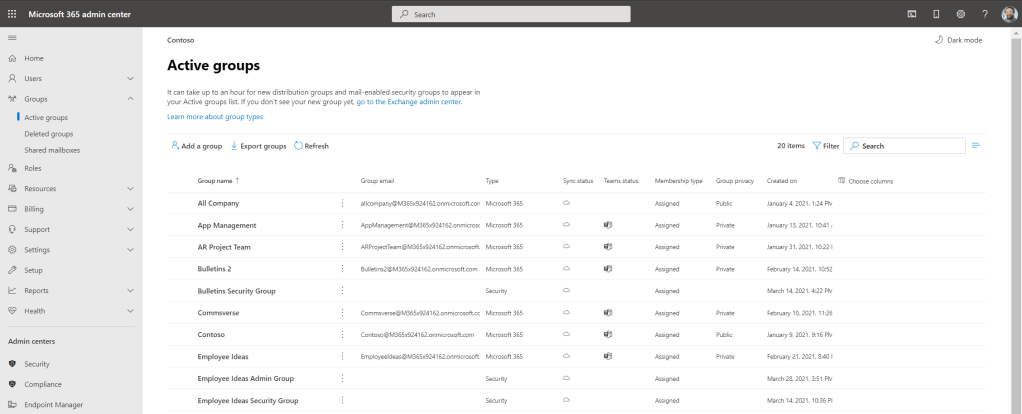
1.) Ensure that your security, distribution list or Microsoft 365 group is set up in the Microsoft 365 Admin Centre
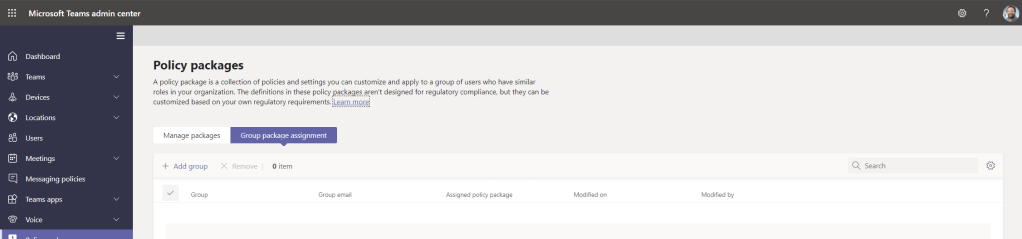
2.) Return to the policy menu in the Microsoft Teams Admin Centre and select Group Package Assignment
3.) Select Add Group
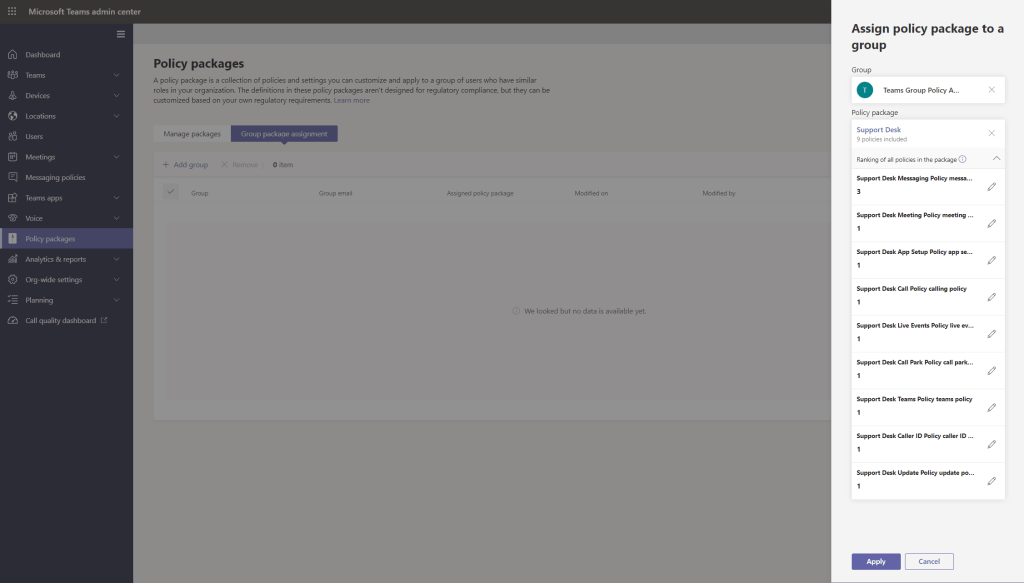
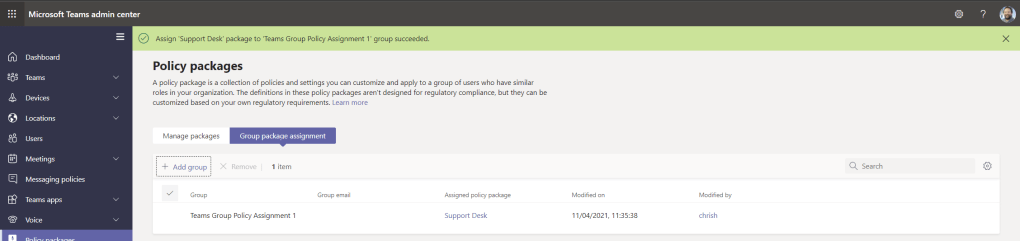
4.) Select the group, add the policy and select Apply
5.) The policy package is applied to everyone in the group
FAQ’S INCLUDING POLICY PRECEDENCE
A few questions you may have at the end of this blog
Q. Do custom policy packages include all possible policies that can be applied to a user?
A. No, it does not currently include App Permission Polices, Emergency policies, Dial Plan policies or Teams Feedback Policies
Q. Where do the custom policy package fall in policy precedence?
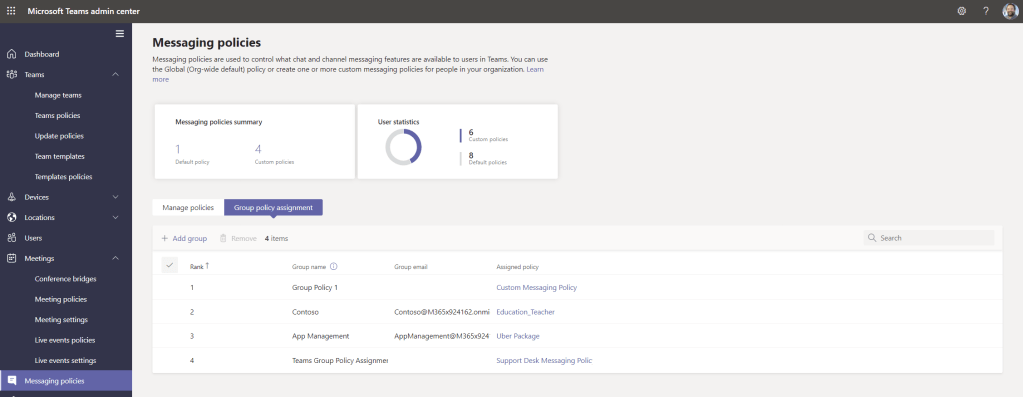
A. A custom policy package which is directly assigned to a user will win against a group policy. However, a custom policy package which is applied to a group will be at the bottom or top depending on where other custom policies are ranked. For example, the screenshot below shows that other group policies have been created with rank 1 and 2. However when applied to the group the custom policy package was auto assigned a rank of 3. In other words the other group policies have precedence. Whereas if any more custom policies are created they can be given a rank of 4, 5, 6 etc where the policy package would come out on top. If custom policies with rank 1, 2 were deleted the custom policy package would become rank 1. This is an important consideration when managing policy packages given that you cannot set a rank for them, they automatically rank against what group policies are already in place
Q. Can you delete custom policy packages after they have been assigned?
Yes. However, the policies within the package remain on the users. The policies themselves would need to be deleted where the users would return to the global org wide defaults or switched out to other policies
Q. Can the default policy packages be deleted
Not at the time of writing – not through the TAC at least. The options are greyed out

One thought on “Teams Real Simple with Pictures: Custom Policy Packages”
Comments are closed.